
The Kadence Site Identity Block offers the flexibility to display your Website Logo, Site Title, and Site Tagline. You can choose to display any combination of these elements, or just one, based on your design needs. This feature simplifies the process of customizing how your Site Identity appears throughout your website.
You can insert Site Identity Blocks into Kadence Widgets, Advanced Headers, or any location where the Block Editor is available.
Getting Started with the Site Identity Block
Get Started with the Site Identity Block by adding a new Site Identity Block to your current Post, Page, or Widget.
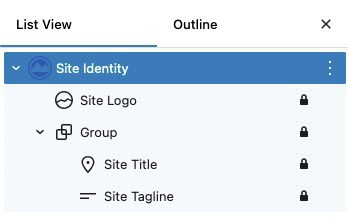
The Site Identity Block includes a Site Title, Site Logo, and Site Tagline Block nested inside the main Site Identity Block, depending on your Block Settings. These nested blocks are default Gutenberg Blocks, allowing for seamless integration within the main Kadence block.
Site Identity Block Settings
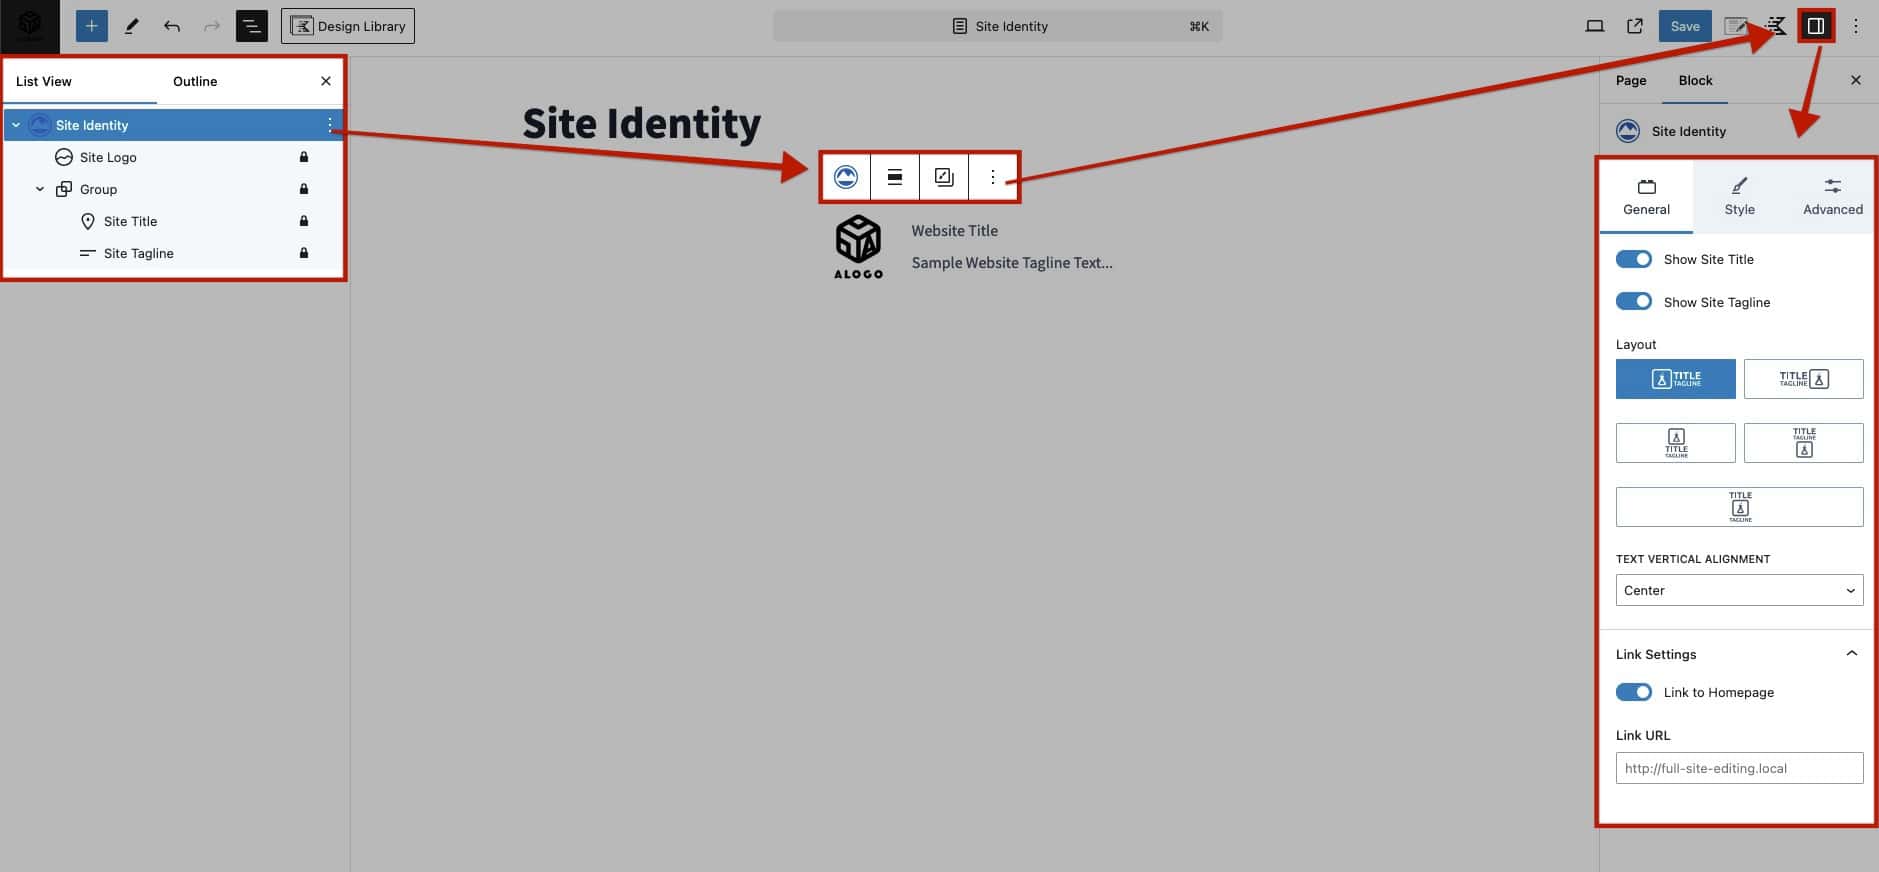
The main Site Identity Block allows you to customize the overall Site Identity presentation. To get started, select the parent Site Identity Block and navigate to the Block Settings. From there, use the General, Style, and Advanced tabs within the Block Settings to customize the appearance and behavior of your Site Identity Block.
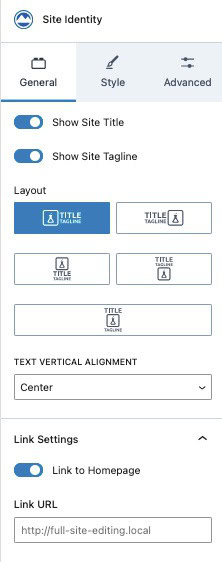
General Settings
Show Site Title: Enable this option to show and use a Site Title on your Site Identity Block.
Show Site Tagline: Enable this option to enable and show a Site Tagline along with a Site Title. In order to use a Site Tagline, the Site Title must also be enabled.
Layout: Select one of the Site Identity Layouts to determine where the Site Logo, Title, and Tagline will appear.
Text Vertical Alignment: Set the Text Vertical Alignment to adjust the vertical alignment of the text next to the Site Logo. (Top, Middle, Bottom)
Link to Homepage: This setting enables the entire Site Identity Block to link to the homepage of the current website. By default, it links to the homepage, but a custom URL can also be set.
The default website Homepage can be set in the Kadence Theme using the Customizer -> Homepage Settings.
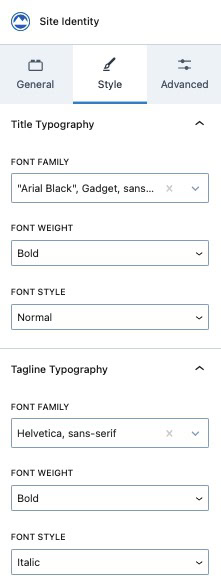
Style Settings
Title Typography: If a Title is enabled, use these settings to adjust the Title font settings. To adjust the colors, refer to the Site Title settings below.
Font Family: Set a Font Family for the Site Identity Title text.
Font Weight: Set a Font Weight for the Site Identity Title text.
Font Style: Set a Font Style for the Site Identity Title text (Normal, Bold, or Italic).
Tagline Typography: If a Tagline is enabled, use these settings to adjust the Tagline typography settings. To adjust the colors, refer to the Site Tagline settings below.
Font Family: Set a Font Family for the Site Tagline text.
Font Weight: Set a Font Weight for the Site Tagline text.
Font Style: Set a Font Style for the Site Tagline text.
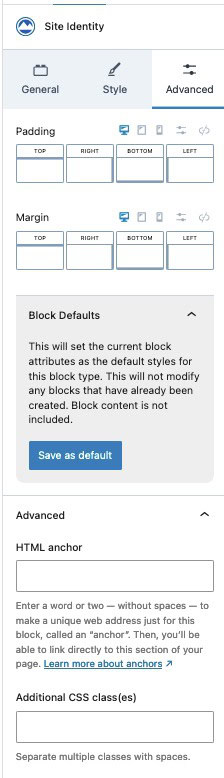
Advanced Settings
Padding and Margin: Add a Padding and/or Margin to the entire Site Identity Block.
Block Defaults: Save the current Block Settings Configuration as the Block Default. This will automatically use the current settings on all new Site Identity Blocks. Learn more here.
HTML Anchor: Add a custom HTML Anchor #ID to the Site Identity Block.
Additional CSS Class(es): Add additional CSS Class(es) to the Site Identity Block.
Site title, Logo, and Tagline Settings
The Site Title, Logo, and Tagline Blocks are default Gutenberg Blocks that can be customized individually using the built-in Gutenberg settings. You can find the applicable blocks nested inside the main Site Identity Block. Select the respective block you wish to customize and navigate to the Block Settings.
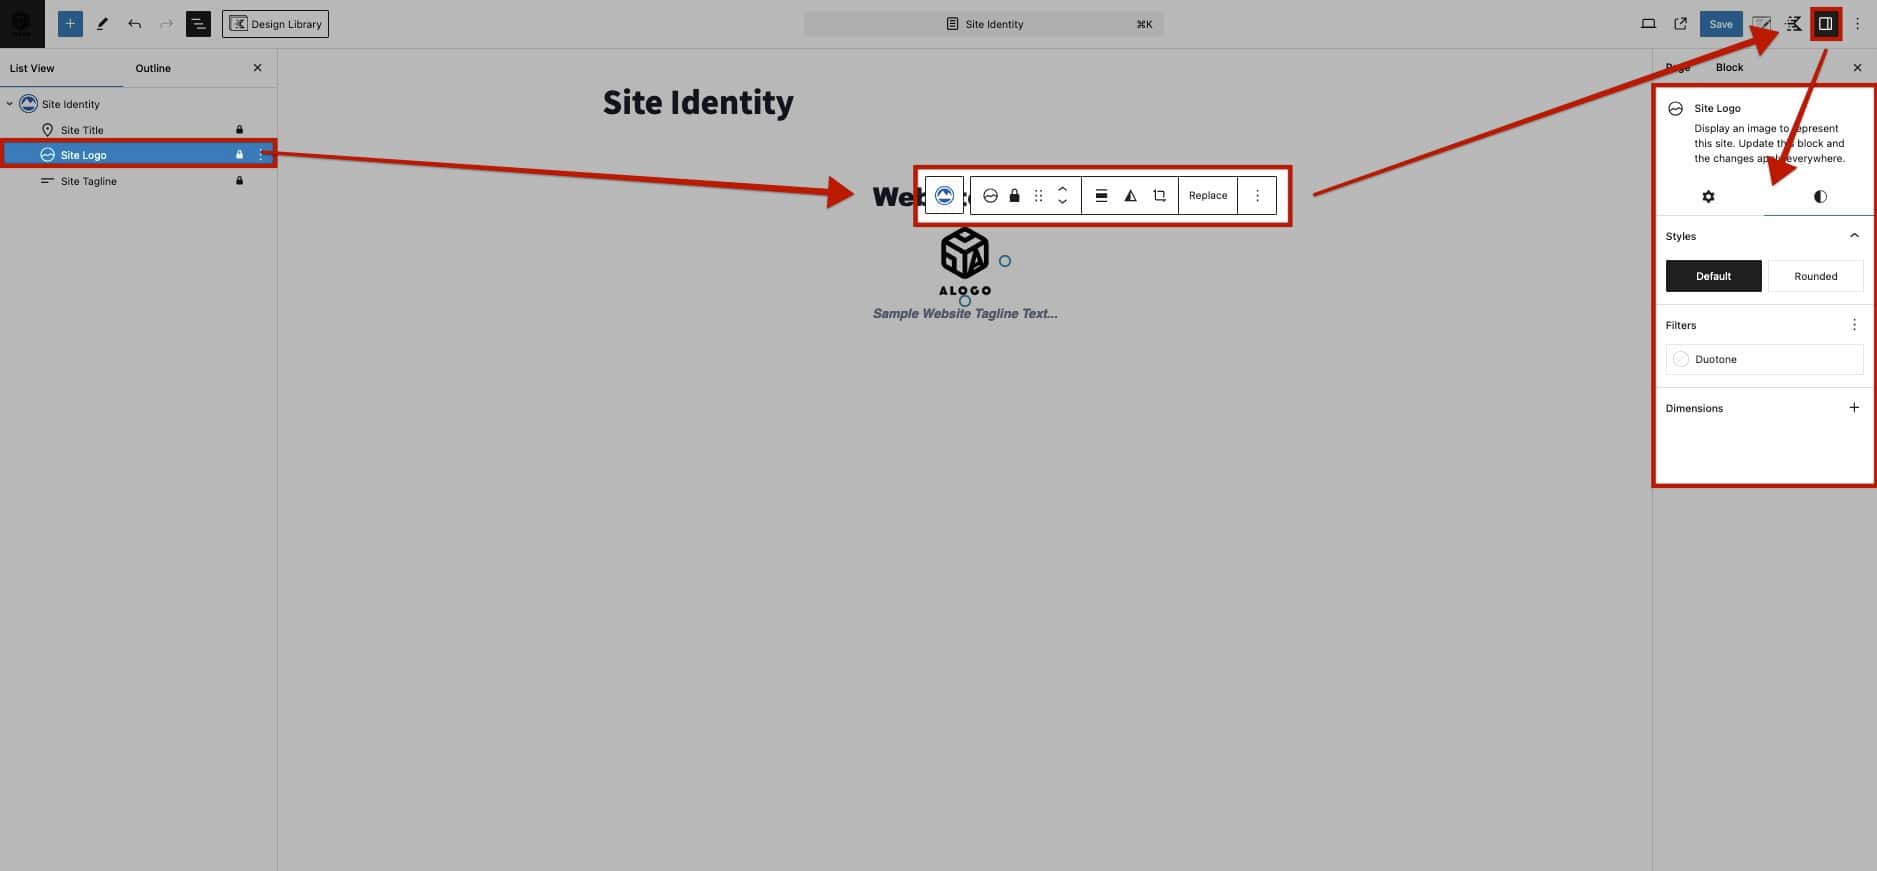
Use the Settings Gear Icon to access the Block Settings panel, where you can configure various options for the selected block, including alignment, visibility, and specific features.
Use the Styles Icon to access styling options for the block, allowing you to modify visual aspects such as colors, typography, spacing, and layout.
(These are default WordPress Settings and not native to KadenceWP Blocks and Settings)
Once the Block Settings are opened, use the various Gutenberg Settings to modify the selected block. Next to some of the settings, you will see a three-dot icon for more options. Click on the three dots to enable additional settings that may not be visible by default for that block
Site Logo Settings
Media: Set the Site Logo using the Media setting.
Image Width: Adjust the width of the Site Logo media image.
Link Image to Home: This option allows the Site Logo to also become a Link to the Homepage. (Use the Site Identity General Block Settings if you wish to enable a link for the entire Site Identity Block as a whole.)
Use as Site Icon: This option makes the Media Image also the Favicon Site Icon for the current Post/Page.
Additional CSS Class(es): Add a Custom CSS Class to the Site Logo.
Styles: Set the Logo to either Default or Rounded. When using Rounded, a Border Radius will automatically be applied to the Logo.
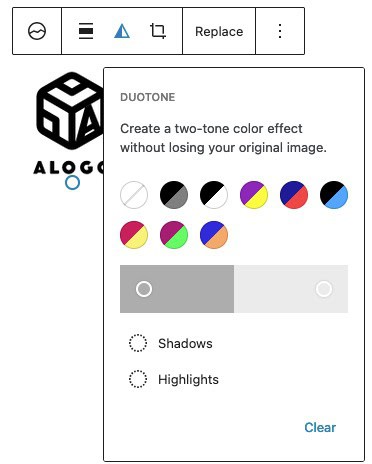
Filters: Add a Duotone Filter to the Site Logo. Duotones allow you to add a two-color effect to the Site Logo. This effect doesn’t modify the uploaded image. Select from a preset Duotone combo or create your own using the Block Toolbar. Learn more about Duotone here.
Dimensions: Add Padding and/or Margin to the Site Logo. To use these settings, they must be enabled by clicking on the three dots next to the Dimensions setting title.
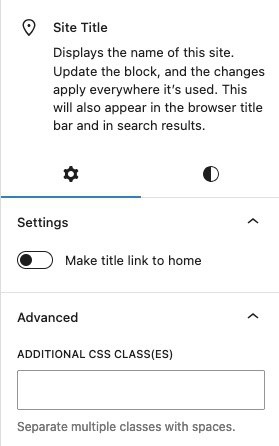
Site Title Settings
Make title link to home: This setting allows you to make the Site Title text link to the Homepage. (Use the Site Identity General Block Settings if you wish to enable a link for the entire Site Identity Block as a whole.)
Additional CSS Class(es): Add additional CSS Class(es) to the Site Title Block.
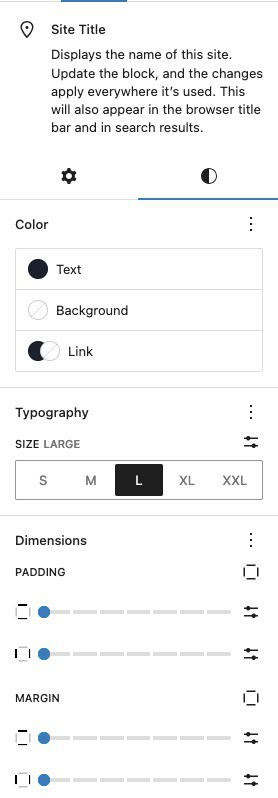
Color: Set Text, Background, and Link Colors for the Site Title text.
Typography: Use the Typography Settings to adjust the size of the Site Title text. To adjust other Typography Settings, such as Font Family and Weight, use the Site Identity Style Block Settings instead of the Site Title Typography Settings.
Dimensions: Add Padding and/or Margin to the Site Title text. To use these settings, they must be enabled by clicking on the three dots next to the Dimensions setting title.
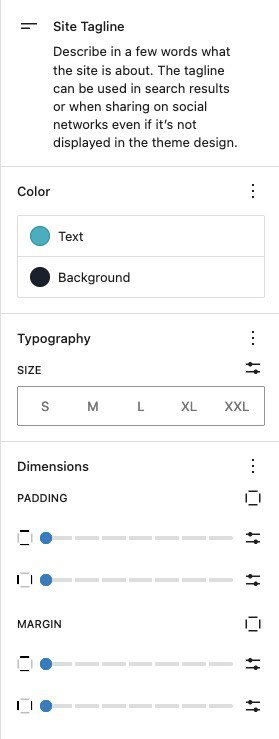
Site Tagline Settings
Color: Set a Text and Background Color for the Site Tagline text.
Typography: Use the Typography Settings to adjust the size of the Site Tagline text. To adjust other Typography Settings, such as Font Family and Weight, use the Site Identity Style Block Settings instead of the Site Tagline Typography Settings.
Dimensions: Add Padding and/or Margin to the Site Tagline text. To use these settings, they must be enabled by clicking on the three dots next to the Dimensions setting title.
Additional CSS Class(es): Add additional CSS Class(es) to the Site Tagline Block.
