
The Kadence Advanced Header offers comprehensive control over your WordPress header, making it an excellent choice for both Classic WordPress and Full Site Editing (FSE) websites. With Advanced Headers, you can integrate Advanced Navigation Blocks to customize and display navigation menus within your header. The Visual Builder allows for easy drag-and-drop placement of blocks into various header sections, alongside access to numerous header and block settings for enhanced customization.
In contrast, the Kadence Theme Header is a built-in feature exclusive to the Kadence Theme. It provides a user-friendly interface for adding navigational elements and other header items, such as social icons, through the Visual Header Builder in the Customizer. While the Kadence Theme Header includes a Widget Area Header Item to display certain blocks, it is primarily constructed using predefined Kadence Header Items rather than flexible blocks.
This document will explore the differences between using Advanced Header/Navigation Blocks and the Kadence Theme Header Builder, highlighting their unique features and benefits to assist you in choosing the best option for your website.
Advanced Headers
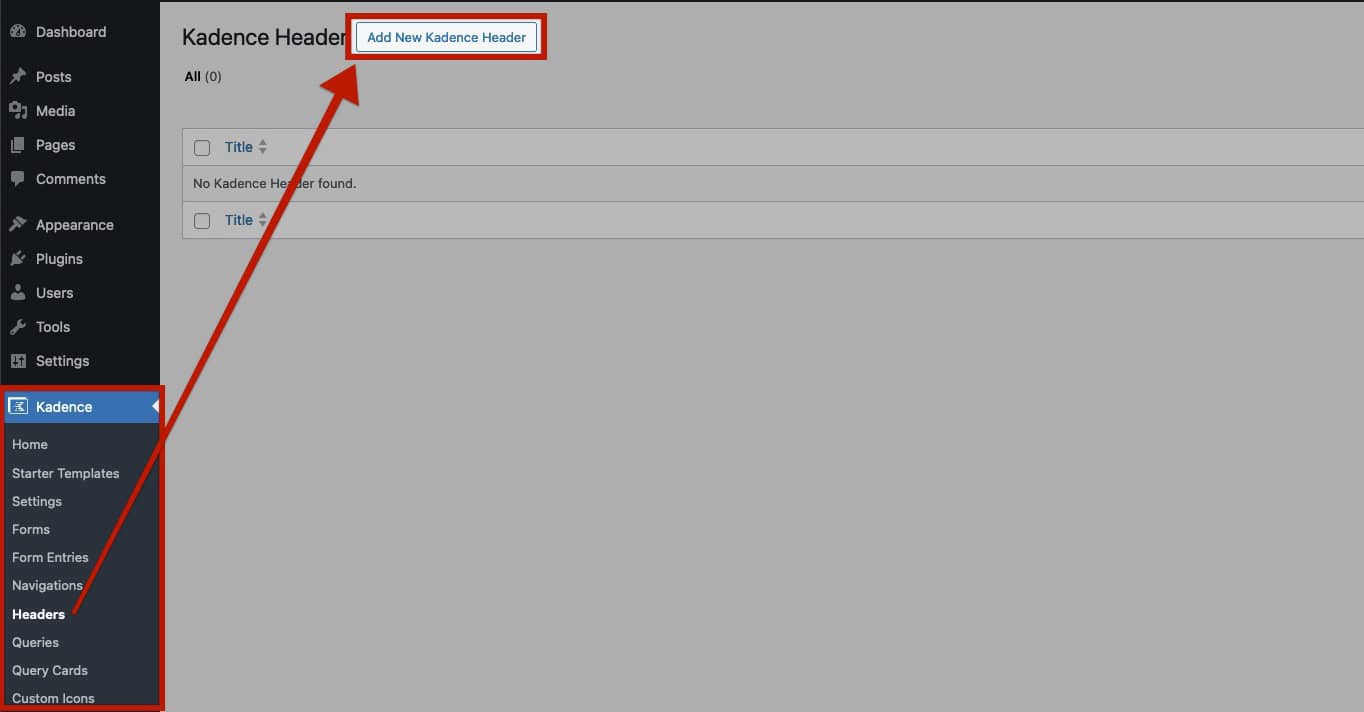
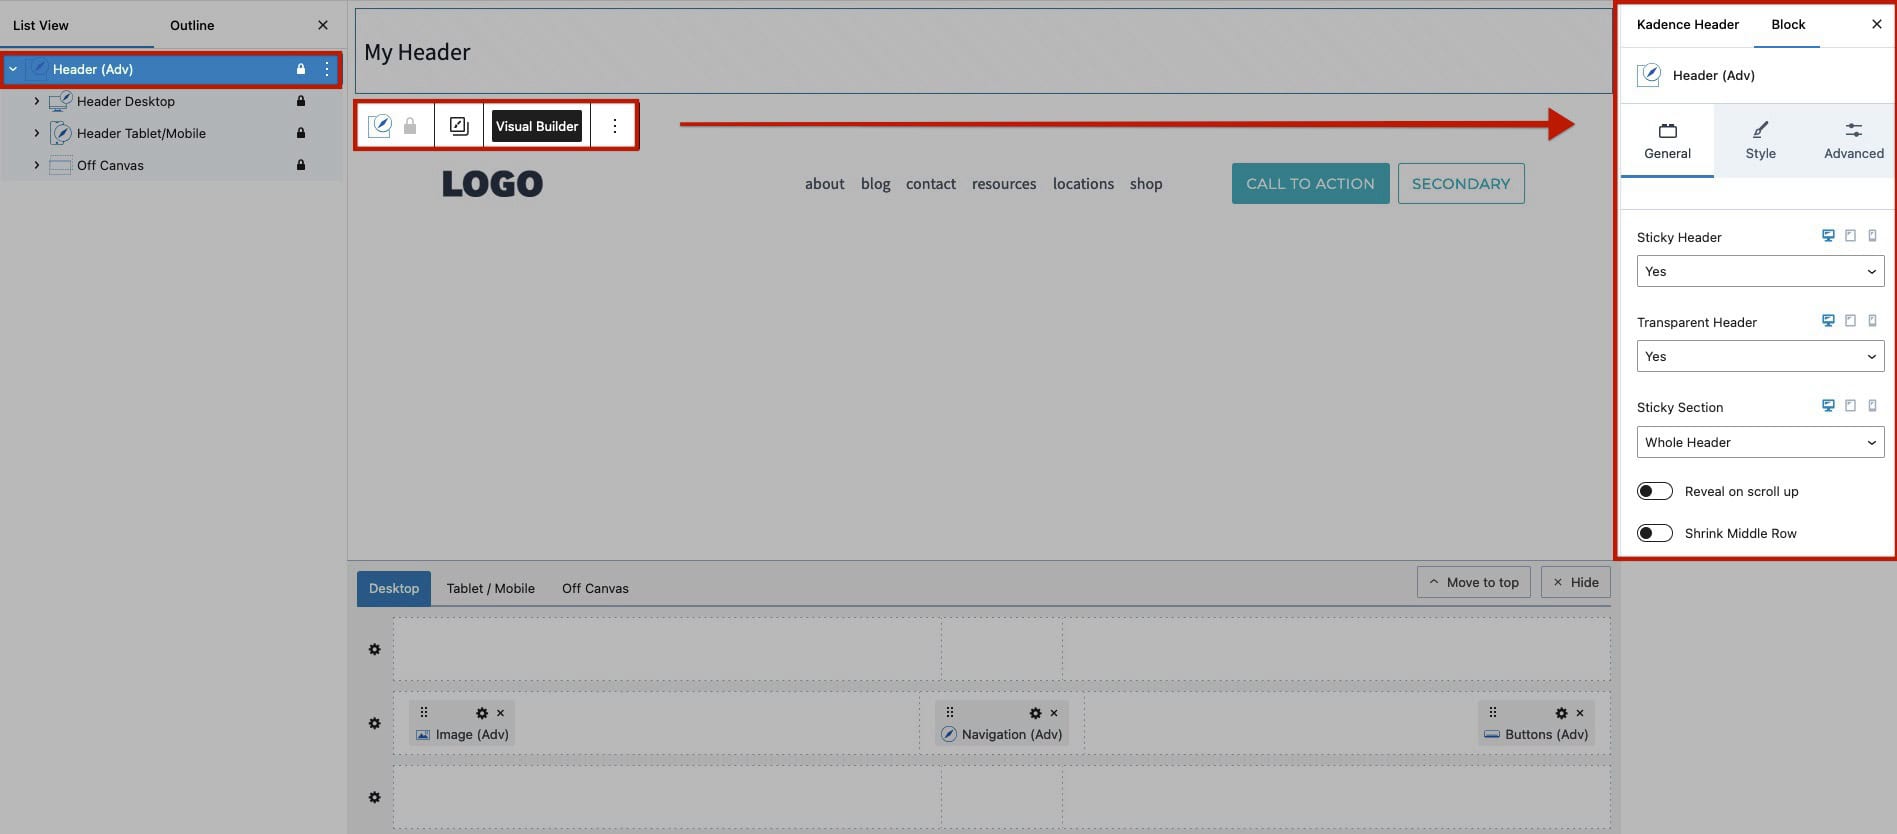
Advanced Headers are Custom Post Types that can be created from the Dashboard -> Kadence -> Headers page. This will create a new Header Post Type and allow you to edit it using the WordPress Editor.
Advanced Headers can be created or added to Pages, Posts, Elements, and anywhere the Block Editor is available.
Visual Builder
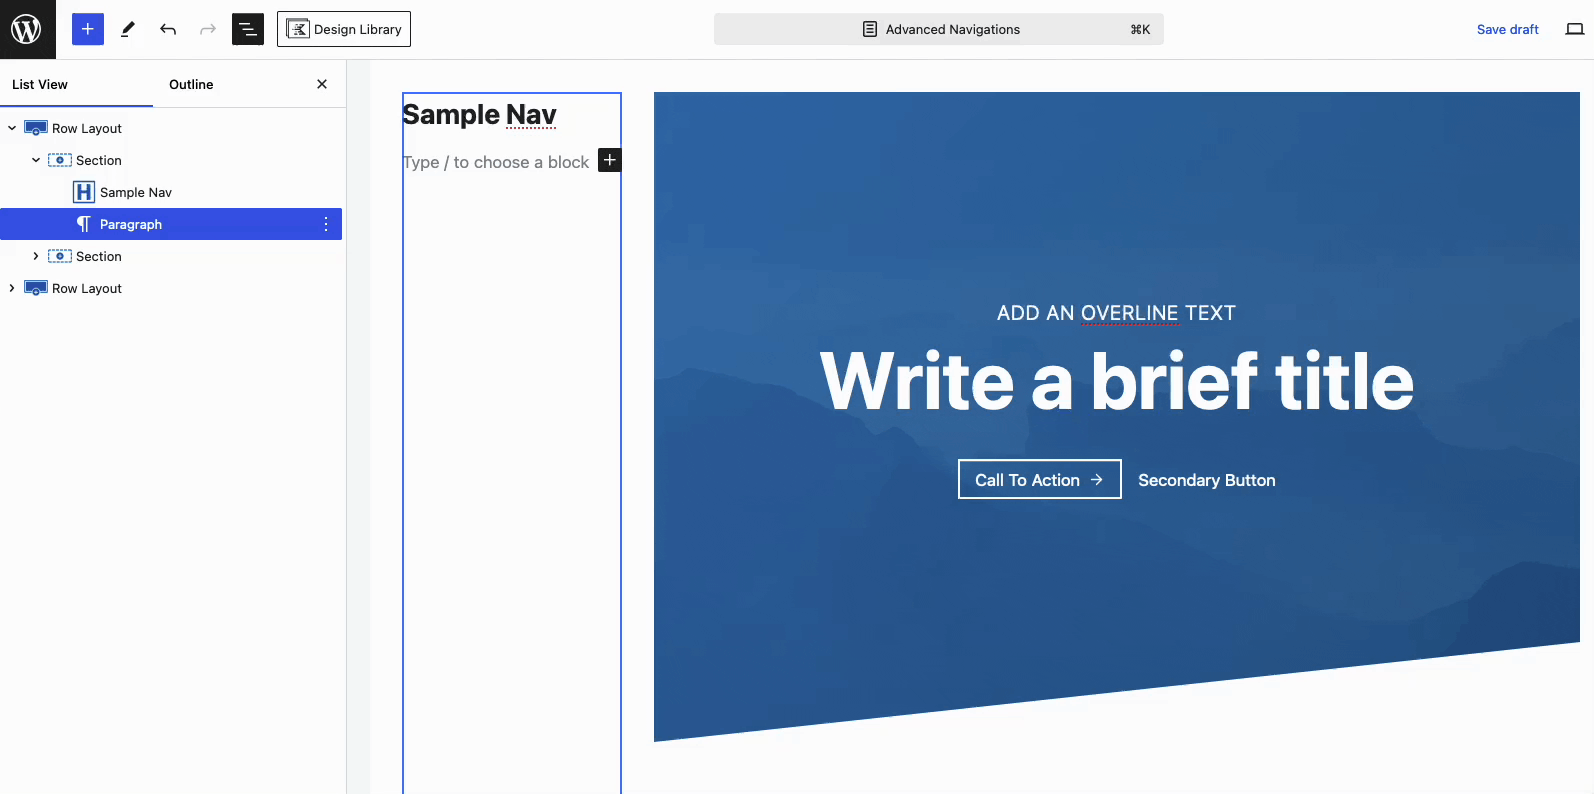
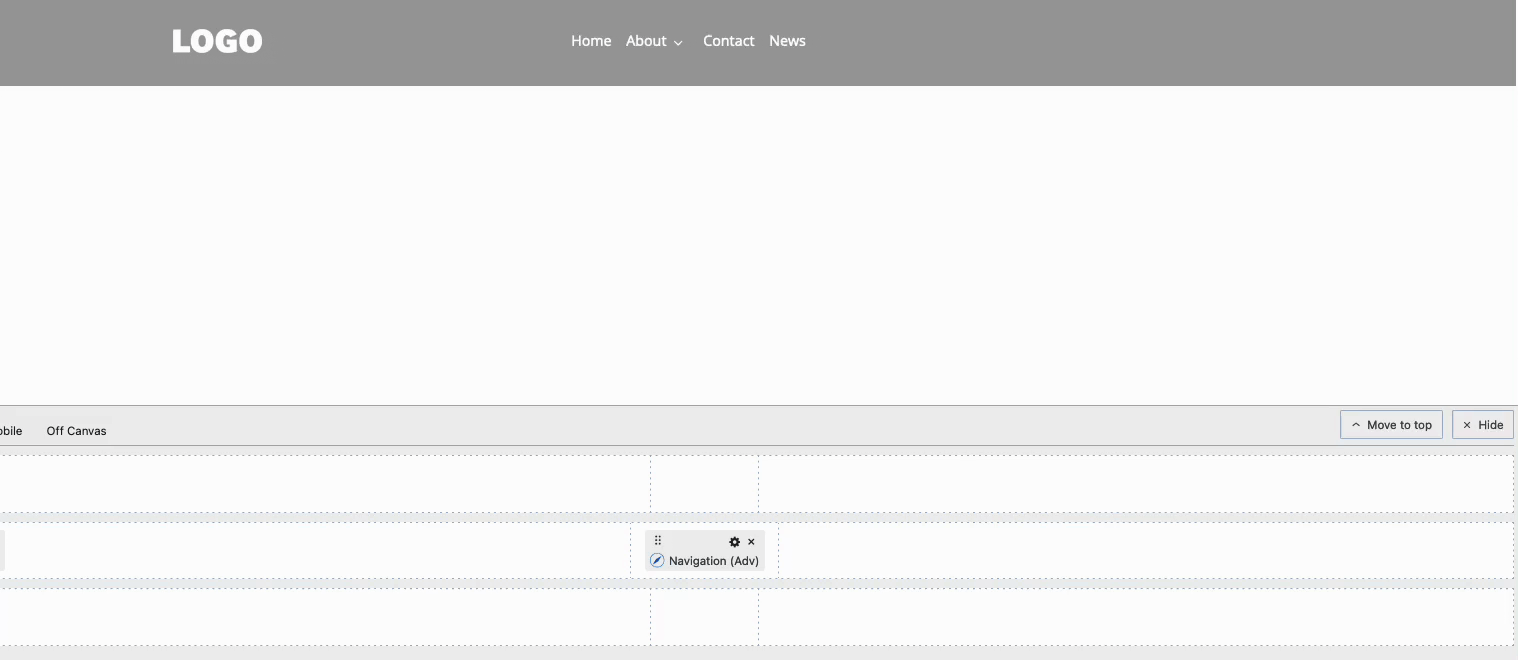
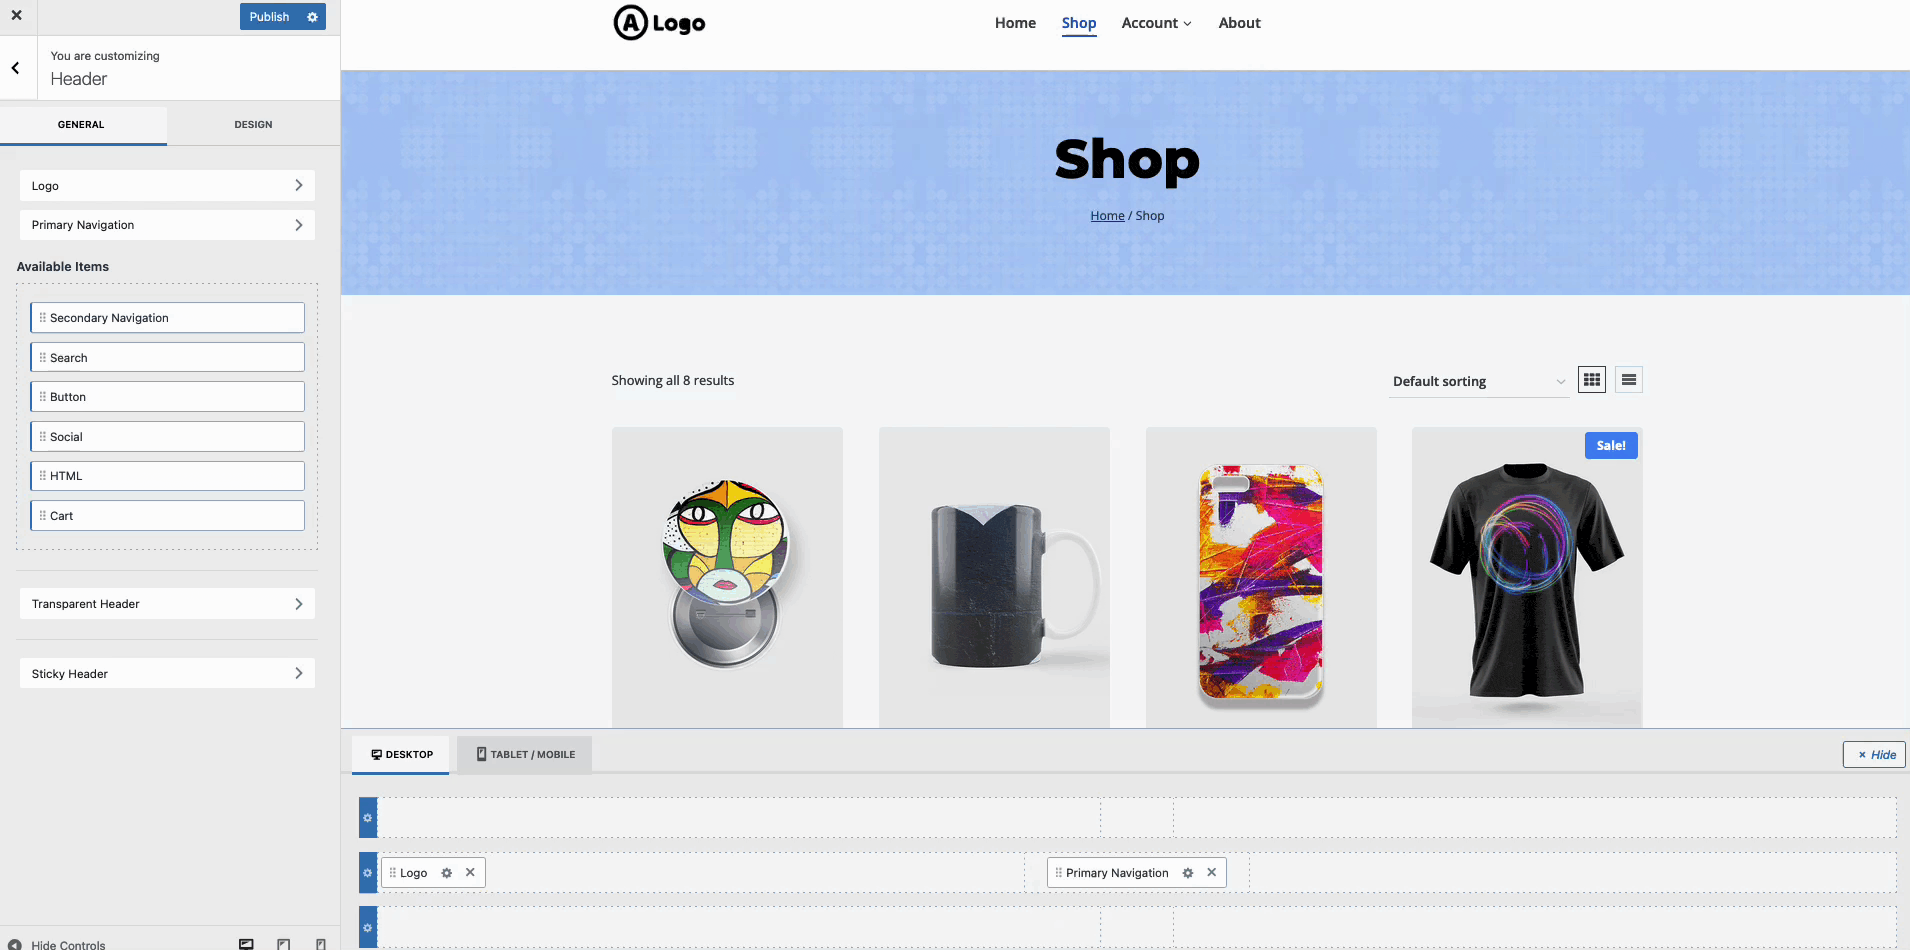
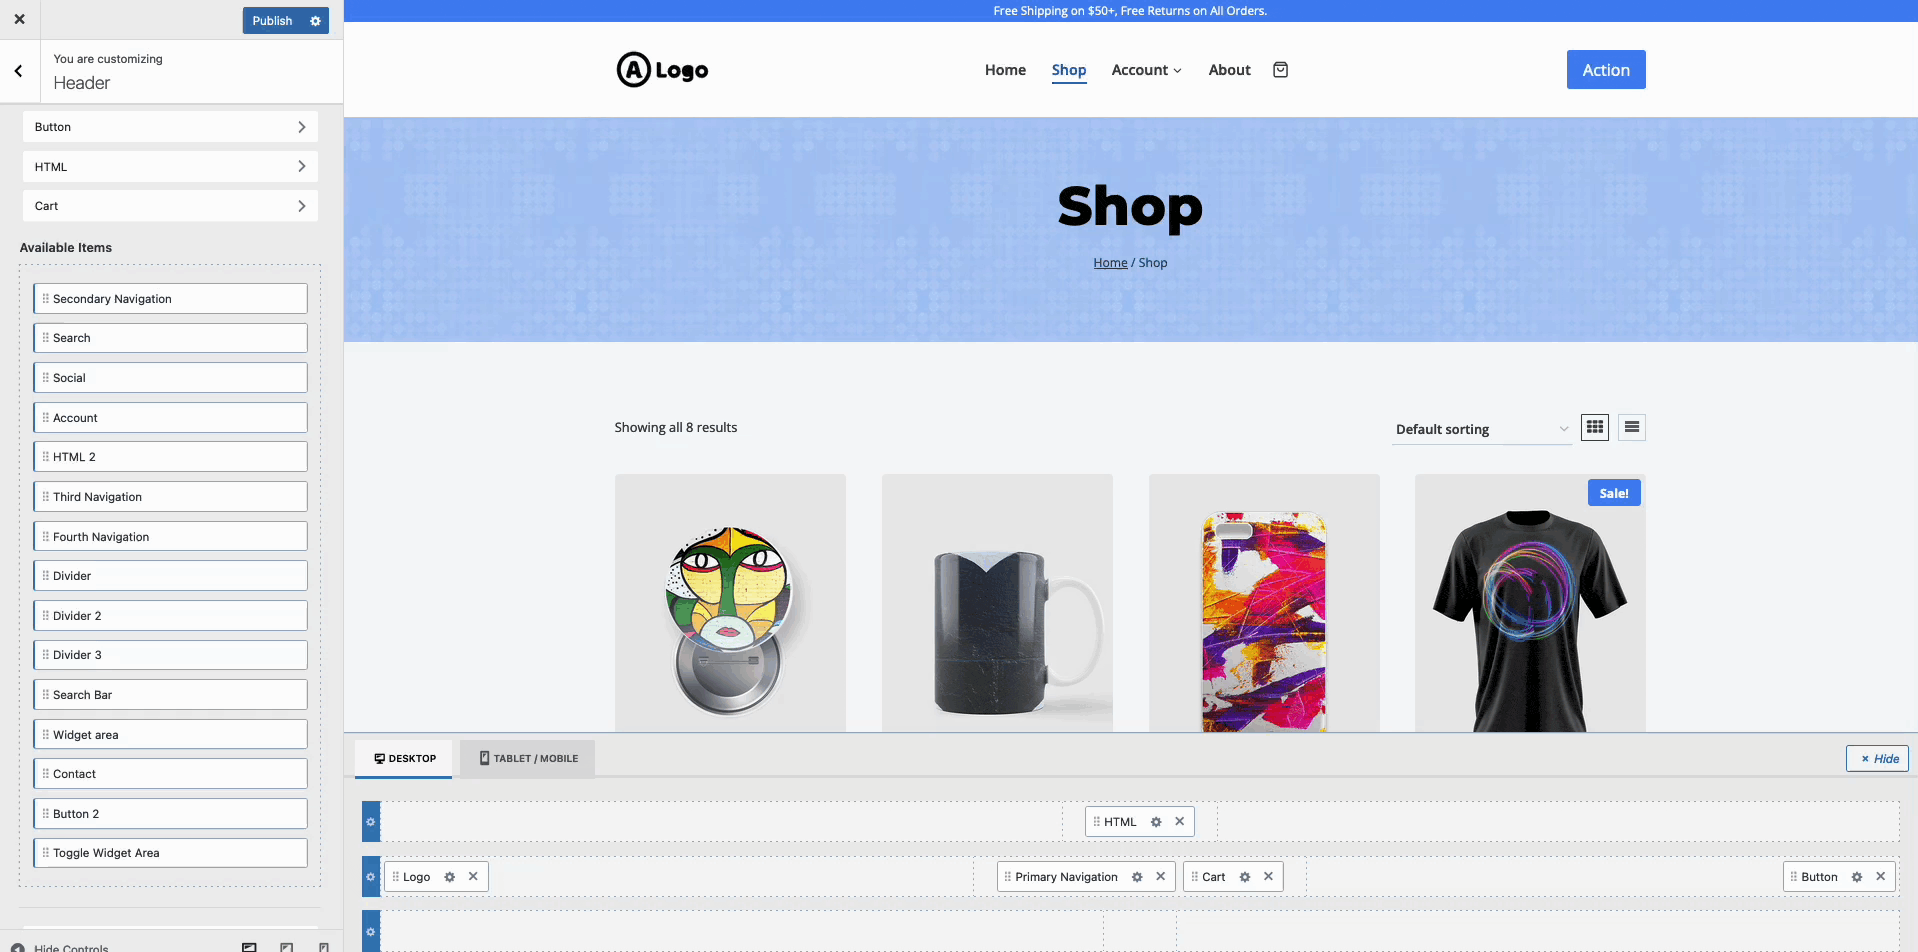
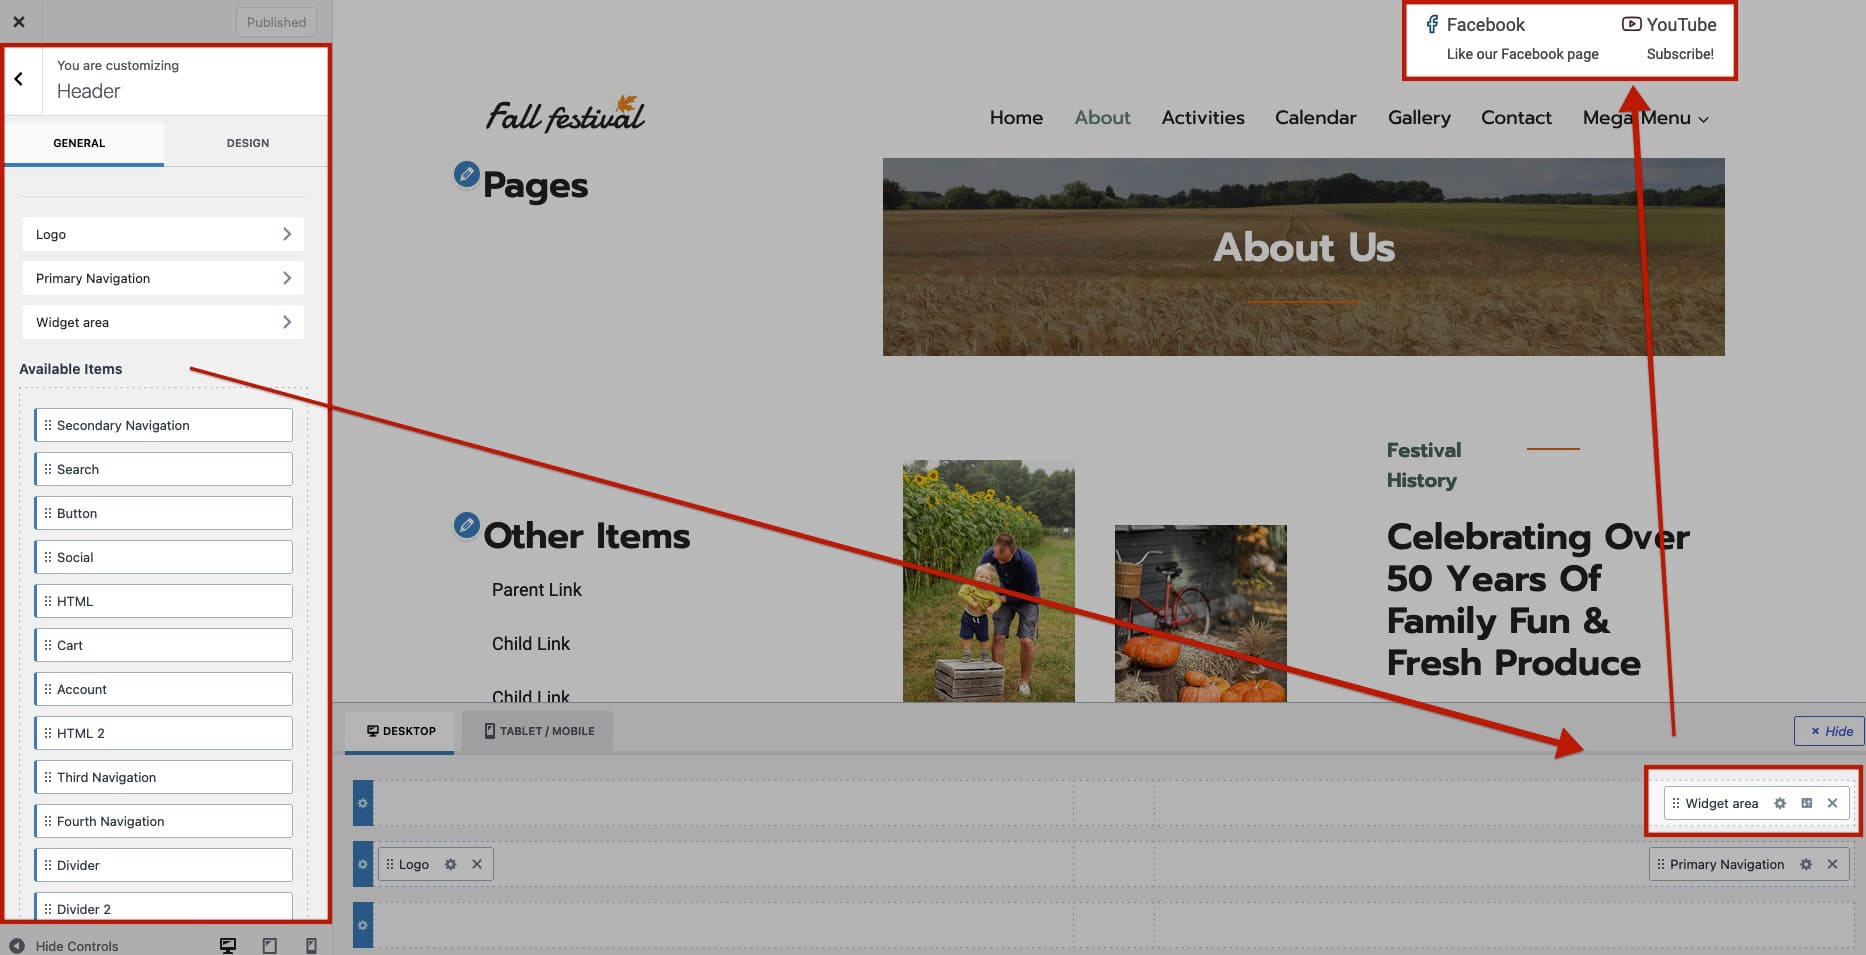
When using Advanced Headers, the Visual Builder can be used to customize the Header directly from within the Block Editor. The Visual Builder offers multiple Rows and Placement options for placing Blocks directly within the Header. There are no limits to the blocks you add or how you decide to use them, be sure to check out our best practices guide to ensure your header is optimal.
Adding Blocks to the Visual Builder.
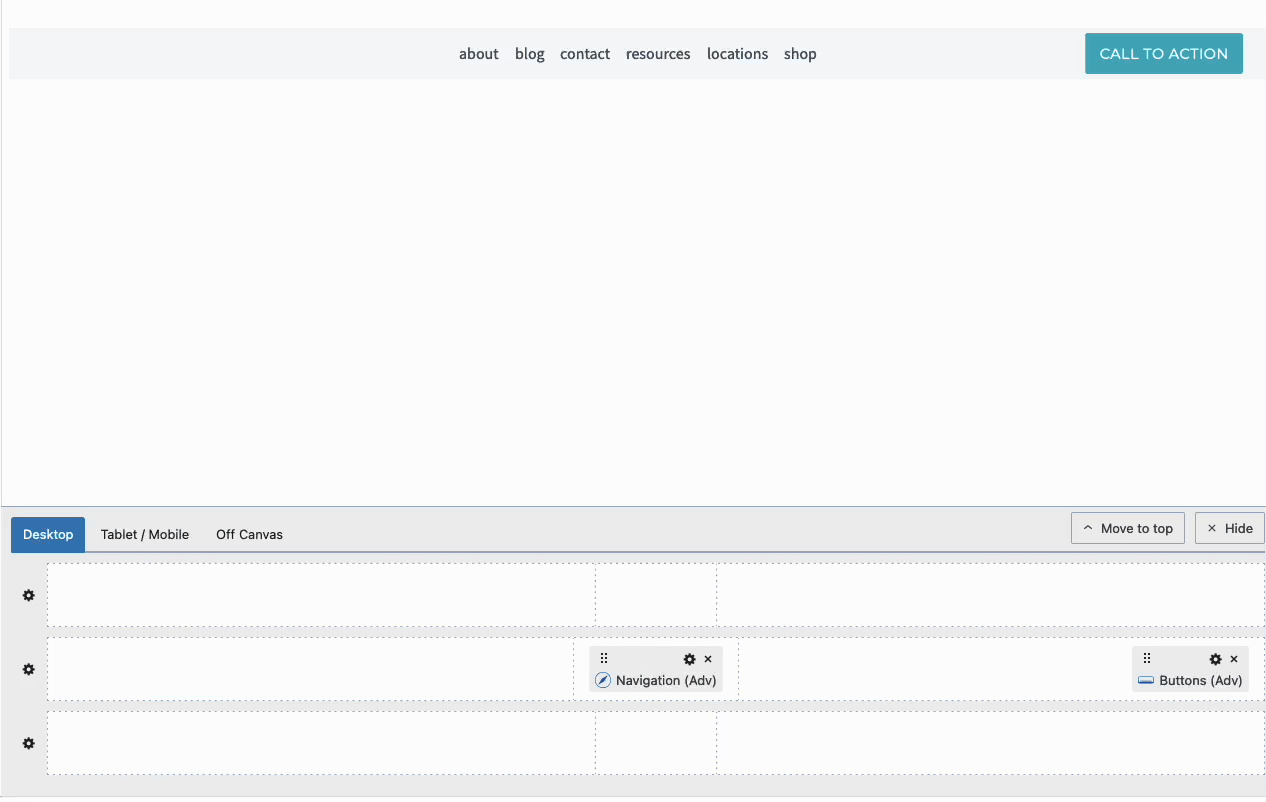
Moving Blocks inside the Visual Builder.
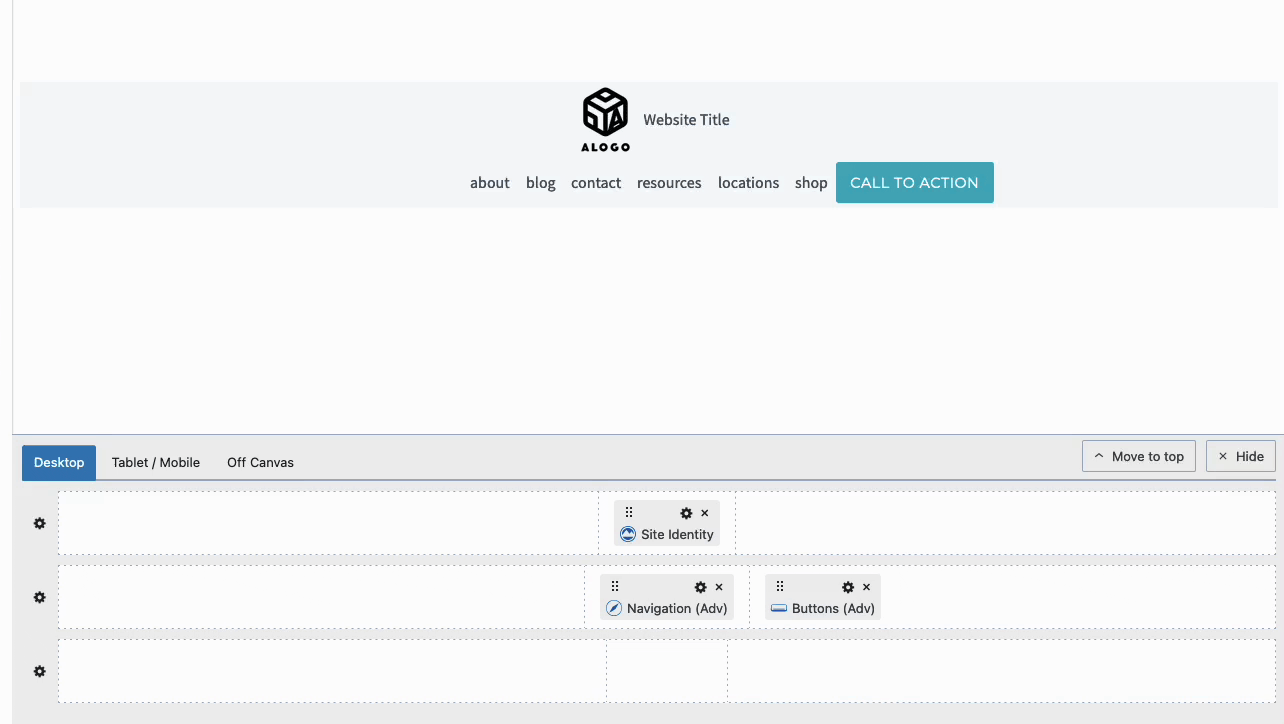
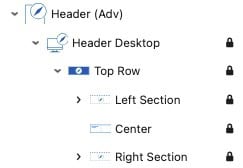
You have three Header Rows available: Top, Middle, and Bottom. Each Header Row contains a Left Section, Center Section, and Right Section.
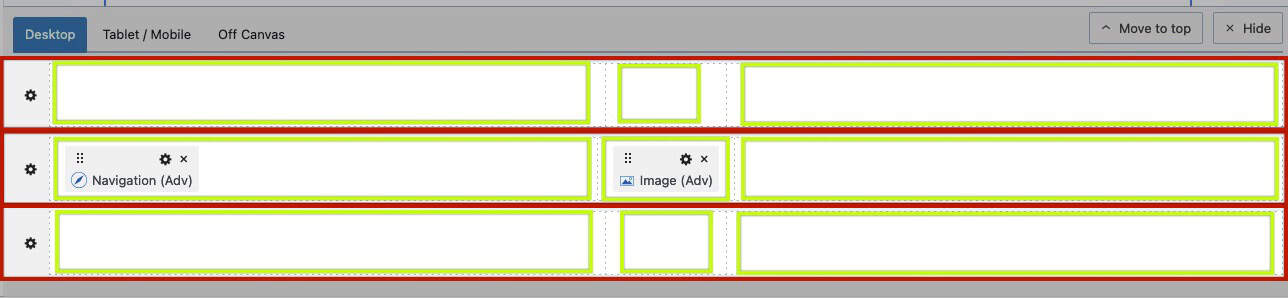
The Advanced Header and Header Rows have available Block Settings for customizing them respectively.

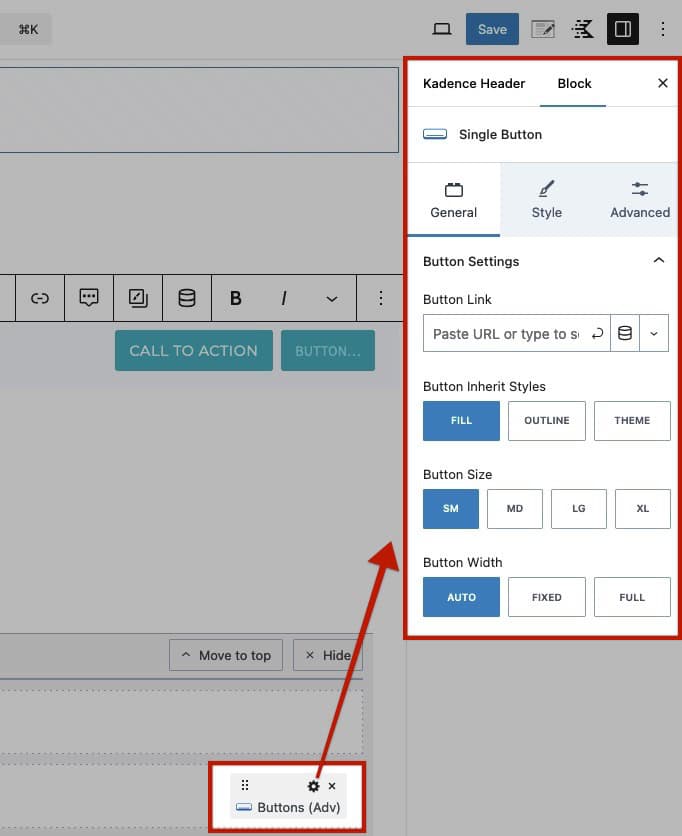
Additionally, as you add Blocks to the Advanced Header, you can use the respective Block Settings to customize the Blocks individually.
For a complete overview of the Visual Builder, how it works, and how to use it, click here.
Navigations and the Navigation Builder
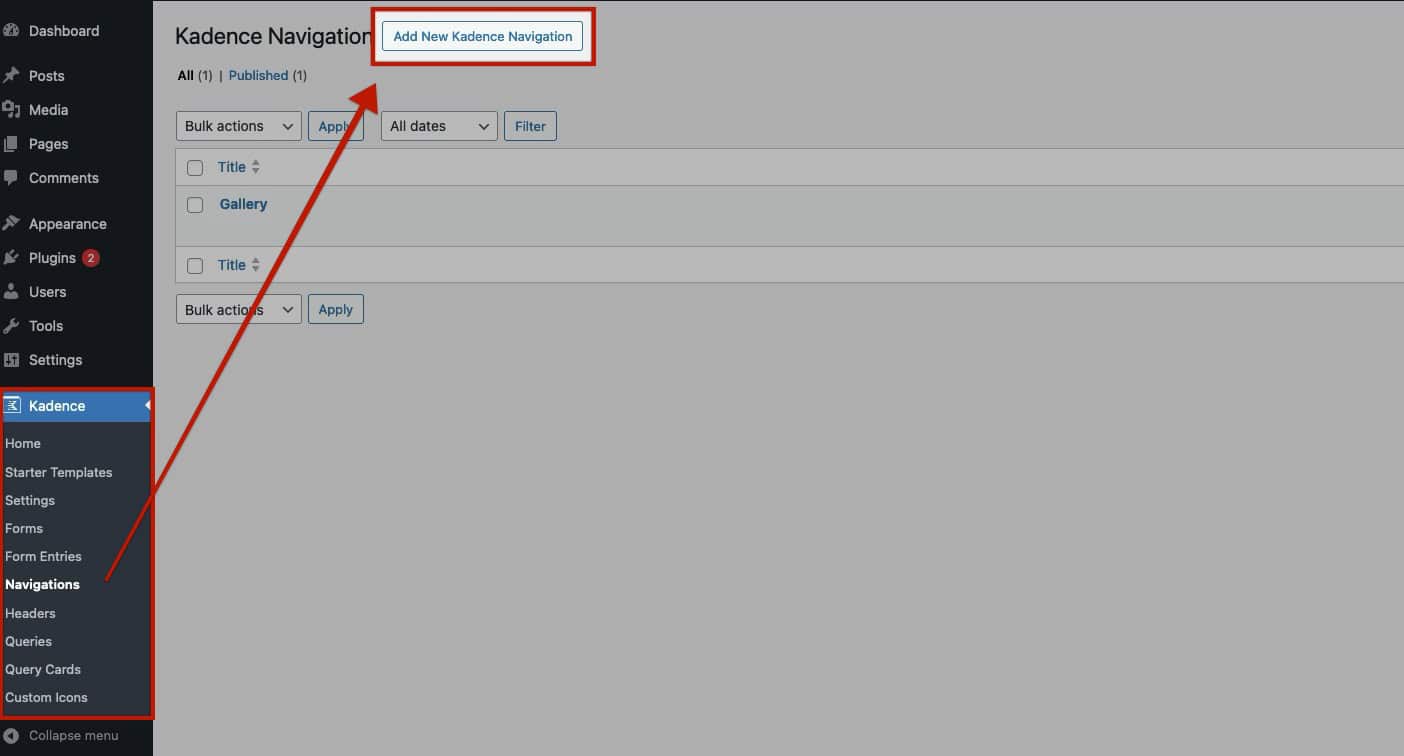
Advanced Headers utilize Advanced Navigation Blocks to incorporate menus into your header. You can create Advanced Navigations either from the Dashboard -> Kadence -> Navigations page, directly from the Page Editor, or within an Advanced Header itself.
When creating Advanced Navigations, use the Navigation Builder to build complete Navigations directly from within the WordPress Editor.
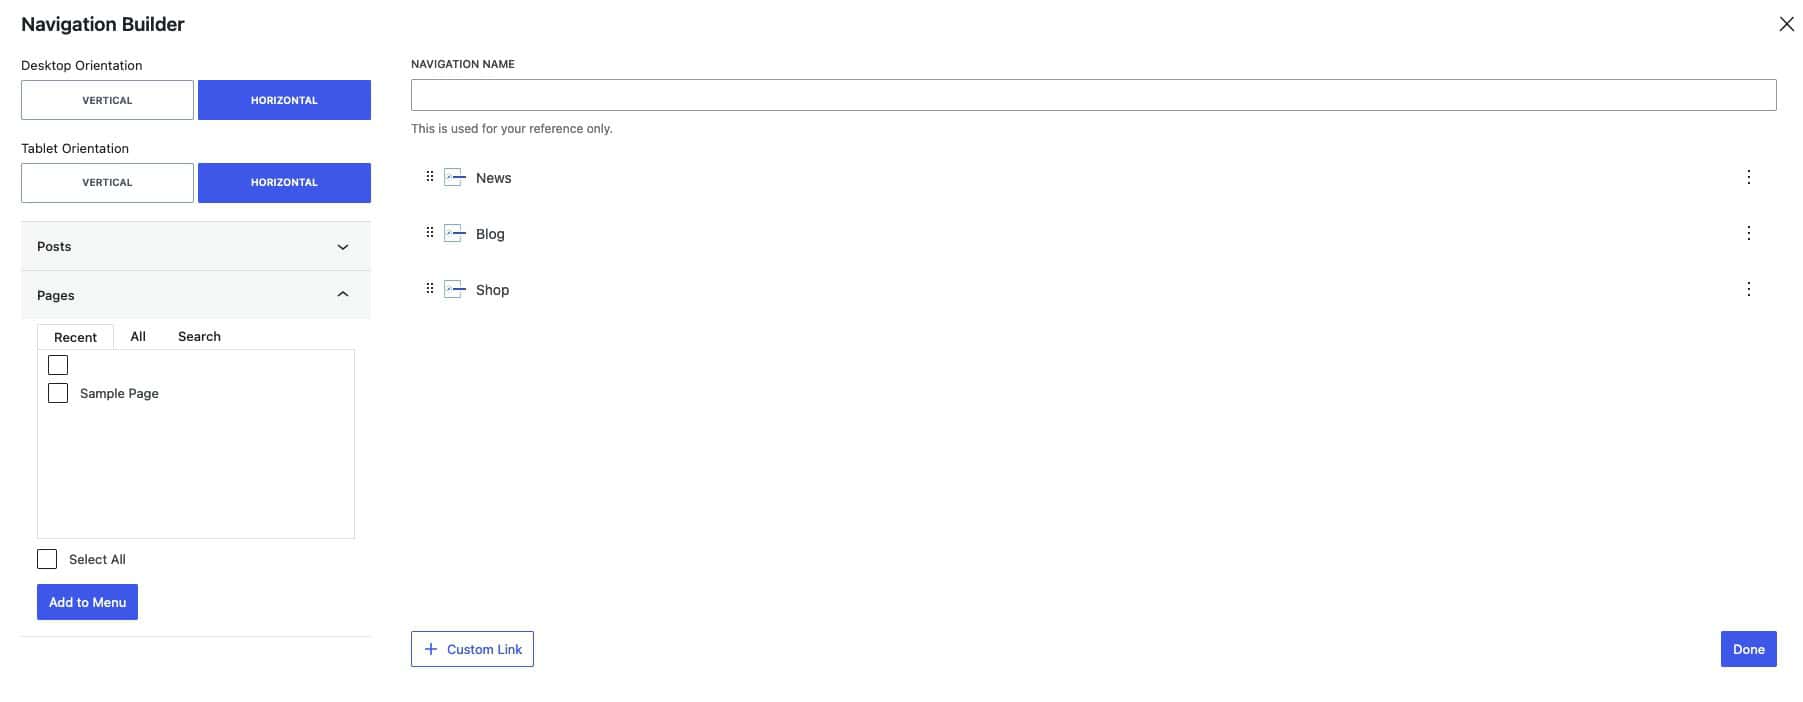
For a complete overview of the Navigation Builder, how it works, and how to use it, click here.
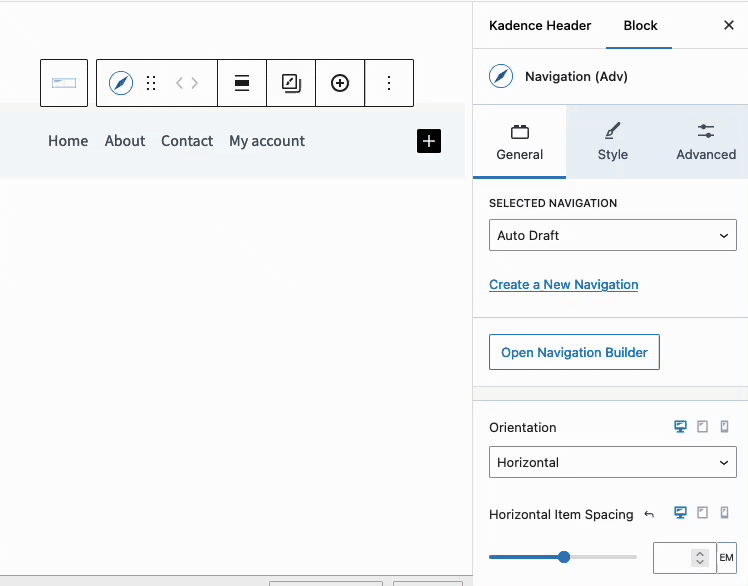
Additionally, you can customize Advanced Navigation Blocks by utilizing the Navigation (Adv) Block Settings and the Navigation Link Block Settings to adjust individual navigation menu items.
For a complete understanding of Advanced Headers and Advanced Navigations, please also refer to the resources below.
-Getting Started With Advanced Headers / Navigations
-Header (Adv) Block
-Navigation (Adv) Block
-Navigation Link Block
Advantages of the Advanced Header/Navigation Blocks
The Advanced Header Block is very versatile, as you can add any Block to the Header directly from the Editor. Here are a few Advantages of using an Advanced Header over the Kadence Theme Header.
-To access the Pro Features of the Advanced Header and Navigations Blocks, the Kadence Blocks Pro plugin is required.
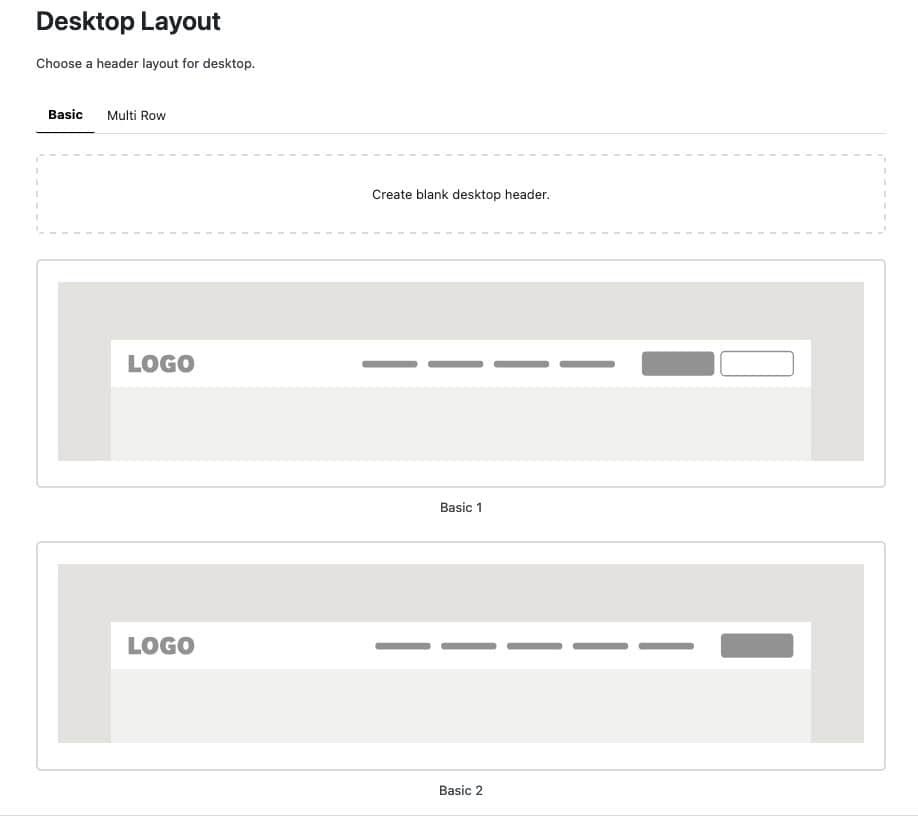
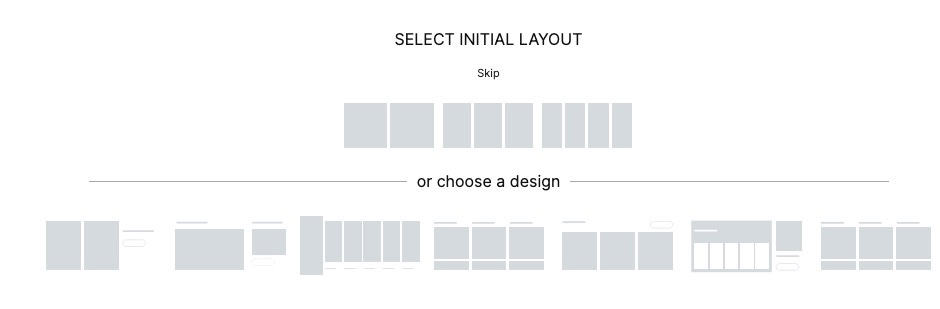
Basic Desktop Layout Examples:
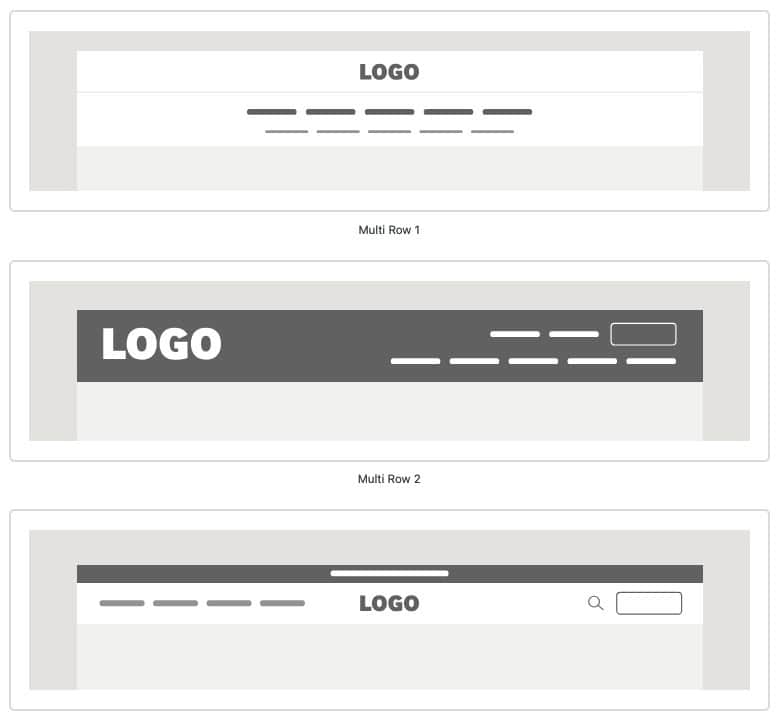
Multi-Row Desktop Layout Examples:
Tablet/Mobile Layout Examples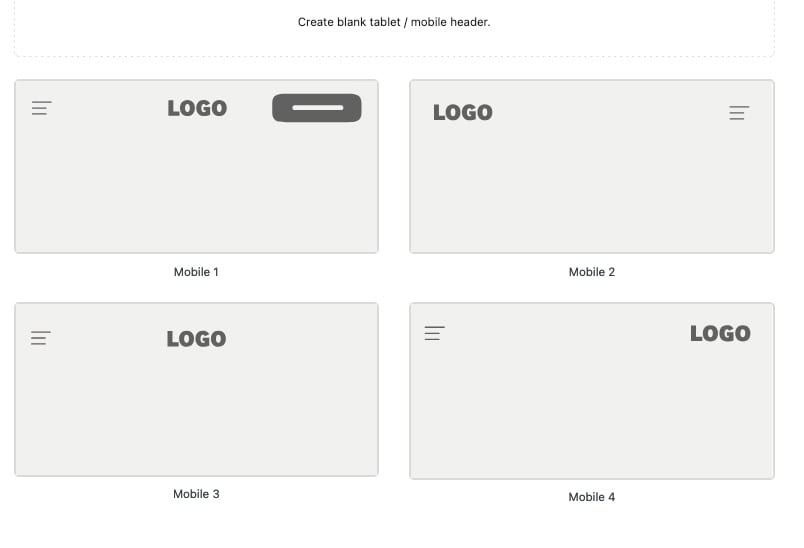
Mega Menu Examples
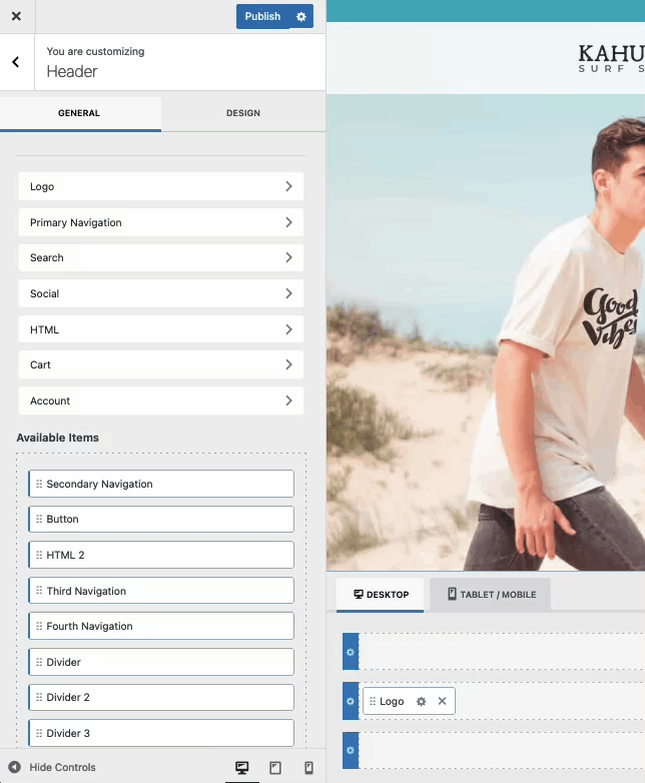
The Kadence Theme Header Builder
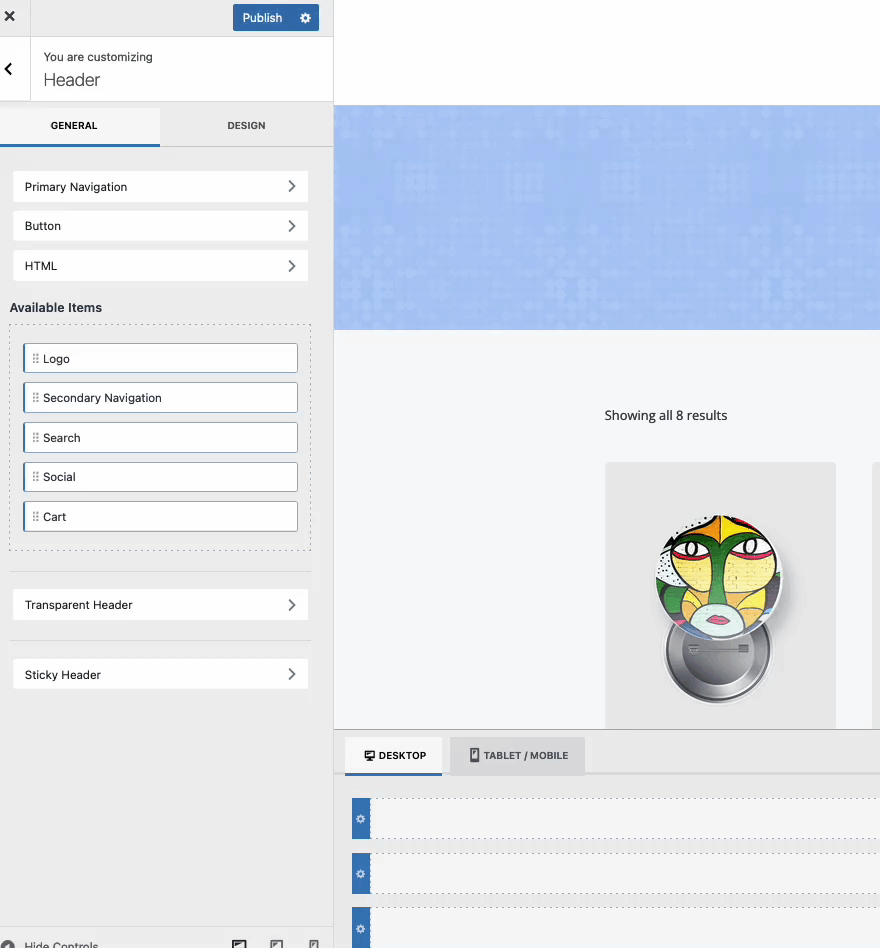
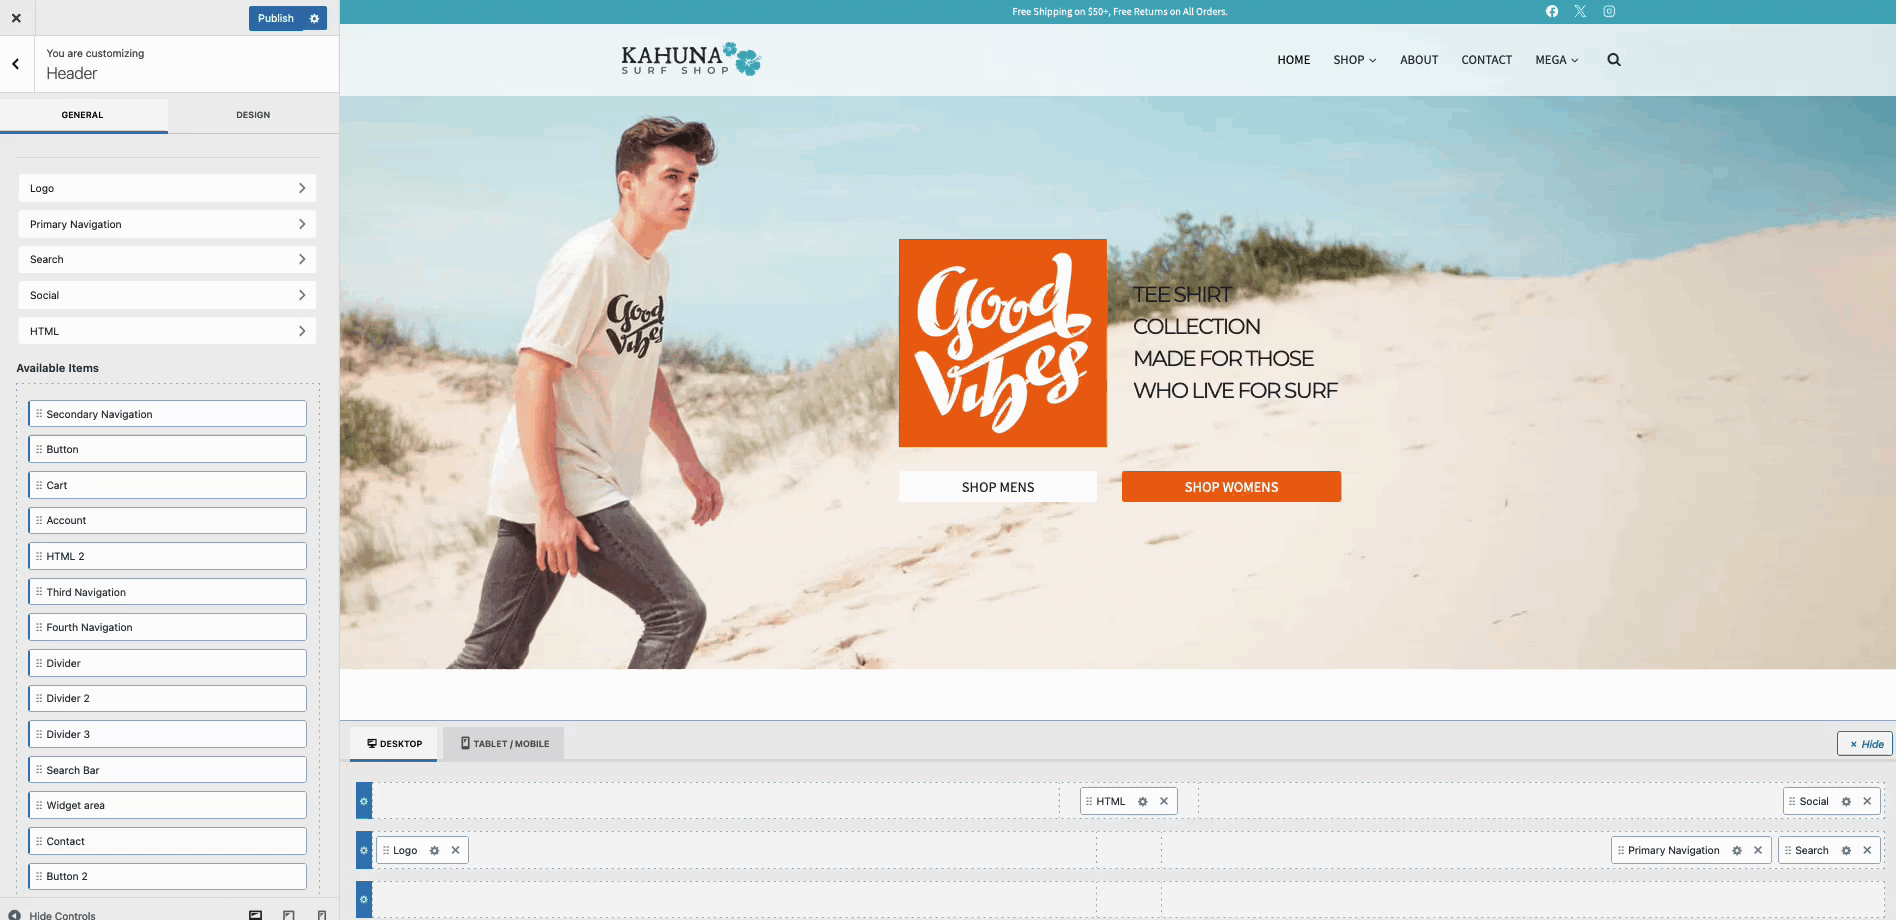
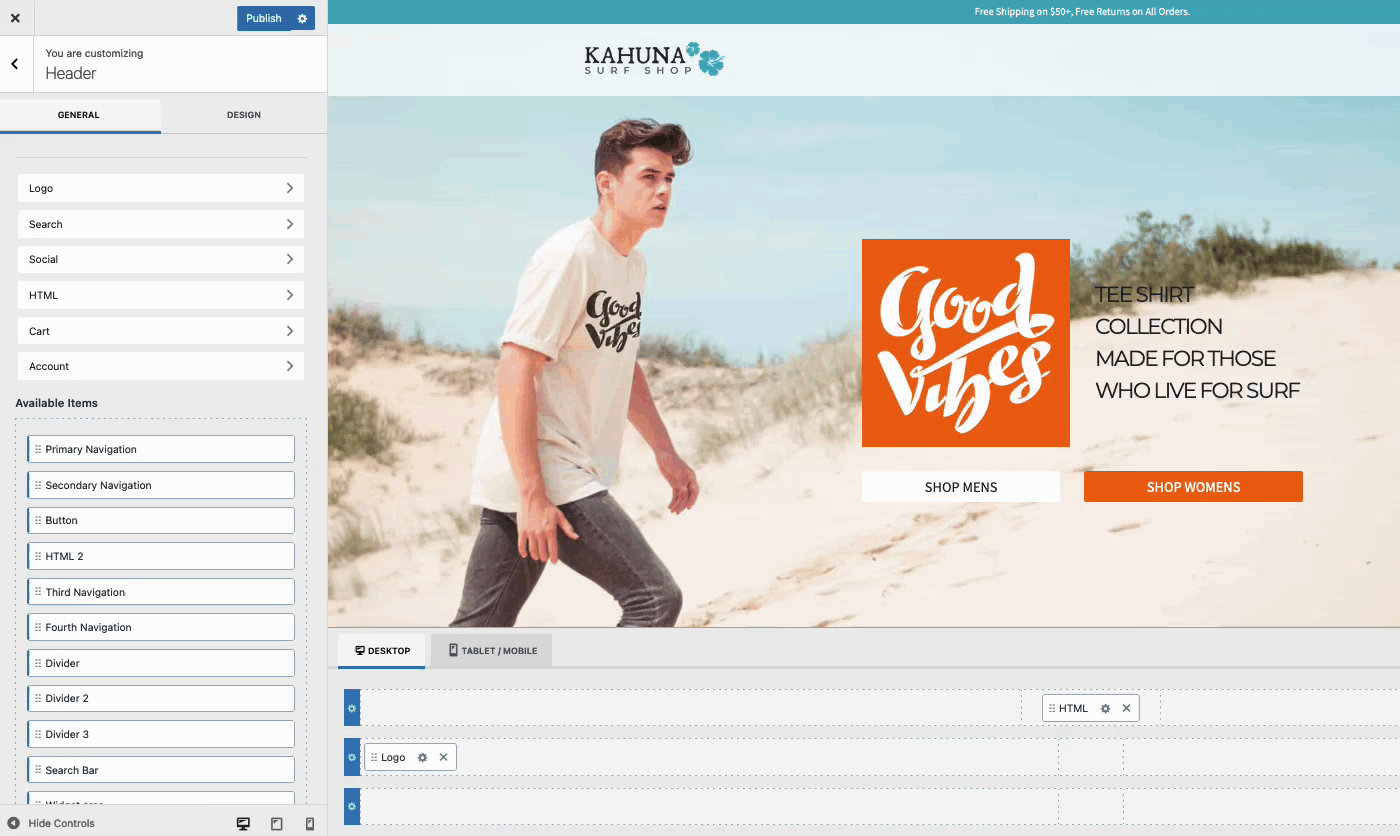
The Kadence Theme Header Builder can be accessed by navigating to Customizer -> Header settings when using the Kadence Theme. The Header Builder offers a list of Available Items that can be added to the header and customized using their respective settings.
When utilizing Kadence Theme Pro, you gain access to additional valuable header items. These include features like the My Account item, Shopping Cart item, and various other widgets that are ready to use. These items are feature-rich and may not be easily replicable with the Advanced Headers functionality.
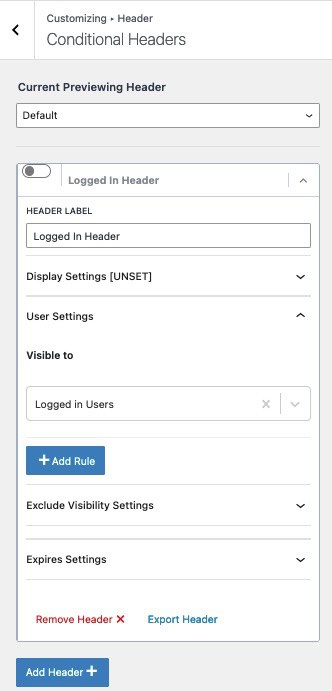
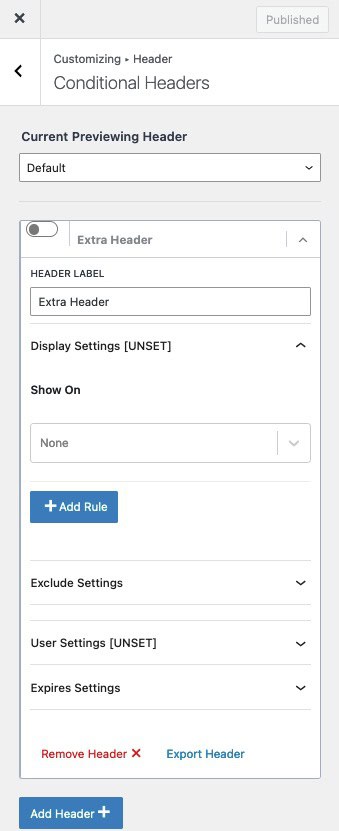
Kadence Theme Pro also features Conditional Headers, allowing you to display Headers Conditionally. This makes it easy to create different Headers based on conditions, such as if a user is logged in or logged out.
Each Header Row in the Kadence Theme Header Builder can be customized by clicking the Settings Icon located on the far left of the Row, enabling you to modify each Row according to your requirements.
Moreover, each Header Item or Widget can also be customized by selecting the Settings Icon next to the specific Header Item.
Classic Navigation Menus
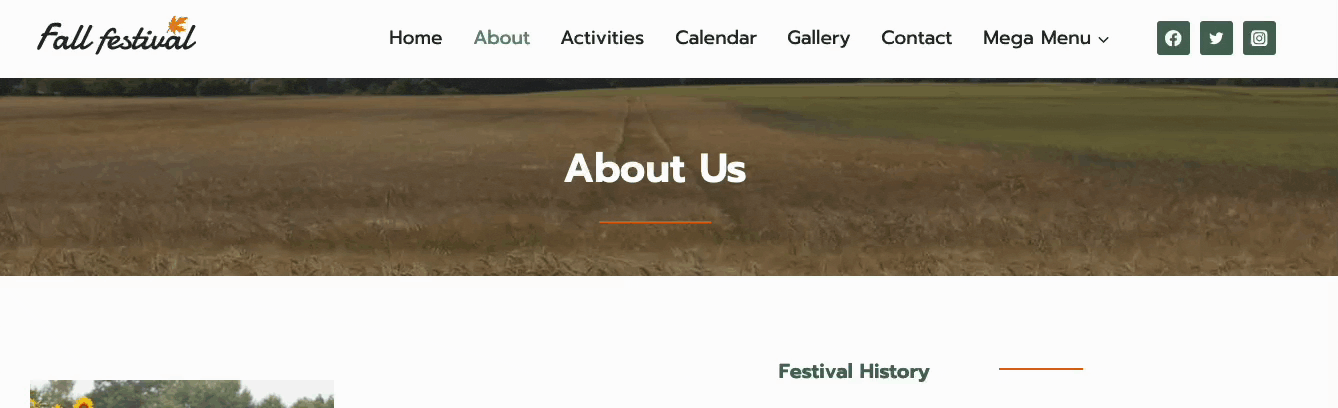
The Kadence Theme Header uses Classic Navigations. These can be primarily created and modified from the Dashboard -> Appearance -> Menus page.
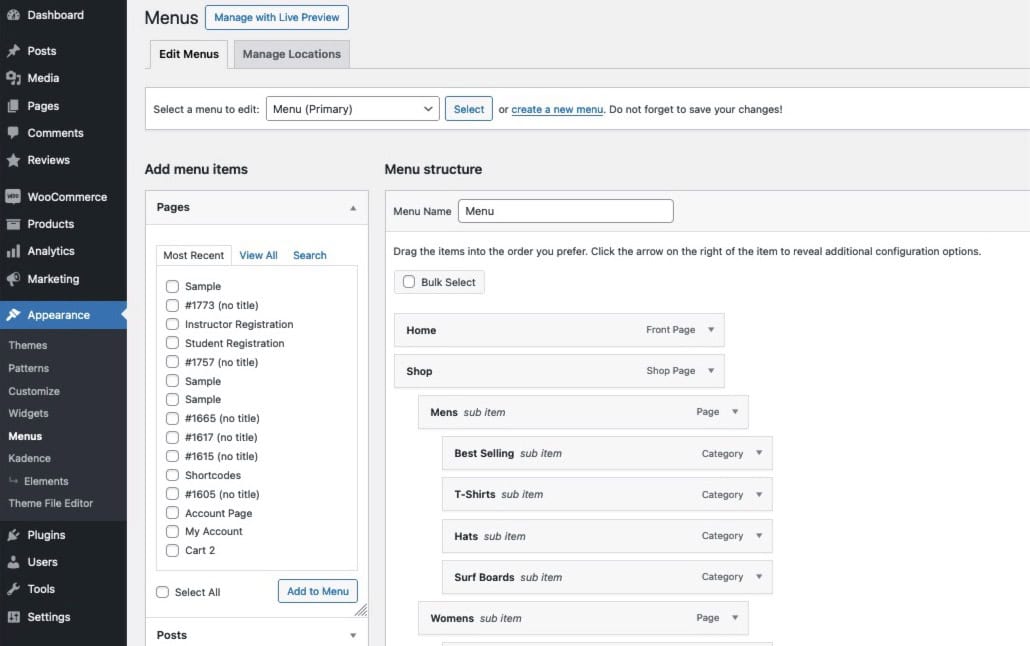
The Customizer can also be used to create and modify Classic Navigations. This can be done from the Customizer -> Menus settings.
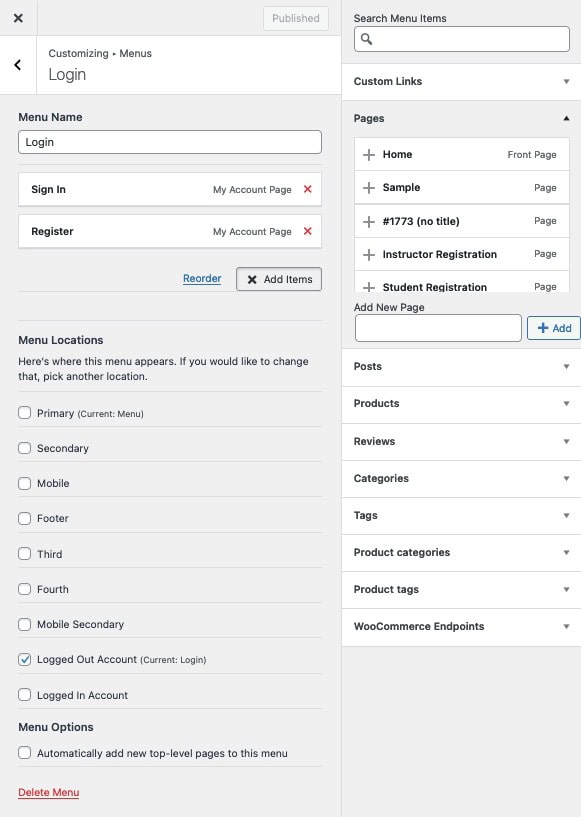
The Kadence Theme Header enables you to utilize both Primary and Secondary Navigation menus. You can design these menus using the Primary/Secondary Navigation Customizer settings.
Advantages of the Kadence Theme Header Builder
The Kadence Theme comes equipped with the Kadence Theme Header Builder, accessible through the WordPress Customizer under the Header Settings. This tool provides a straightforward way to build and customize your site’s header, automatically applying the header across all pages on your website.
-To access the Pro Features of the Kadence Theme Header Builder, the Kadence Theme Pro plugin is required.
Using Advanced Navigations with the Kadence Theme
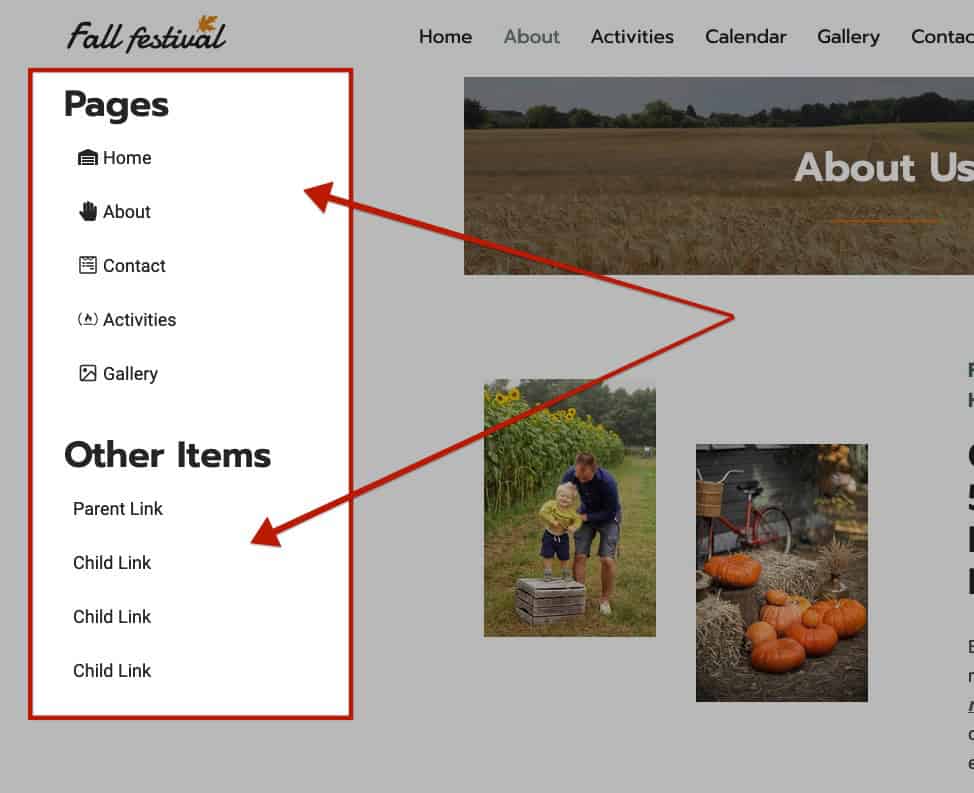
Advanced Navigation Blocks are versatile and can enhance the display of navigations in multiple ways using the Kadence Theme. They can be seamlessly integrated into the Header Area Widget (Theme Pro), Footer, Sidebar Widgets, and even within Mega Menu Element Content (Theme Pro). This versatility makes Advanced Navigation Blocks valuable beyond just the Advanced Header, offering significant flexibility and customization options.
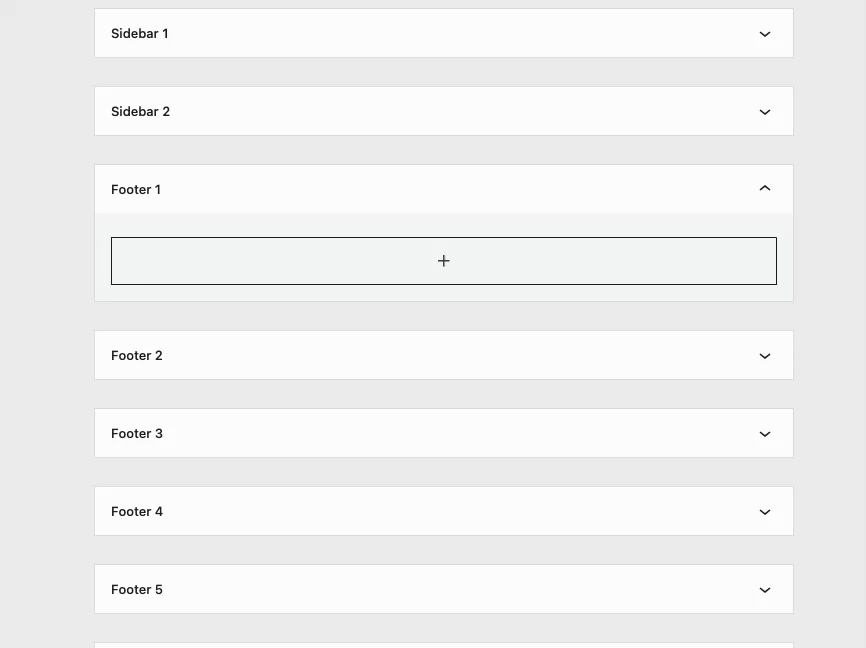
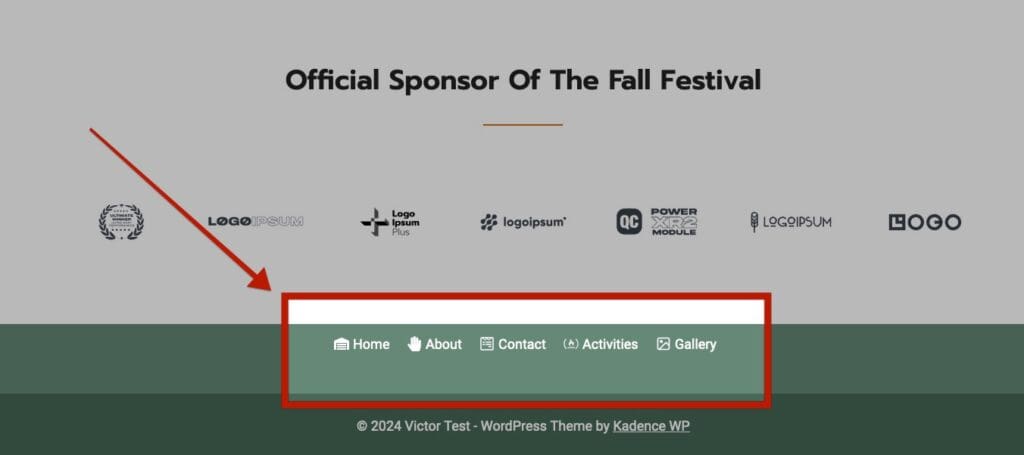
Advanced Navigation Blocks can be utilized in Footer and Sidebar Widgets, allowing you to display navigations throughout your website effectively. This feature enhances user experience by providing easy access to important links from various sections of your site.
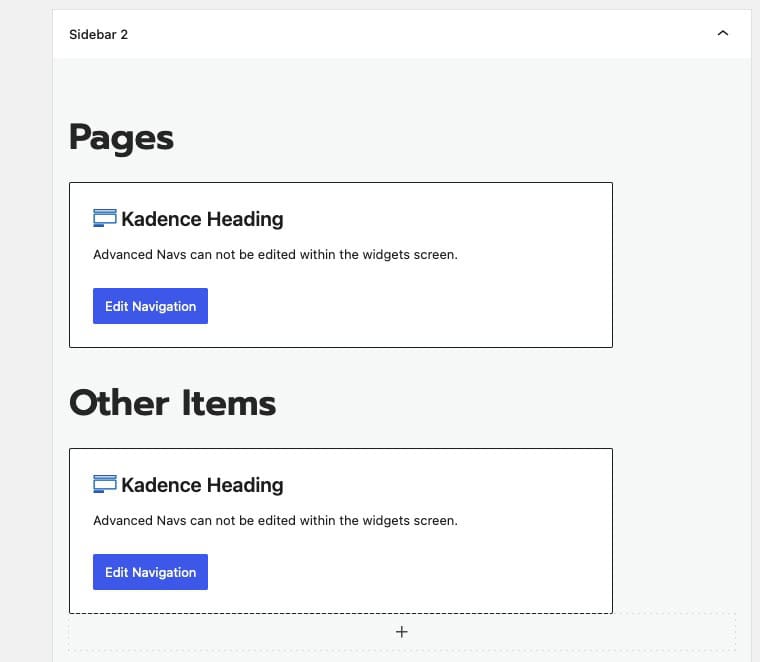
Advanced Navigation Blocks can also be used in the Header Area Widget, enabling you to create custom elements like manual icon links, display descriptive texts, and craft unique navigations. (This can also be used for adding a Third Navigation to the Kadence Theme Header.) This flexibility allows for a more personalized and engaging header experience.
Use Advanced Navigation Blocks with Hooked Elements and Mega Menus to display Customized Advanced Navigation Blocks inside of Mega Menus. (Both of these features require Kadence Theme Pro)
Hooked Elements allow you to display Elements across your website using Theme Action Hooks, ShortCodes, or selecting an Element where applicable to Kadence Products. Mega Menus offer the ability to display Custom Content. The Custom Content Feature of Kadence Theme Menu Items allows you to select and use a Hooked Element for the Mega Menu. This gives you the ability to use the advanced features of Advanced Navigation Blocks to build Mega Menu Contents. (To learn more about building Mega Menus with the Kadence Theme, click here. To learn more about Hooked Elements, click here.)
Example of a Mega Menu using Advanced Navigation Blocks.
What not to do with Advanced Navigations
When adding an Advanced Navigation outside of an Advanced Header Block, it’s not recommended to use Dropdown Sub Menus or Mega Menus. For instance, these features are not designed for areas like a Sidebar or Footer. Implementing Mega Menus or Sub Menus in these locations can lead to a less optimal user experience.
