Use Kadence Advanced Headers to create both Sticky Headers that remain fixed as users scroll and Transparent Headers that seamlessly blend with the content beneath them.
This document provides an overview of the Sticky and Transparent Header features within the Header (Adv) Block.
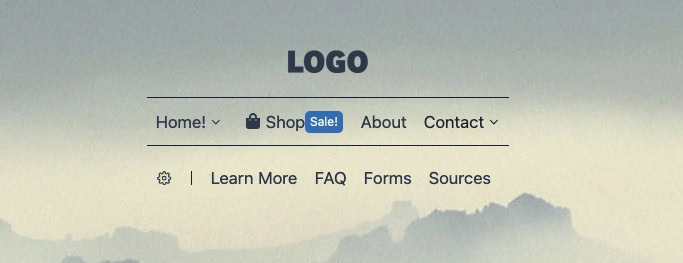
Transparent Header Example:
Sticky Header Example:

Getting Started
To begin, add the Header (Adv) block to your page. You will then be prompted to either create a new Advanced Header or select from an existing one. This initial setup will guide you through configuring your header to meet your specific needs.
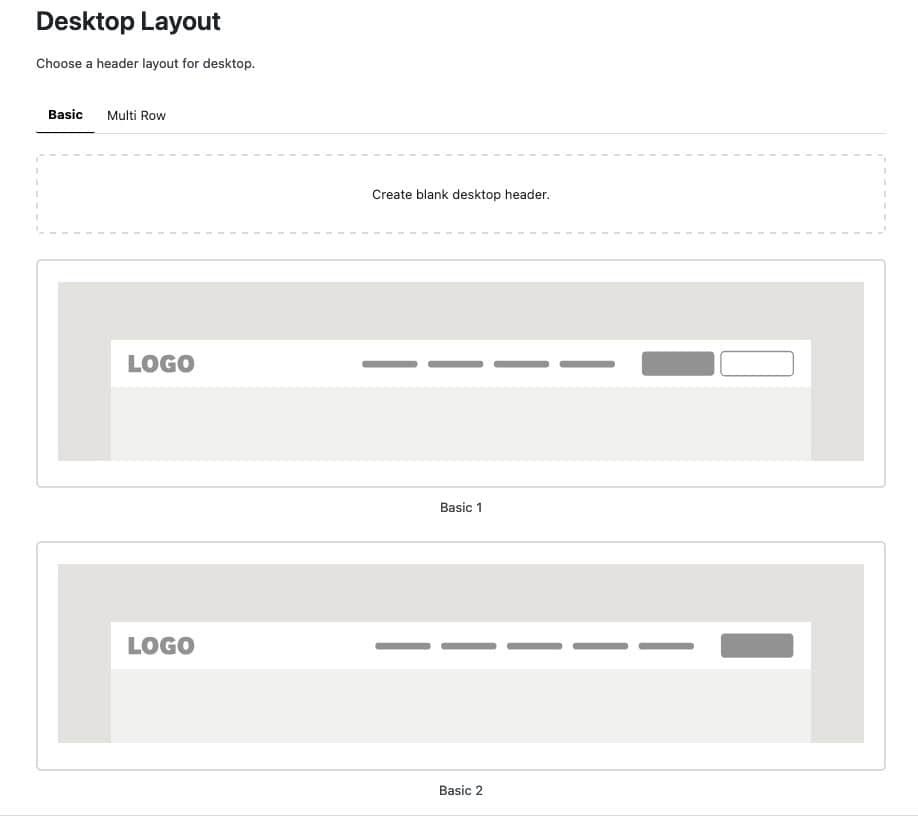
When setting up a new Advanced Header, you have the option to start from a blank template or choose from a variety of pre-built options. Kadence offers prebuilt templates, including Basic and Multi-Row headers, as well as mobile-specific designs. These designs are pre-populated and designed using Blocks and can be edited to meet your design goals.
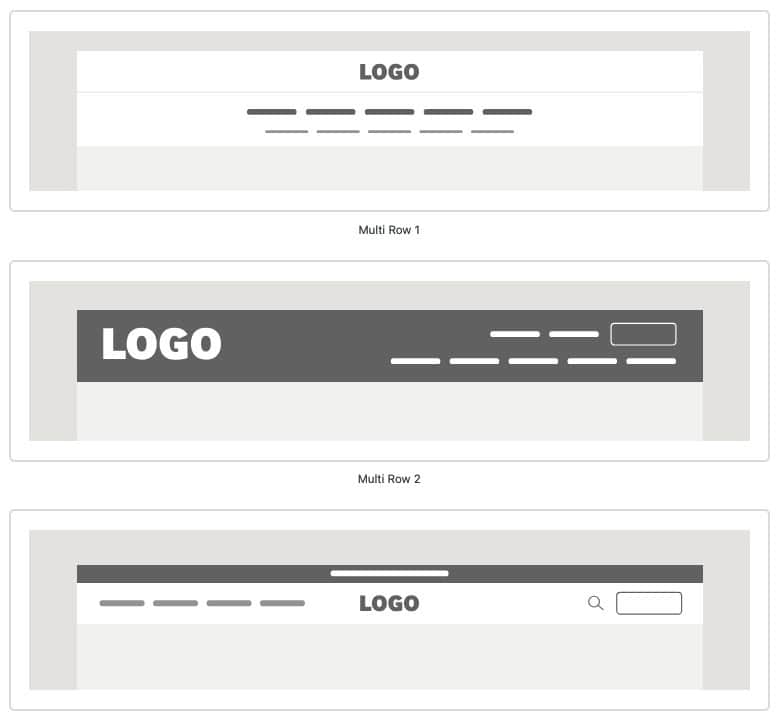
Basic Desktop Layout Examples:
Multi-Row Desktop Layout Examples:
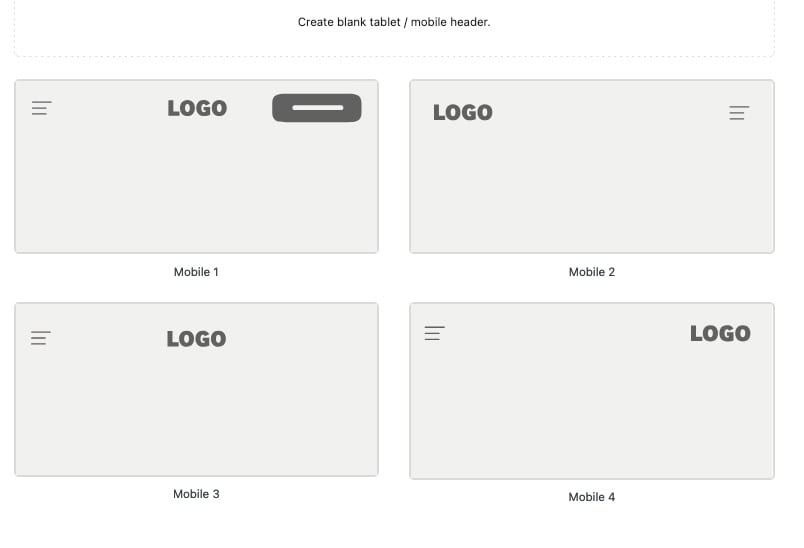
Tablet/Mobile Layout Examples
Once a Header is added, use the Visual Builder to add blocks and design the layout of your Header. Learn more about getting started with Advanced Headers and Navigation Blocks by clicking here.
Using a Transparent Header
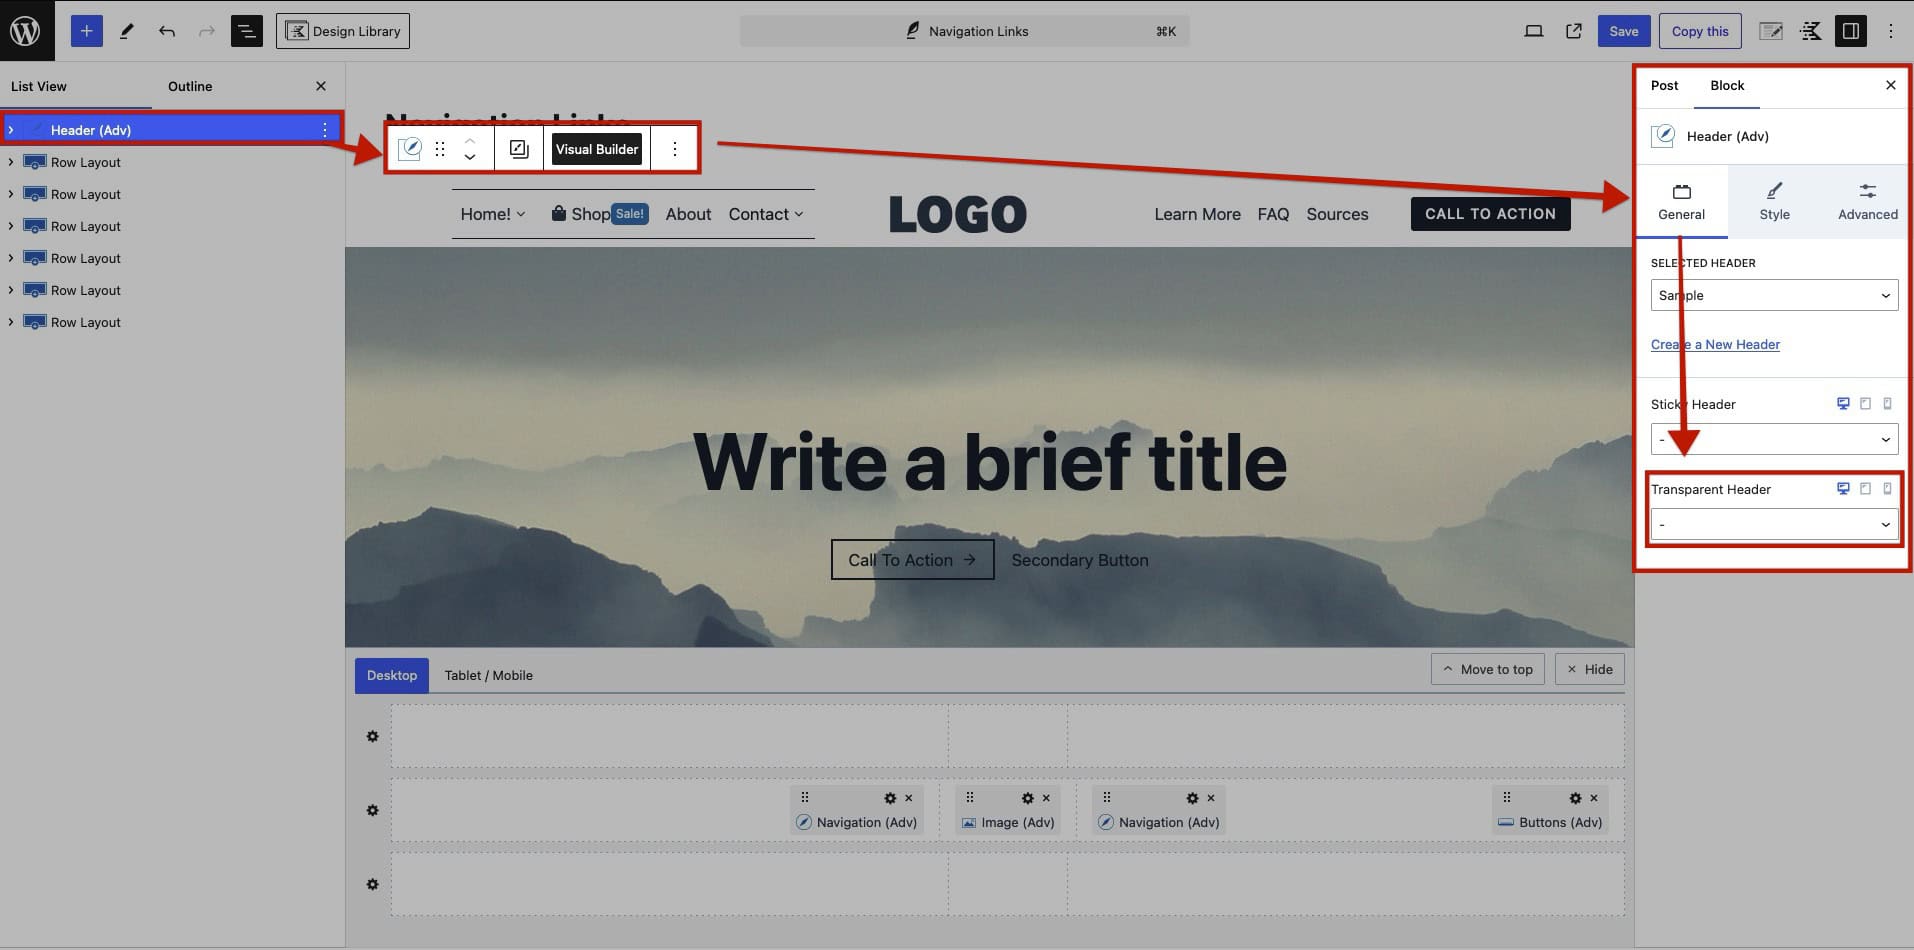
To enable a Transparent Header, select the Header (Adv) Block, then go to Block Settings -> General Tab. Find the Transparent Header setting and toggle it to Yes.
Once the Transparent Header is enabled, the Auto Spacing Under setting will appear below it. This setting automatically adds spacing to the first container of the page, equivalent to the height of the header, to prevent content from overlapping when using a Transparent Header.
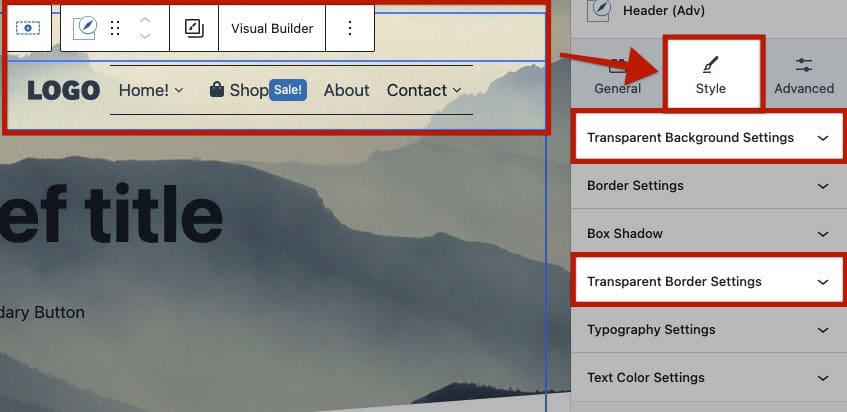
Once the Transparent Header is enabled, additional Block Settings are added to both the Header (Adv) Block and Navigation (Adv) Block.
The Header (Adv) Block will gain the Transparent Background and Transparent Border Styles Block Settings.
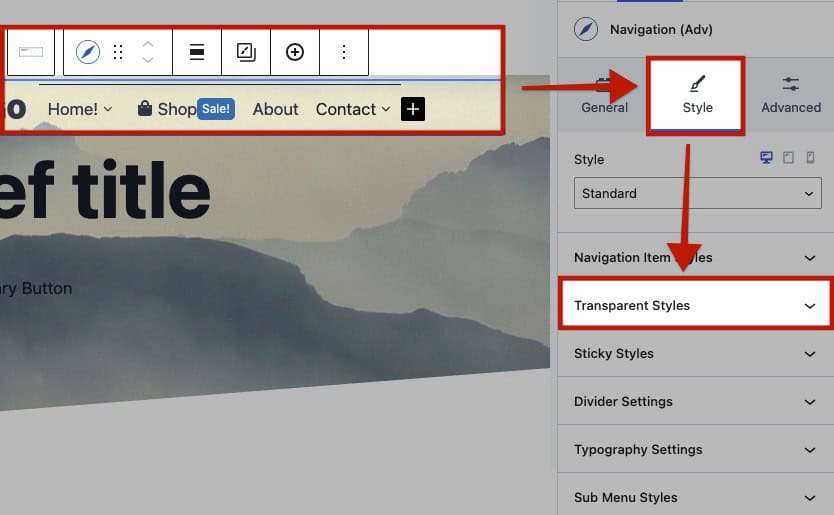
The Navigation (Adv) Block will gain the Transparent Styles Block Settings.
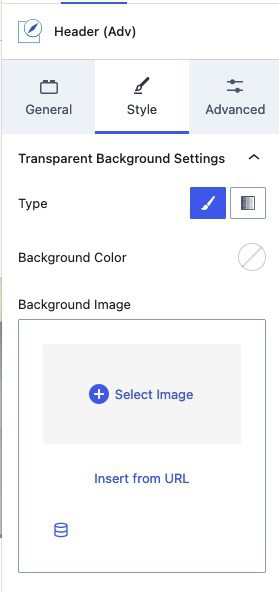
Transparent Background Settings: These settings apply to the Header whenever it is in the Transparent state.
Type: Choose either a Color or Gradient as the Background Type.
Background Color: Set a Color for the Transparent Header Background. This option is available when you select Color as the Background Type.
Gradient Color: Set a Gradient for the Background. This option is available when you select Gradient as the Background Type.
Background Image: Set a Background Image for the Transparent Header Background. You can choose an Image from the Media Library, insert one from a URL, or use a Dynamic Image (Pro) for more customization.
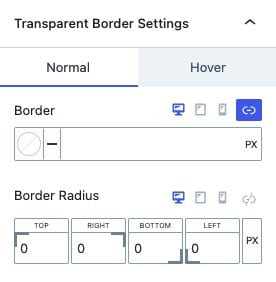
Transparent Border Settings: Adjust the Border around the Transparent Header.
Border: Set the Border Color, Style, and Size for the Transparent Header.
Border Radius: Apply a Border Radius to the Transparent Header.
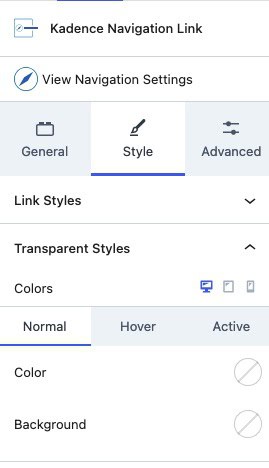
Transparent Styles: Adjust the Styles of the Advanced Navigation Block when the Header is in its Transparent state.
Colors: Customize the Colors for Navigation Links in the Normal, Hover, and Active states.
Link Color: Set a standard Link Color for all inner Navigation Links.
Background: Apply a Background Color to the inner Navigation Links.
Divider: Configure the Divider Color, Style, and Size that appears between the inner Navigation Links.

The Navigation Link Block also includes Transparent Styles that can be customized on an individual level. These settings apply exclusively to the selected Navigation Link Block and will override the Transparent Styles set for the Navigation (Adv) Block.
Using a Sticky Header
To use a Sticky Header, select the Header (Adv) Block and navigate to the Block Settings -> General Tab. Find the Sticky Header setting and toggle it to Yes.
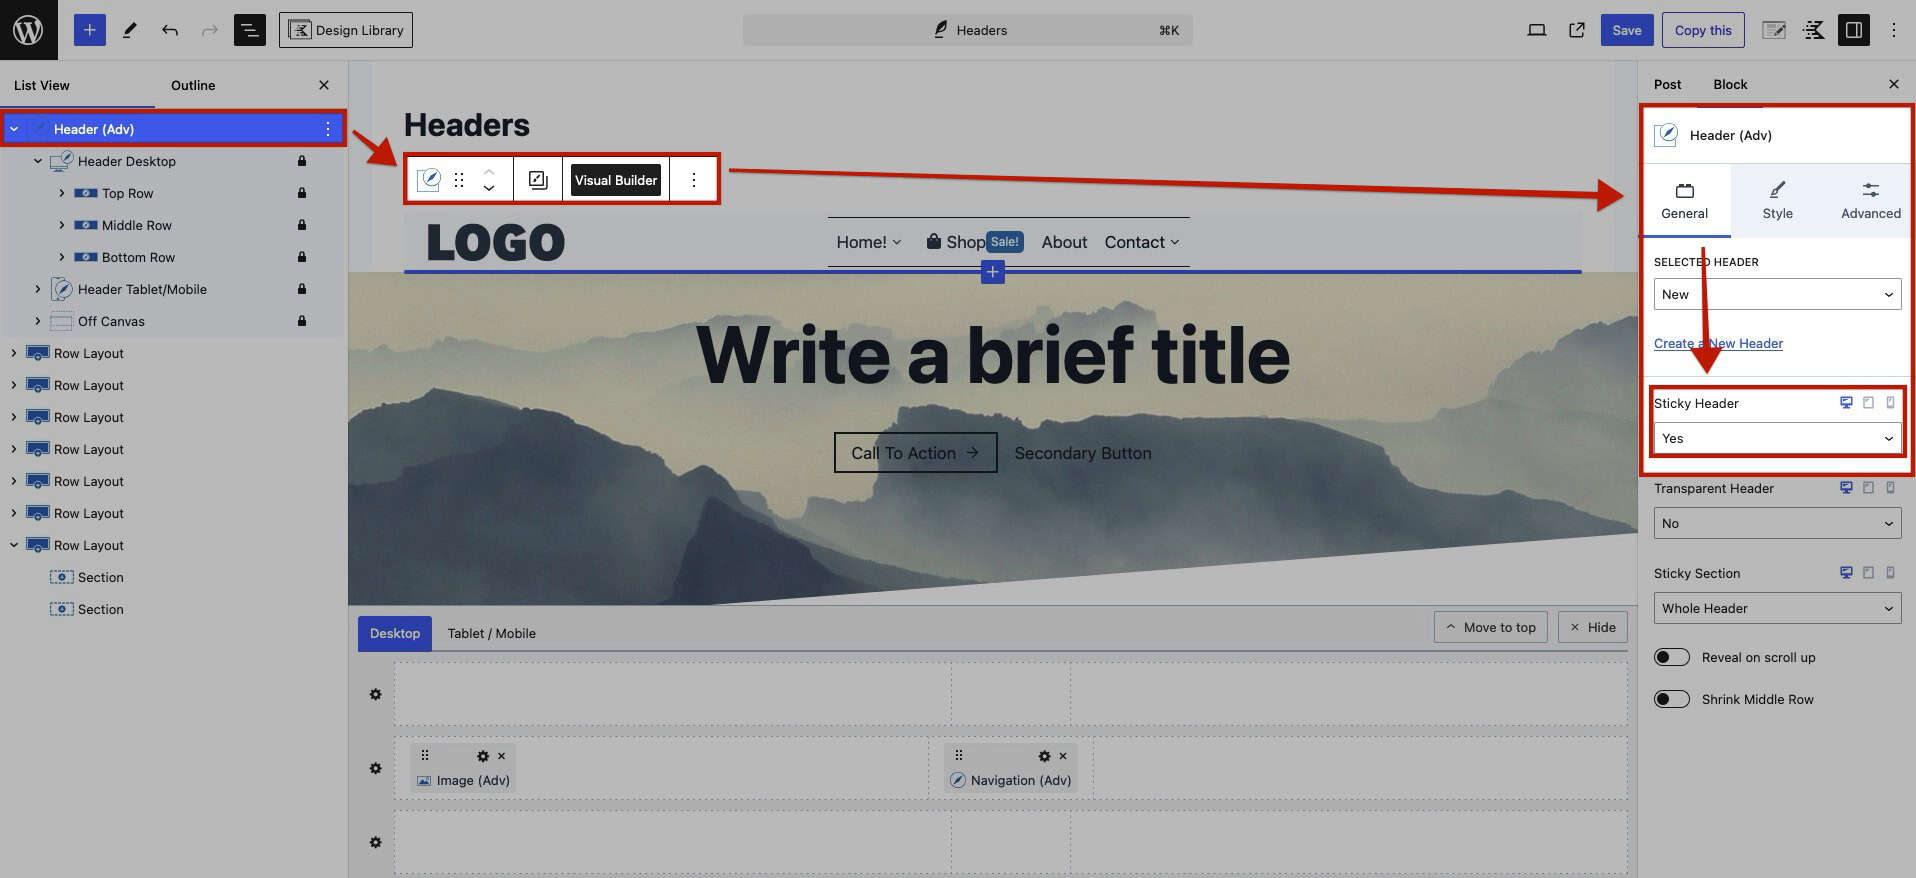
Once the Sticky Header is enabled, additional settings will appear at the bottom of the Header (Adv) General Block Settings.
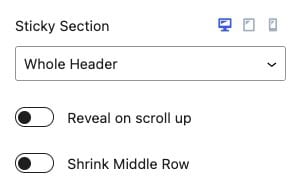
Sticky Section: Choose which part of your Header will remain sticky. You can set this to either the Whole Header or select from the Top, Middle, or Bottom Header Rows. (Confirm Before Release)
Reveal On Scroll Up: Enable this option to make the Header sticky when scrolling up the page. The Header will hide while scrolling down.
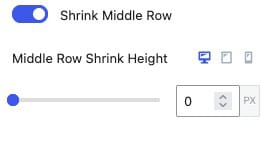
Shrink Middle Row: Use this setting to reduce the size of the Row as the Header becomes sticky. Once this setting is enabled, use the Row Shrink Height Setting to adjust the Shrink Height.
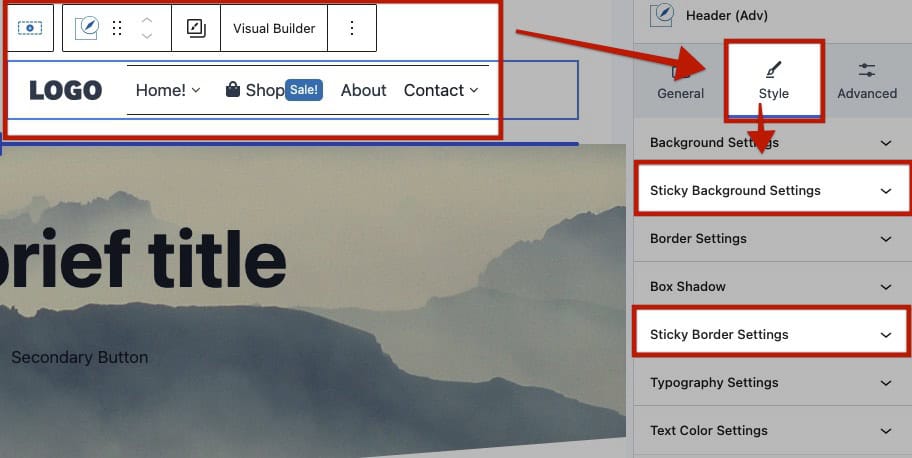
The Header (Adv) Block will gain the Sticky Background and Sticky Border Styles Block Settings.
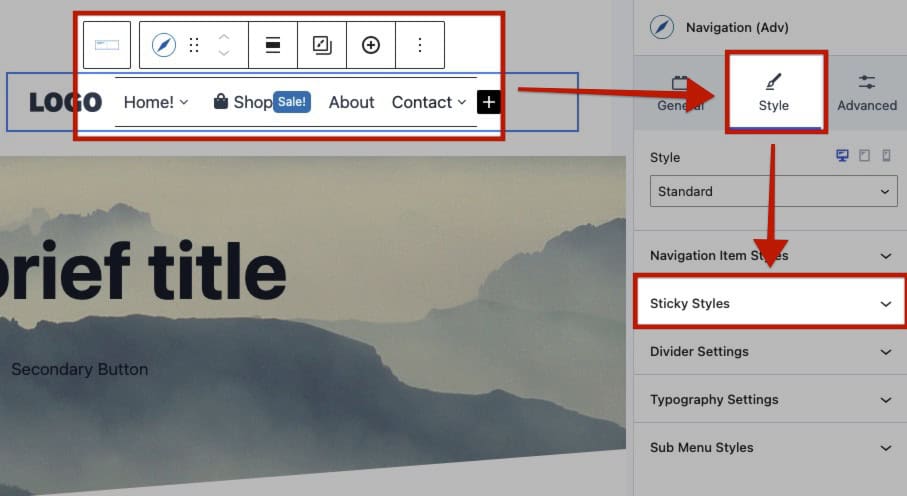
The Navigation (Adv) Block will gain the Sticky Styles Block Settings.
Sticky Background Settings: These settings apply to the Header when Sticky.
Type: Choose either a Color or Gradient as the Background Type.
Background Color: Set a Color for the Sticky Header Background.
Gradient Color: Set a Gradient for the Sticky Header Background.
Background Image: Set a Background Image for the Sticky Header Background. You can choose an Image from the Media Library, insert one from a URL, or use a Dynamic Image (Pro) for more customization.

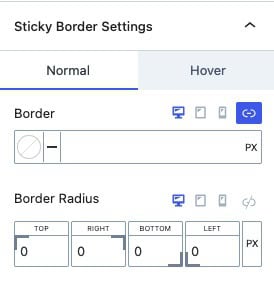
Sticky Border Settings: Adjust the Border around the Sticky Header.
Border: Set the Border Color, Style, and Size for the Sticky Header.
Border Radius: Apply a Border Radius to the Sticky Header.
Sticky Styles: Adjust the Styles of the Advanced Navigation while the Header is in the Sticky state.
Colors: Customize the Colors for Navigation Links in the Normal, Hover, and Active states.
Link Color: Set a standard Link Color for all inner Navigation Links.
Background: Apply a Background Color to the inner Navigation Links.
Divider: Configure the Divider Color, Style, and Size that appears between the inner Navigation Links.

The Navigation Link Block also includes Sticky Styles that can be customized on an individual level. These settings apply exclusively to the selected Navigation Link Block and will override the Sticky Styles set for the Navigation (Adv) Block.

Making Sticky + Transparent Headers
In certain designs, both Transparent and Sticky Headers may be desired. By enabling both the Sticky Header and Transparent Header settings in combination, you can create versatile, feature-rich headers that enhance the overall design and user experience.
The settings above are in the Header (Adv) General Block Settings.
To customize the background color of the Sticky Header, use the Advanced Header Block settings. Navigate to the Header (Adv) Block Settings, then go to the Style Tab and expand the Sticky Background Settings to make the necessary adjustments to the Sticky Background.
Making Sticky Headers Transparent
When using a Sticky Header, with or without a Transparent Header, you may want the Sticky Header to appear Transparent or Translucent. To achieve this, set a Sticky Header Background Color and use the Color Picker to reduce the Color Opacity.
This approach allows you to create a Translucent or fully Transparent background for the Advanced Header in its sticky state.
Making Transparent Headers Translucent
In some designs, instead of a fully Transparent Header, you may need a partially transparent/translucent design. To achieve this while using a Transparent Header, navigate to the Header (Adv) Block Settings, go to the Style Tab, and expand the Transparent Background settings. Use the Background Color Picker to adjust the opacity of the Transparent Background.