Kadence features the Navigation Builder. Allowing you to create Navigation Menus directly in the WordPress Editor. Use the Navigation Builder to create new navigations or modify existing ones. The Navigation Builder can be accessed and used within the Navigation (Adv) Block.
Using the Navigation Builder
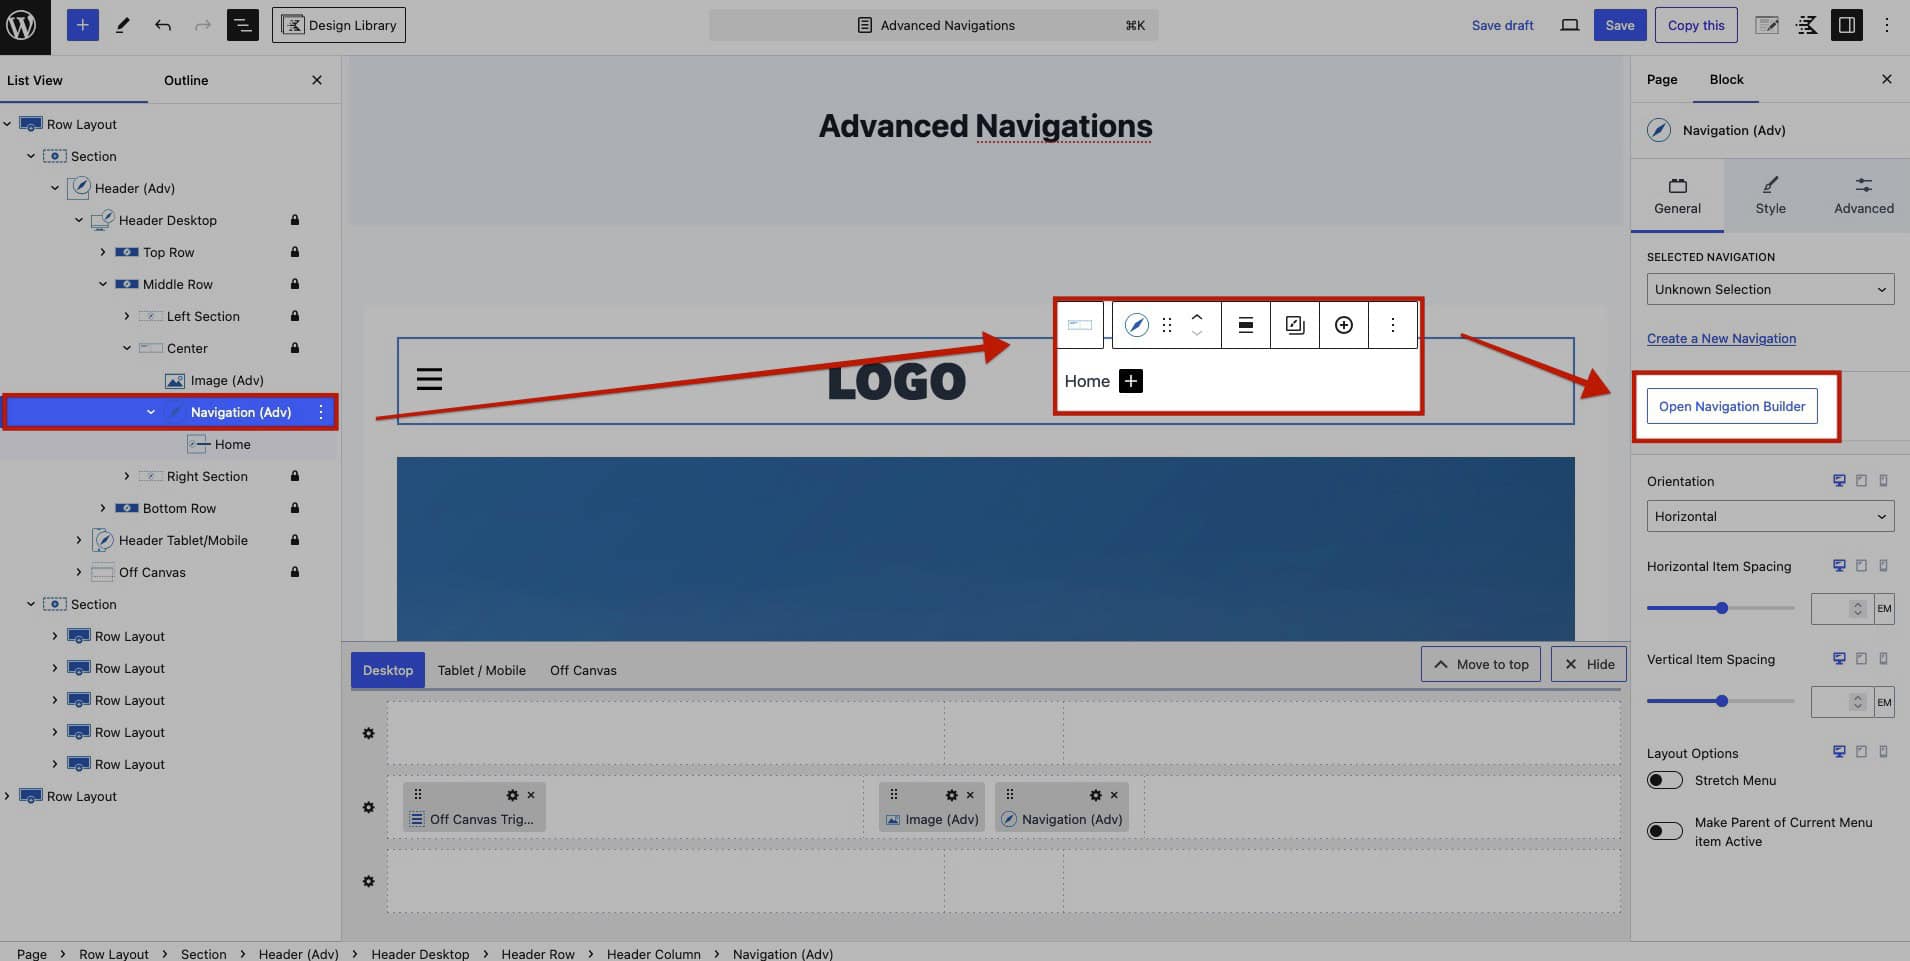
When adding an Advanced Navigation Block to a page and creating a new navigation, the Navigation Builder will automatically open, allowing you to begin building your menu. To access the Navigation Builder after the initial setup, select the Navigation (Adv) Block, go to the Block Settings, and click on the Open Navigation Builder button.
Add posts, pages, and other post types directly to the navigation using the left-hand tabs. Expand the appropriate post type and check the posts you wish to add to the navigation. Then click the Add to Menu button. This will pull in the titles and URLs of the selection and add it to Navigation Links within the navigation.

Use the Custom Link Button to add Custom Links to the Navigation.
Use the Add Sub Menu Link button to add a Child Navigation Link to the selected Navigation Link. This will make the Parent Navigation Link toggle a Dropdown of Child Links when hovered. This feature allows for the easy organization of related items under a single parent link, enhancing the structure of the navigation.
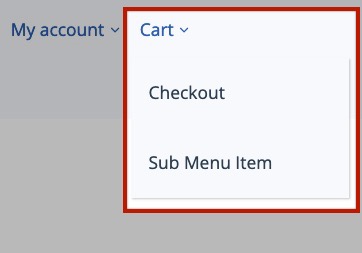
Additionally, hierarchical menus can be created by adding additional Sub Menu Links to Sub Menu Items.
Navigation Builder Settings
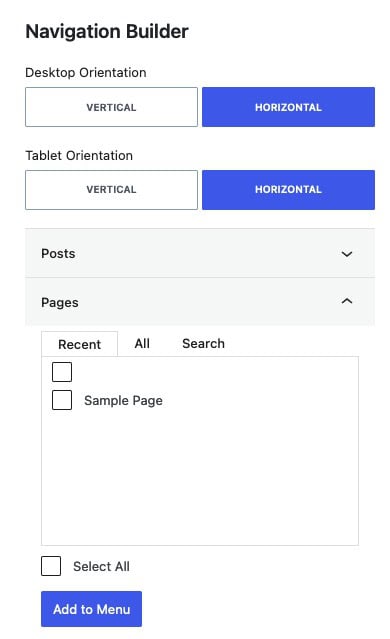
Desktop Orientation: Choose the orientation for desktop displays as either Vertical or Horizontal.
Tablet/Mobile Orientation: Set the orientation for tablet and mobile views to either Vertical or Horizontal. This setting applies to Tablets and inherits to Mobile. To set a separate Mobile Orientation, use the Navigation (Adv) General Block Settings.
Posts/Pages/Other: Use/Expand the tabs for different post types on your website to add posts, pages, or other items directly to your navigation. Expanding each tab will allow you to import the URL and use the title for the navigation label.
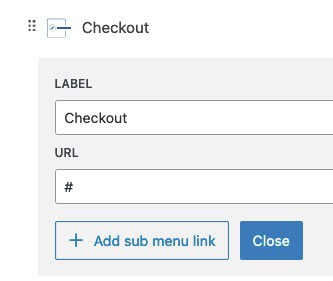
Navigation Links: Once Navigation Links are added to the menu, click on them to modify their Label and URL as preferred.
Label: This setting controls the Navigation Link display name.
URL: This setting controls the URL/destination of the Navigation Link.
Add Sub Menu Link: This button automatically creates a new Sub Menu Link. The link becomes a child of the current selected Navigation Link.
Custom Links: Add custom links by clicking the + Custom Link button at the bottom of the Navigation Links section.