The Info Box block is a flexible way to display text and media content on your pages and posts within the block editor. You can configure it in many different ways, from creating a simple menu with icons and text to an entire staff grid.
Using the Info Box Block
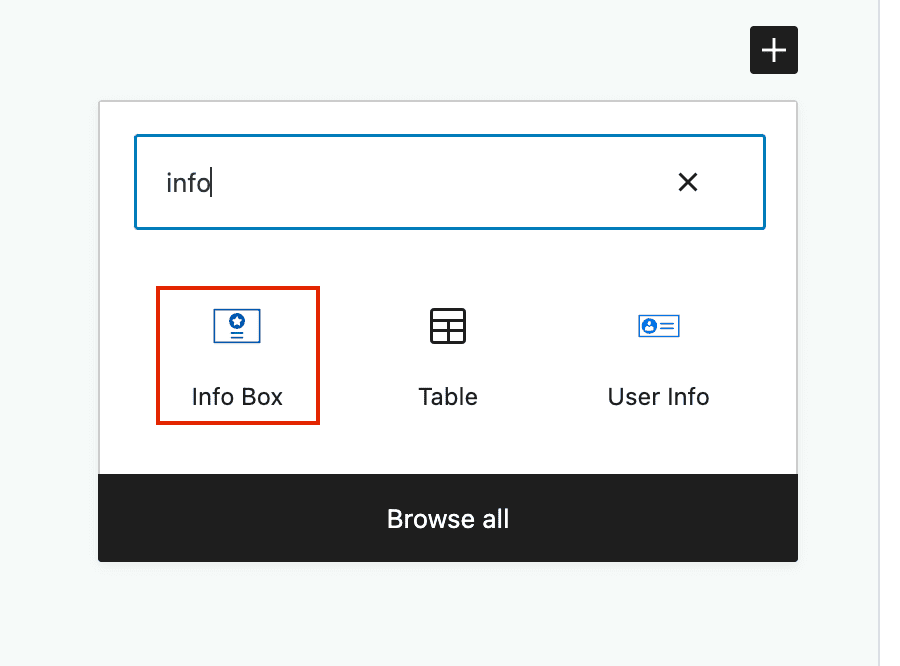
The first step in using the block is to select and place it where you’d like on the page:
Choose your layout and set a link for your info box:
Next, customize your info box media and add text:
Edit your container settings. Container Settings define the design of your Info Box. This is where you can set the spacing, as well as background and hover effects for your block:
Adjust the hover settings for your container:
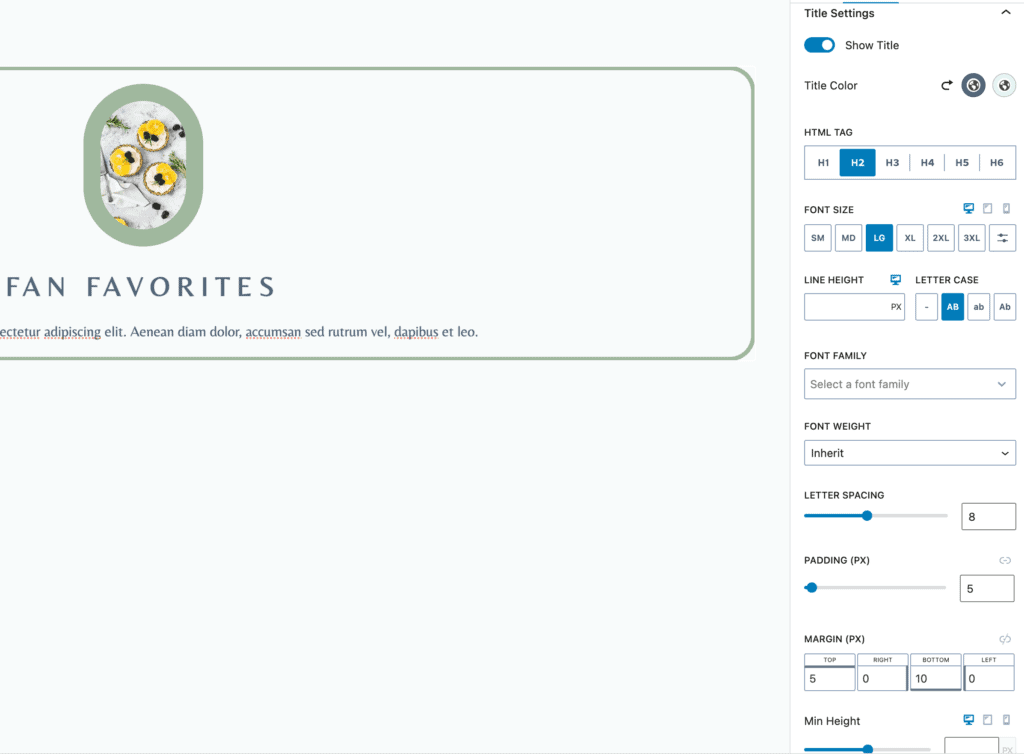
Customize the font of your title. Change the markup, color, and hover state:
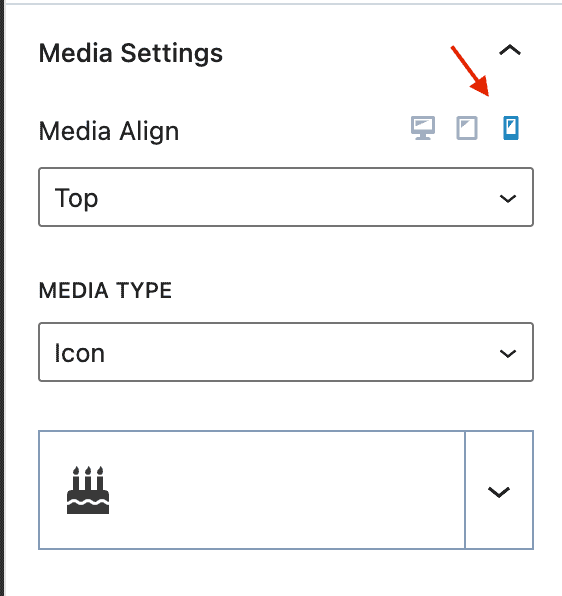
Customize fonts, media, and styling specific to tablet and mobile:
Note that the title padding and margin settings can be linked or controlled individually:
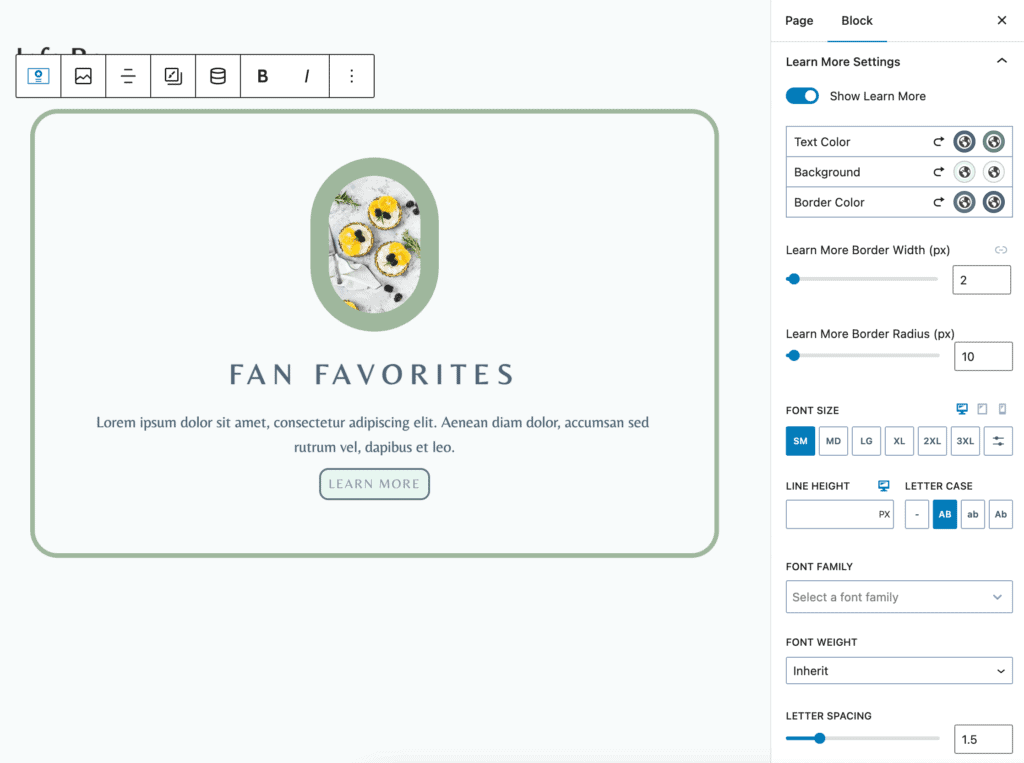
If you want, you can add a “Learn More” button that acts as your link:
Using Custom SVG Images
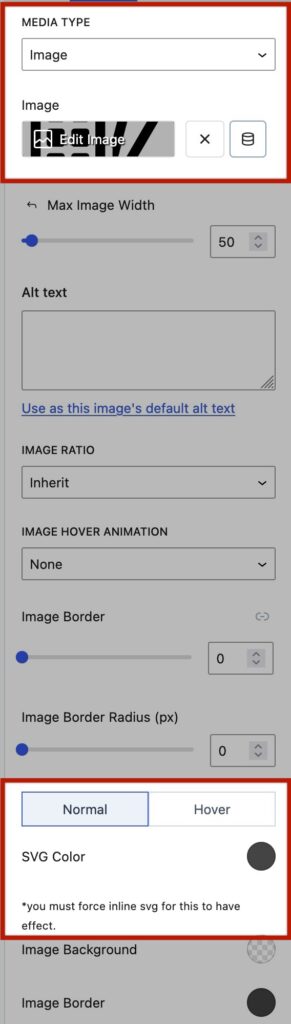
The Info Box can use Custom SVG Images as the Media Type. This is done using the Image Media Type.
Using the Info Box -> Style Block Settings Tab, the Media Settings allows you to use an Image.
When using an SVG File Type, the SVG must be presented Inline for the SVG Color Block Setting to take effect. See the next section for more on this.
Forcing SVGs Inline using SVG Support
WordPress doesn’t have a built-in way to force SVG Images Inline. However, this can be done with an easy-to-use free plugin. Consider using a plugin like the SVG Support plugin to force SVG Images inline. Using this plugin, SVG Images can be forced inline. Custom CSS Classes can also be added to SVG Images. When using SVG Images, it is important to ensure you understand the security and precautions. See the SVG Security section for more general information on this topic.
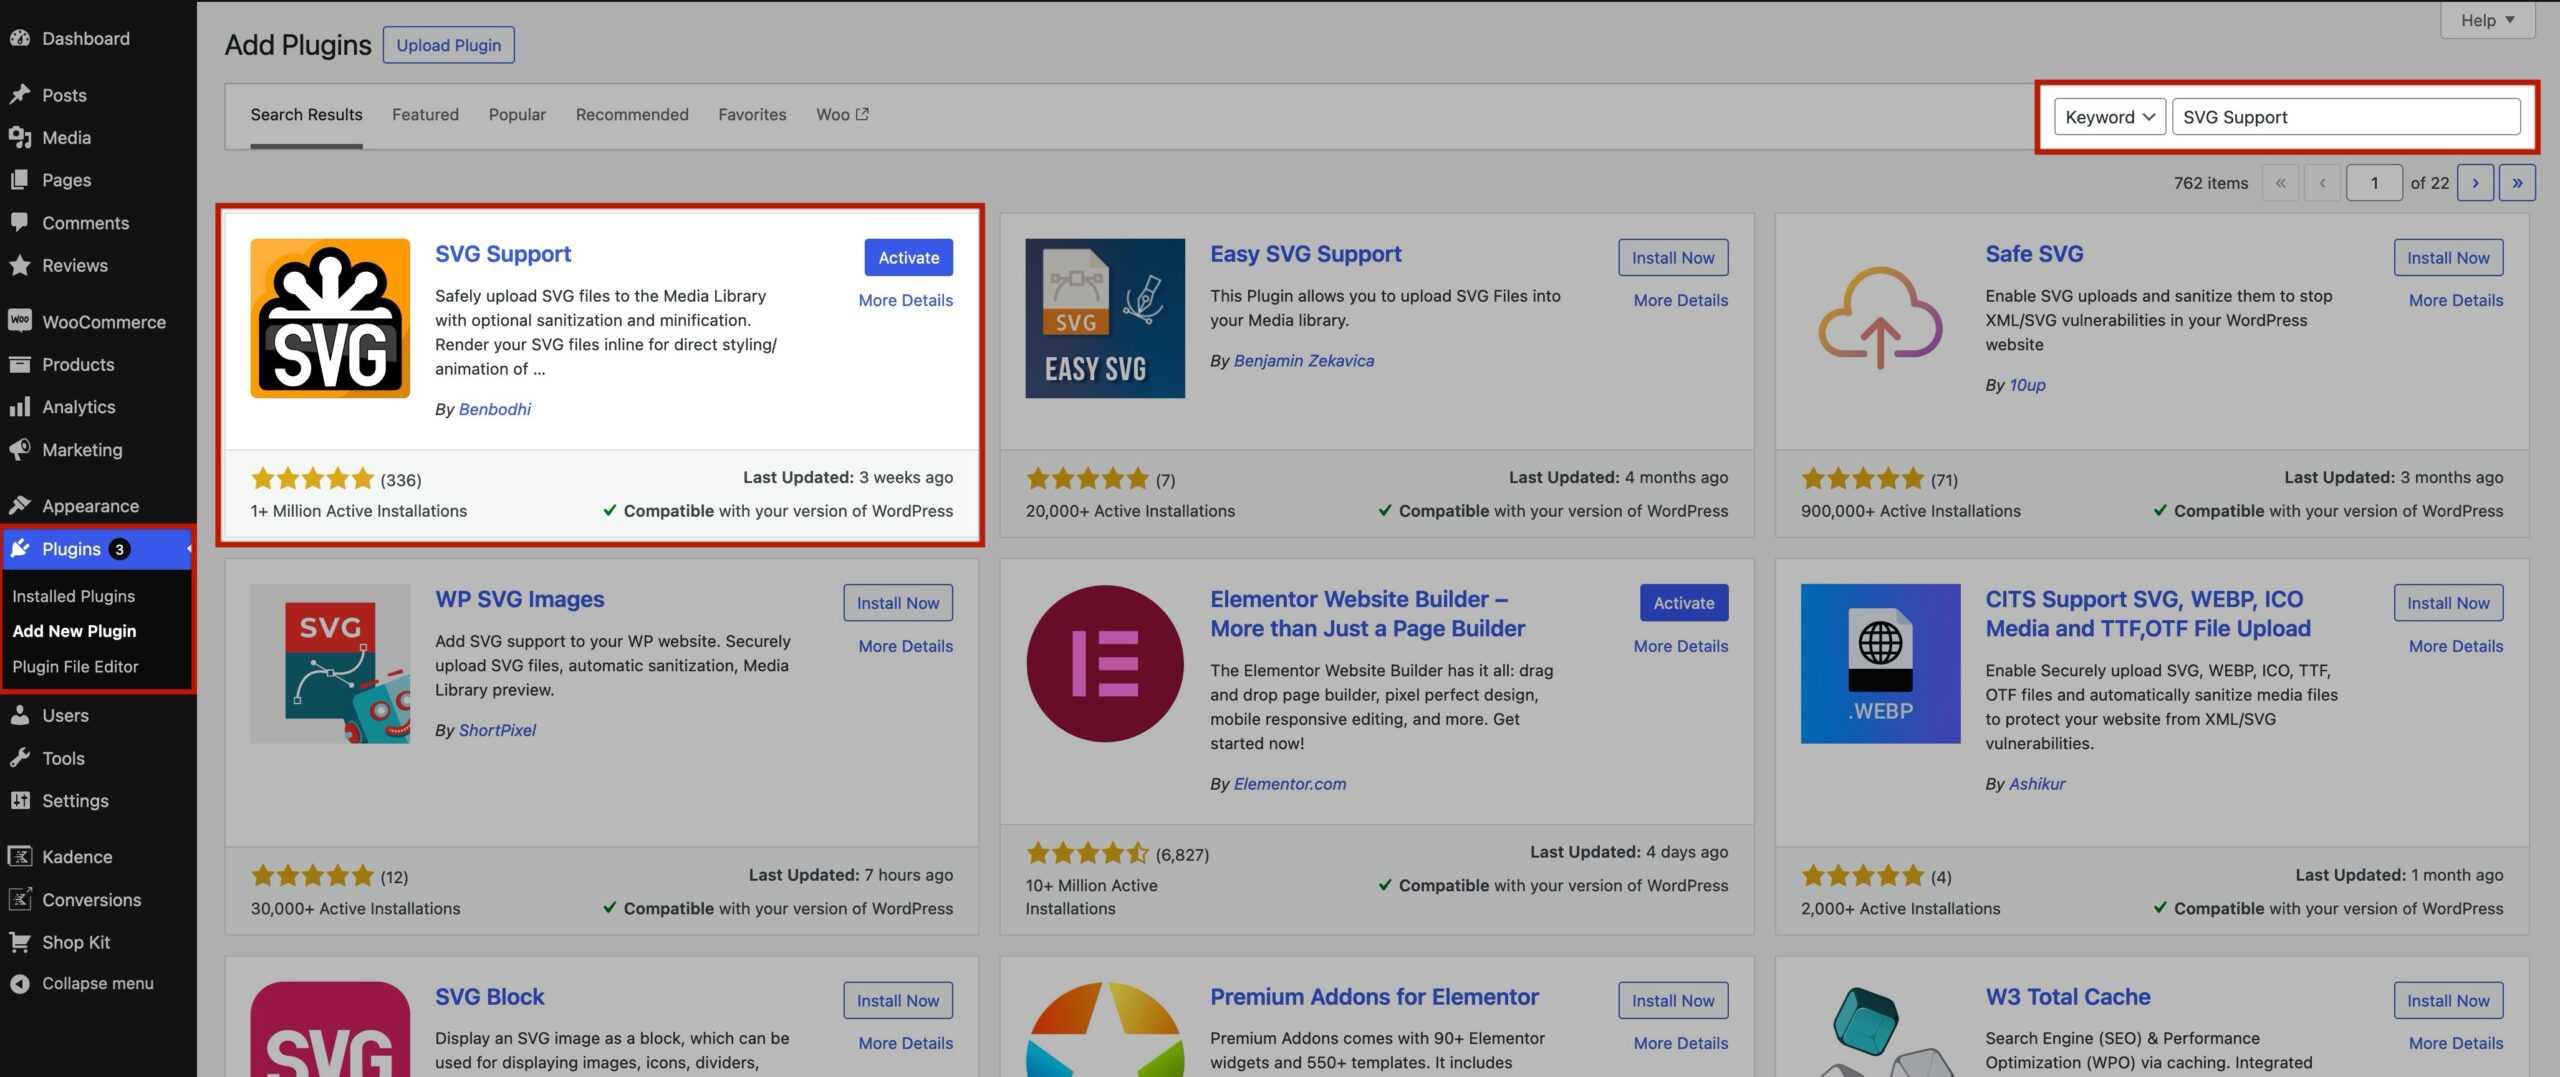
To get started, go to the Dashboard -> Plugins -> Add New Plugin, and find, install, and activate the SVG Support plugin.
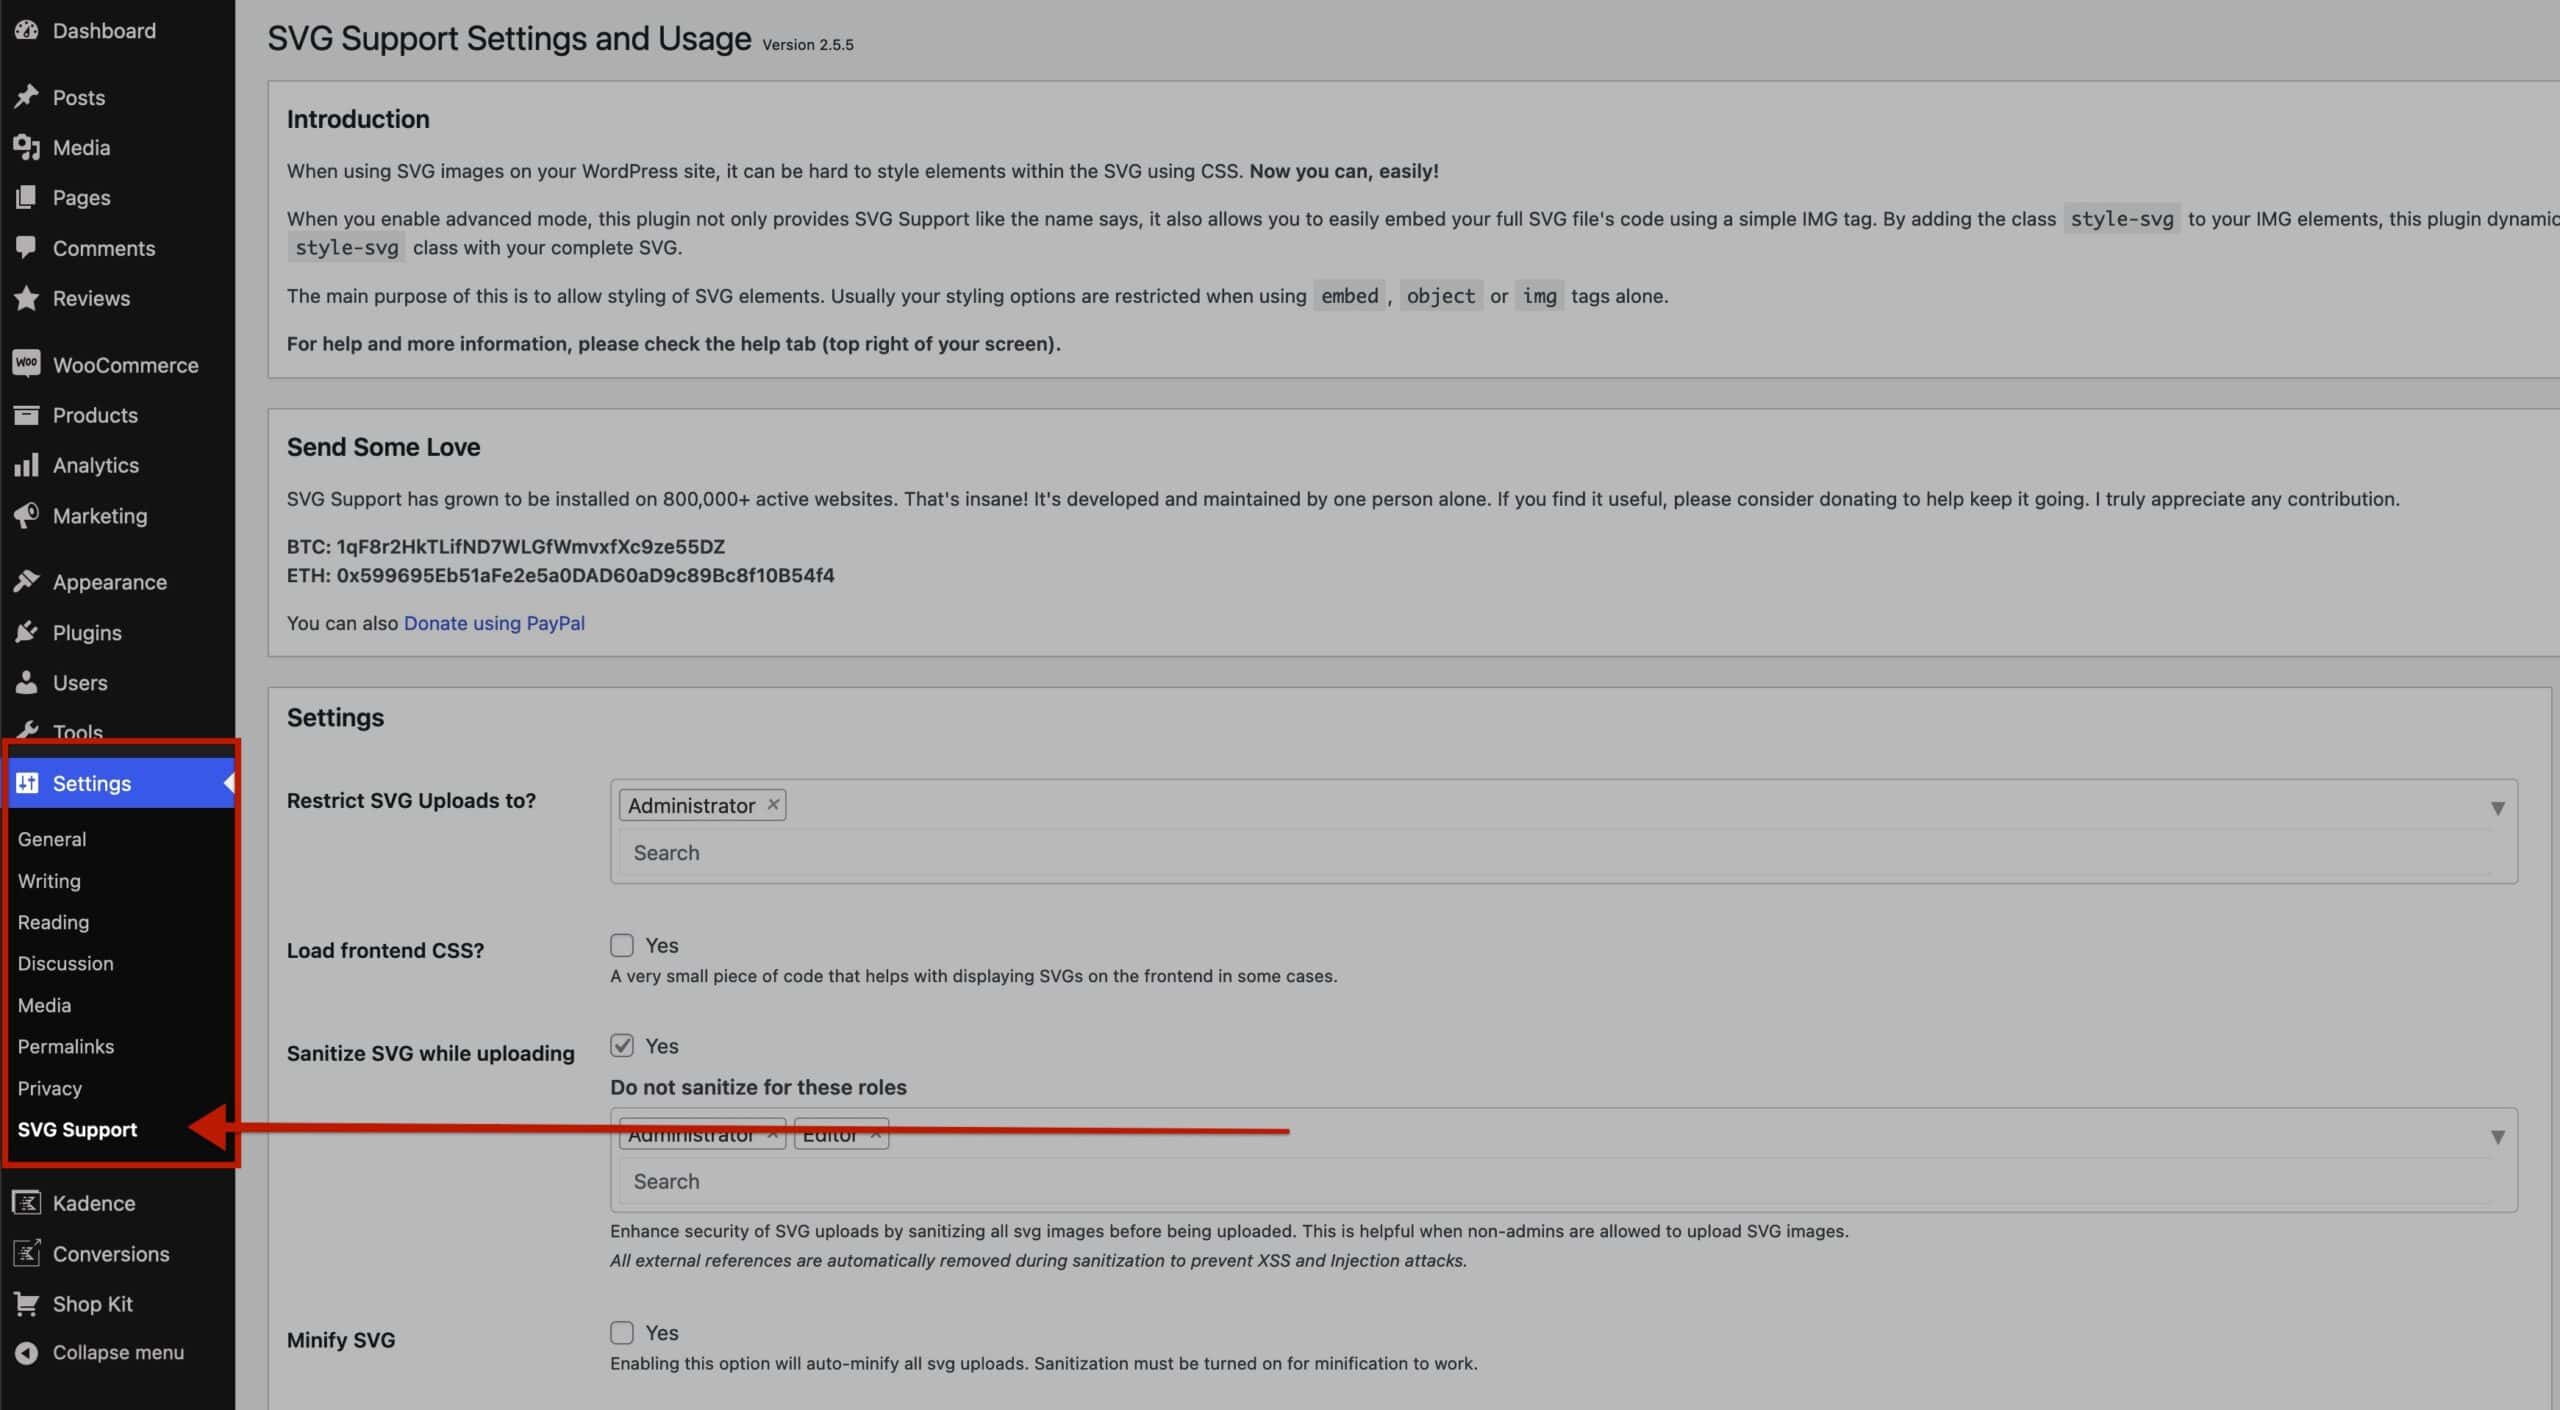
Once the SVG Support plugin is activated, go to the Dashboard -> Settings -> SVG Support page.
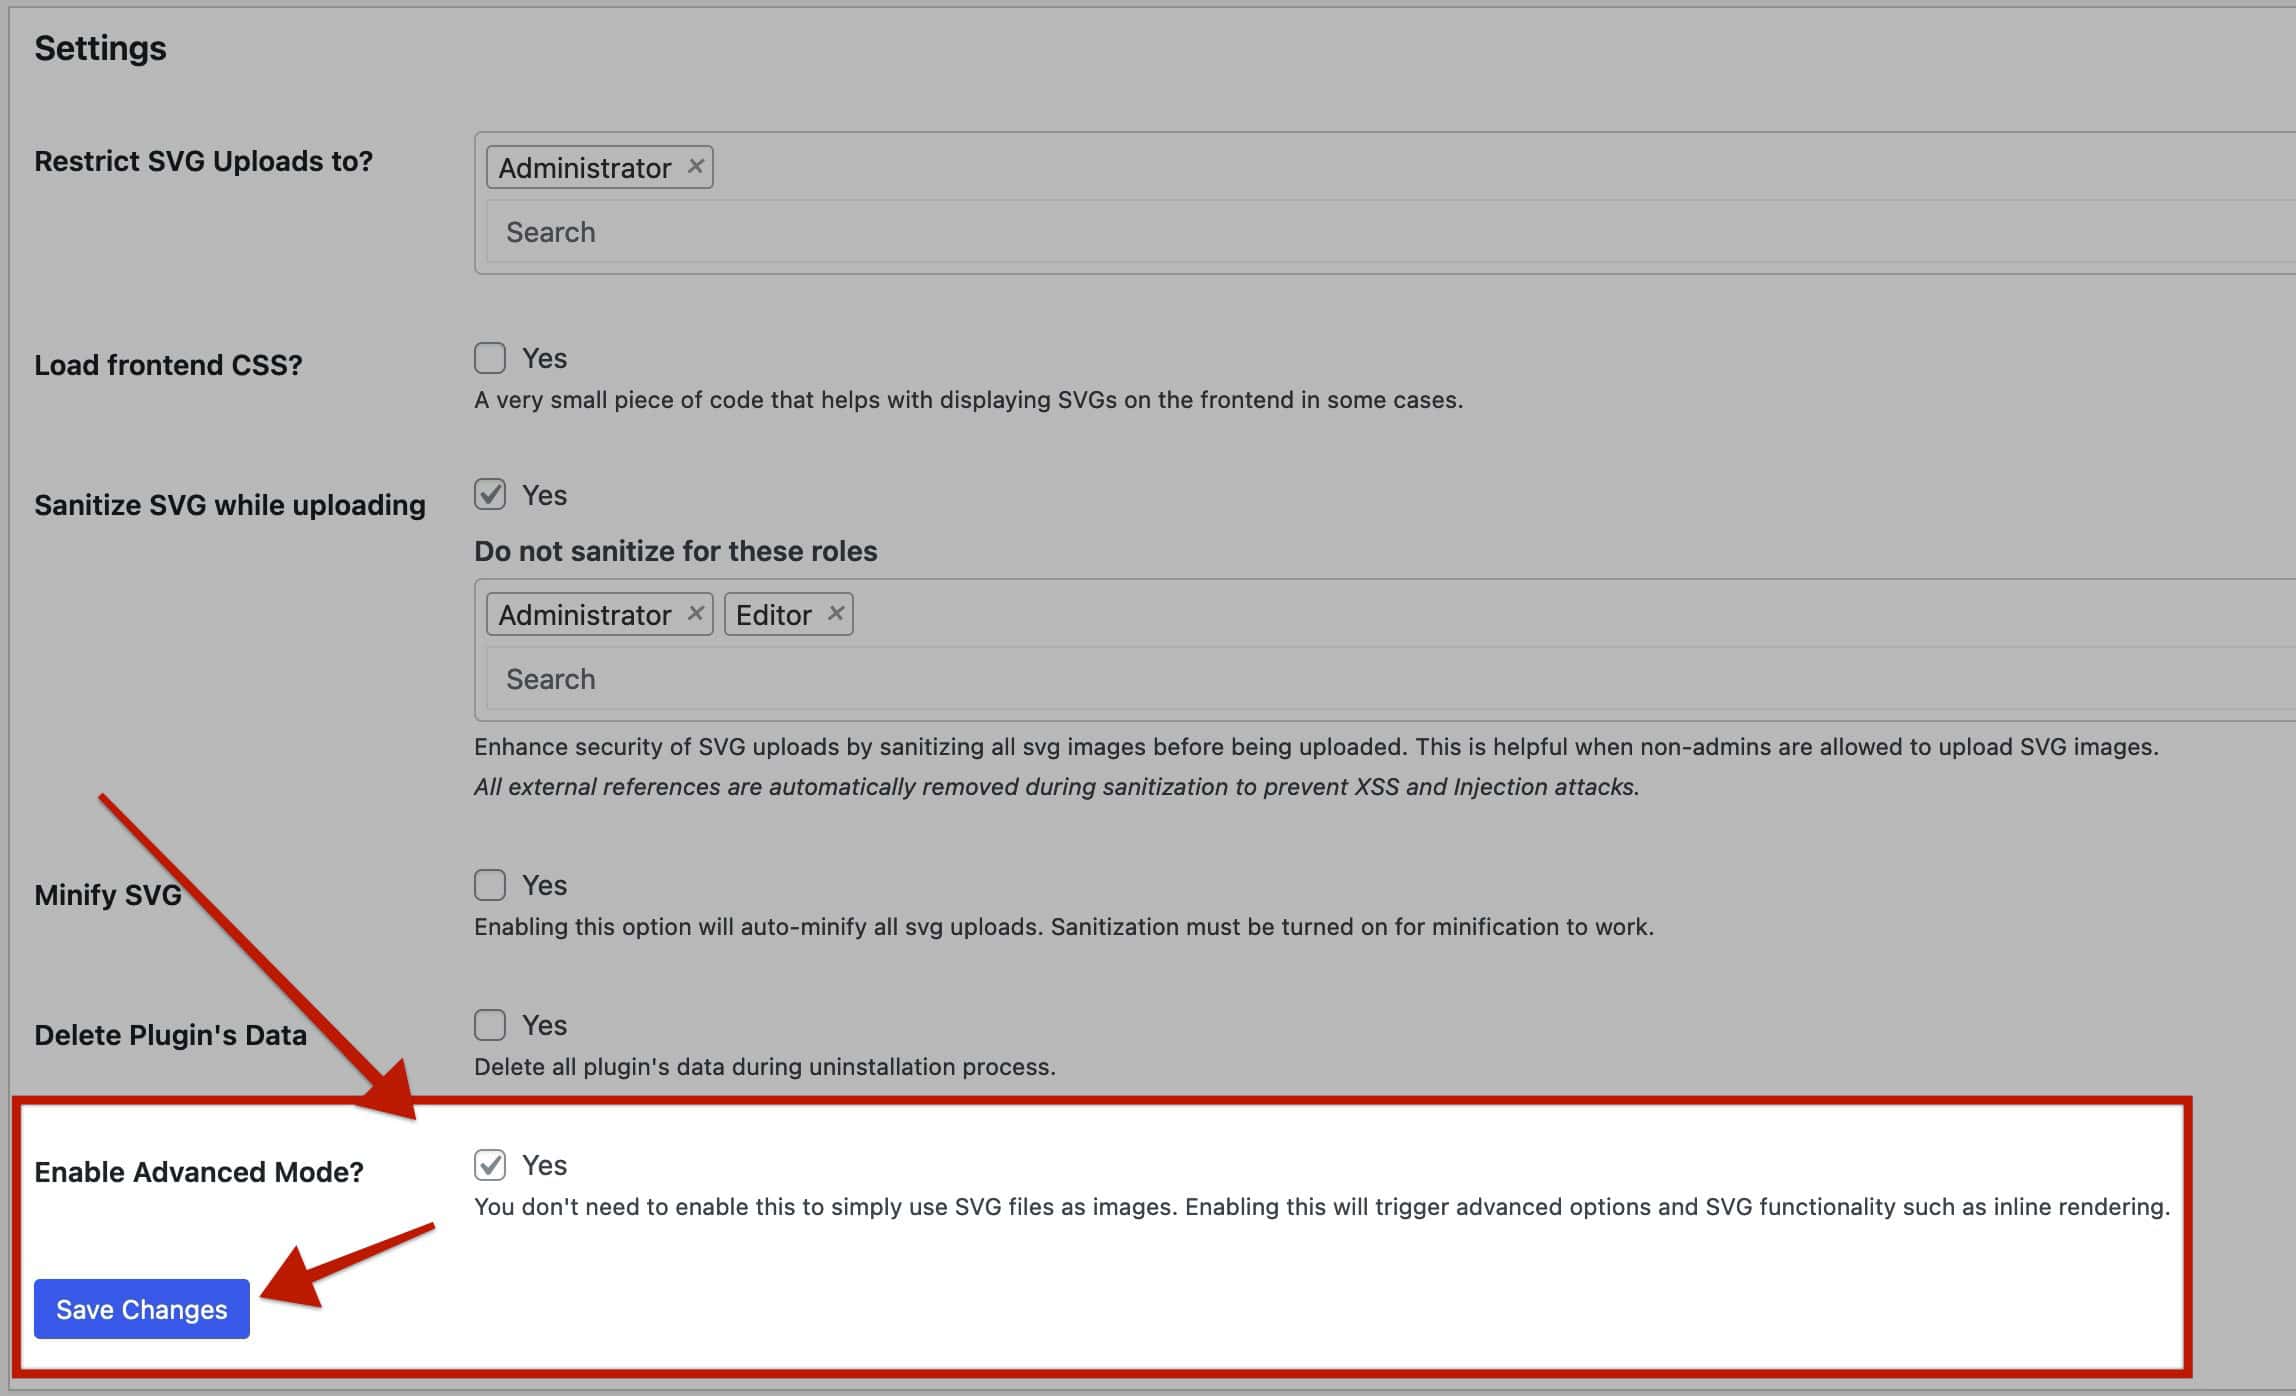
Once on the SVG Support Settings Page, find the Enable Advanced Mode setting. Check the checkbox to enable the Advanced Mode and save the changes. (Also view the SVG Security section for additional optional settings that provide additional security)
Once Advanced Mode is enabled, there are two main things that need to be done.
1) Next to the CSS Class to Target setting, input kt-info-svg-image as a Custom Class.
2) Next to the Force Inline SVG setting, enable the Yes Checkbox.
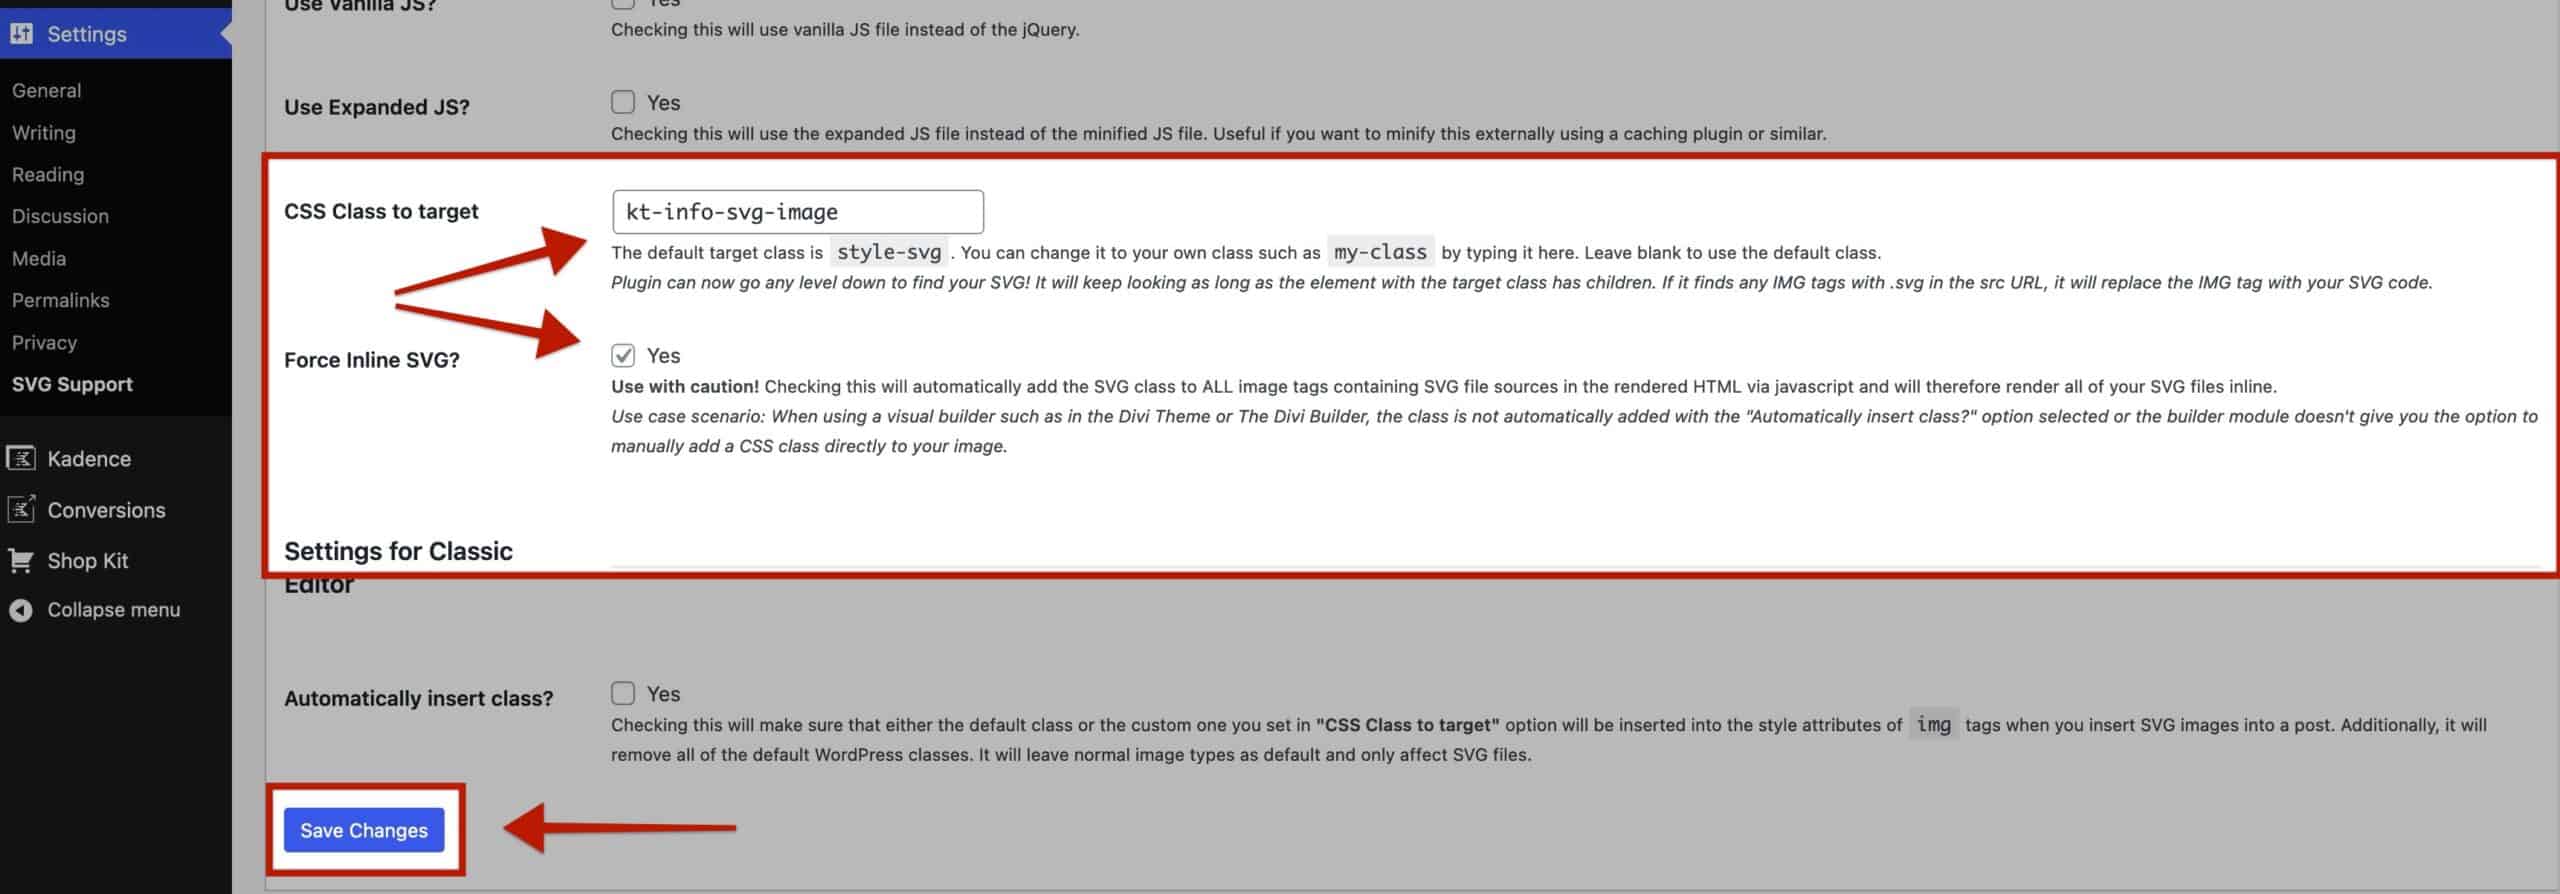
Once these things are done, ensure to click the Save Changes button.
Now the Info Box SVG Image can be controlled using the SVG Color Block Setting.
(The SVG Colors will not appear in the Editor. They will only show on the front end)
Block Settings Editor View

Front End Outcome

SVG Security
When using SVG formats, there are factors related to Security that should be taken into consideration. You should understand SVGs enough to be comfortable using them. Consider reading This SolidWP Article that provides a general overview of what SVGs are and how they are used.
When using the SVG Support plugin, two optional plugin settings can help enforce secure SVG implementation to your WordPress website. To get to these settings, go to the Dashboard -> Settings -> SVG Support page.
Under Settings, find the Restrict SVG Uploads To setting. This can optionally be set to Administrator to prevent others from uploading SVG Images.
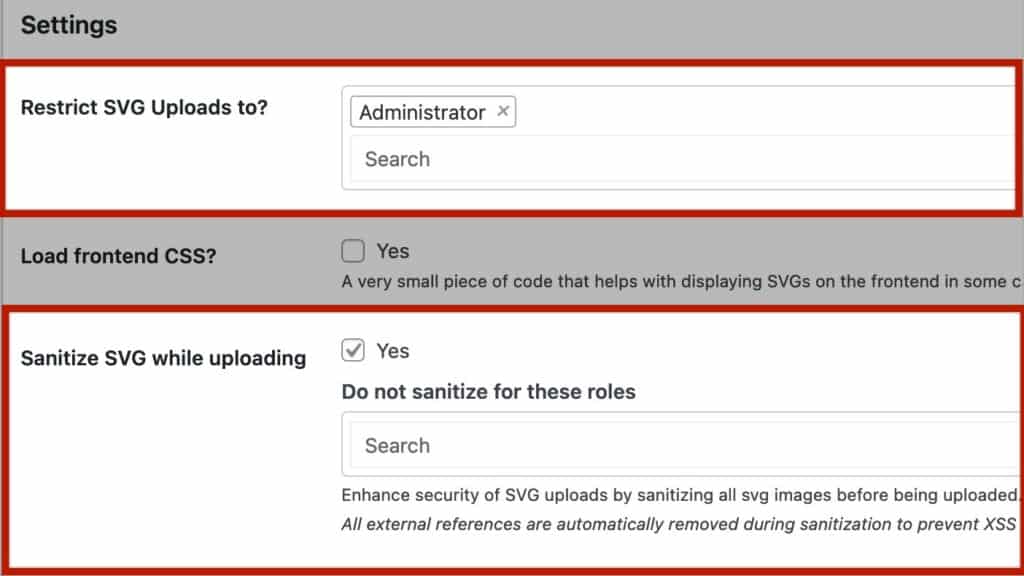
A little below that the Sanitize SVG While Uploading setting can be found. With this enabled, SVGs will be Sanitized before being uploaded.
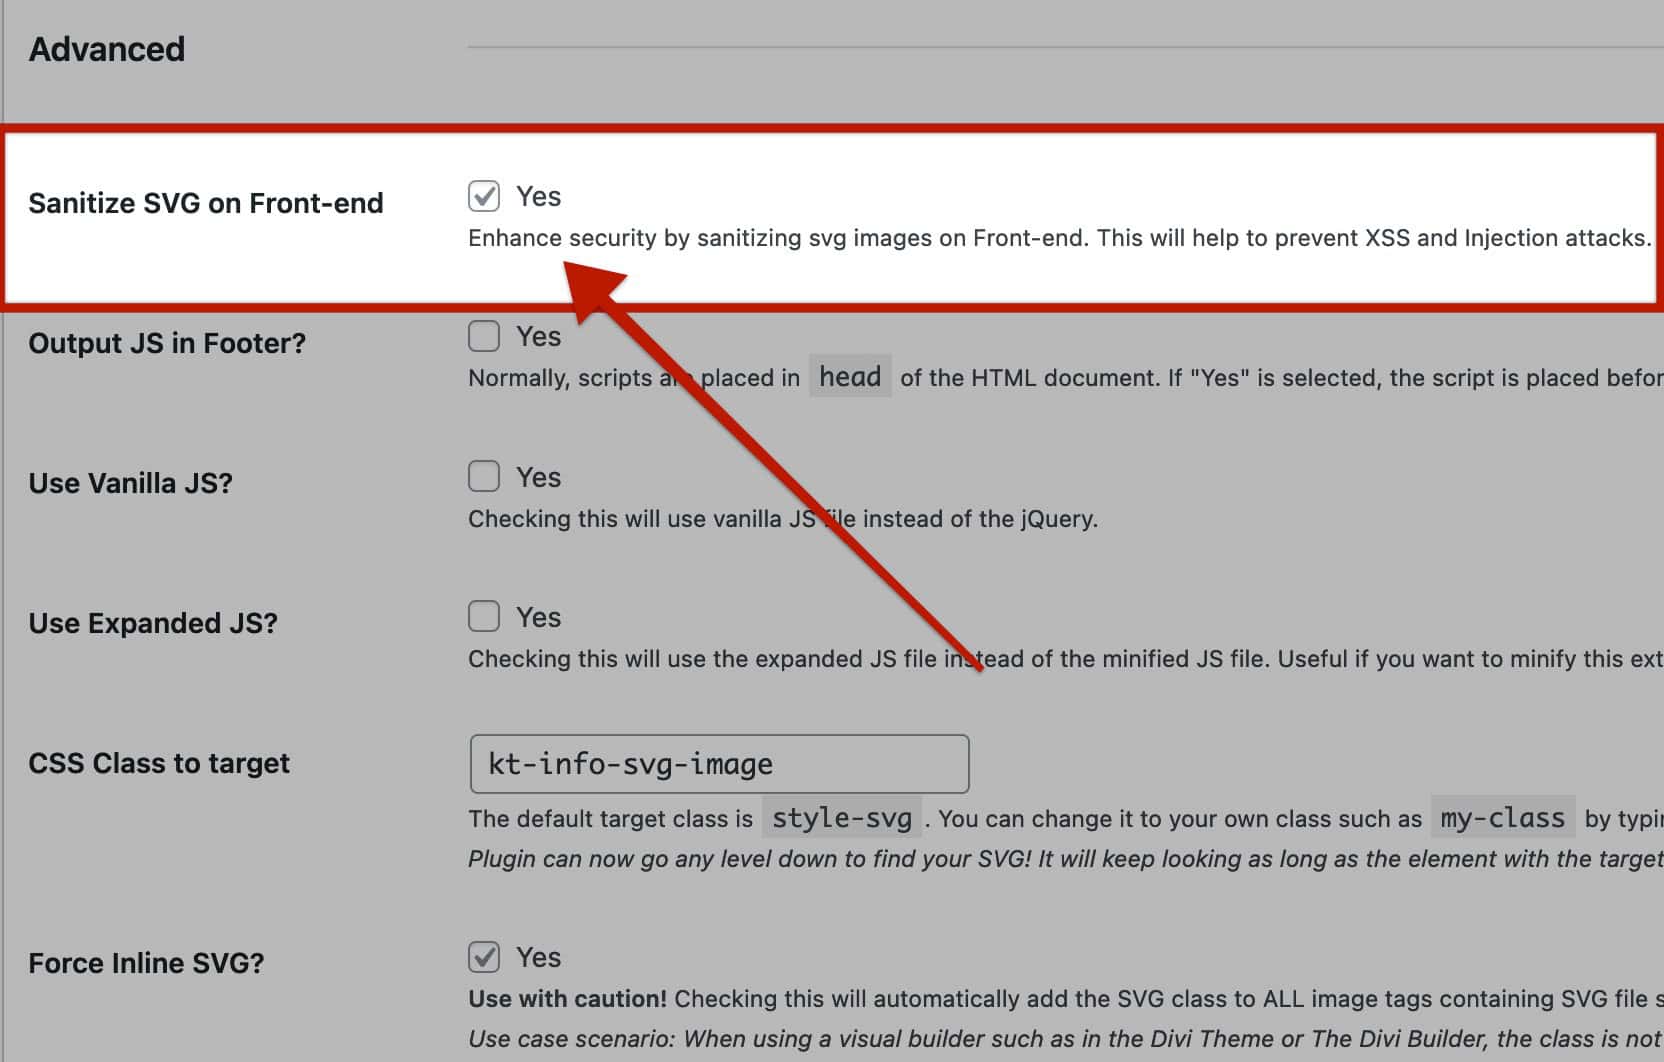
Under the Advanced settings area, the Sanitize SVG on Front-end setting can be found. This setting enhances security by sanitizing the image on the front end.