The Post Grid/Carousel block is a feature of Kadence Blocks Pro. This block showcases a grid or carousel of posts. Although it has settings to adjust the style, you might want to add dynamic content such as custom fields, more images to the grid, or modify the layout beyond the preset options. In such a scenario, you can rely on Kadence elements, a pro feature of the Kadence theme plugin, to substitute a post grid/carousel block or add information using its diverse hooks.
Post Grid/Carousel Hooks
The Post Grid/Carousel block has several hooks. Advanced users can take this list of hooks and start inserting content using a Kadence element right away.
Step One: Post Grid/Carousel
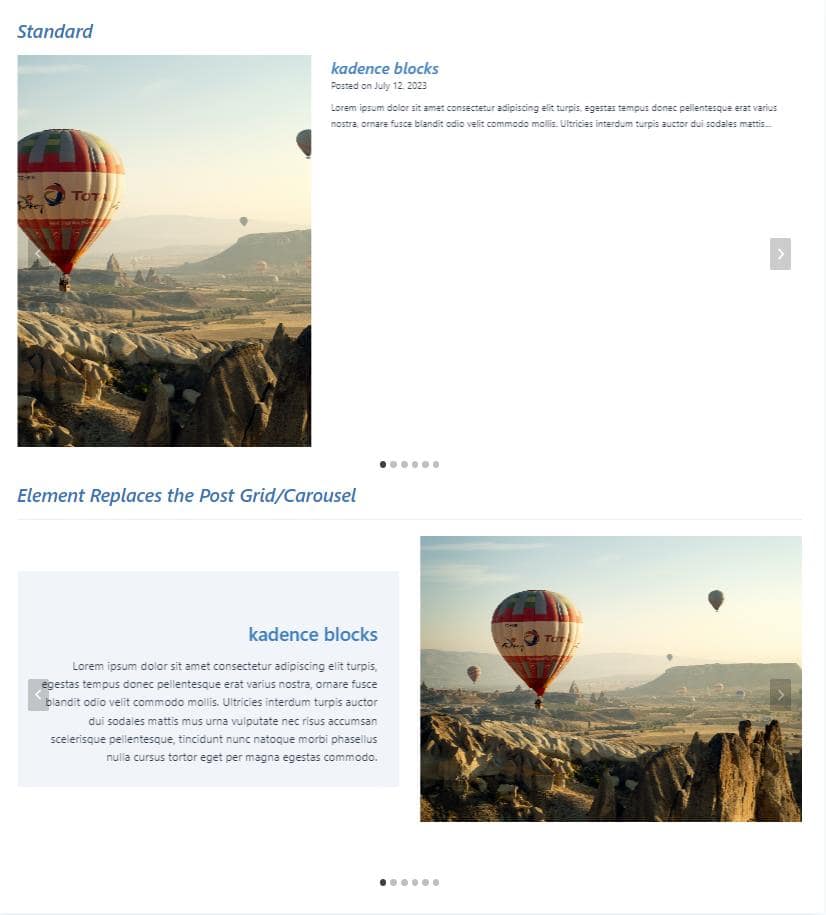
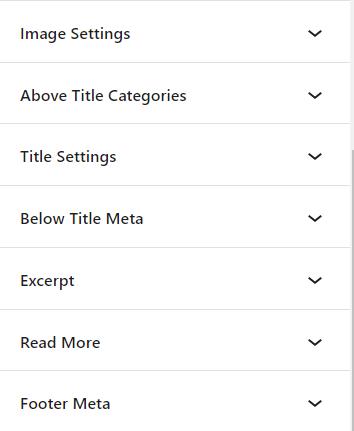
To start, add a post grid or carousel to your post. Pick the posts you want to showcase and select a layout from the block settings – grid, masonry, or carousel. At this point, you can design the layout using the settings. However, to replace the post grid entirely, disable all block sections. You can show or hide the image, above title categories, title, below title meta, excerpt, read more section, and footer meta. By hiding every section, you’ll be left with an empty carousel.
Step Two: Kadence Element
Once you have added the post grid, selected the desired posts and layout, and hidden all relevant data, you are prepared to create an element that will replace the post loop.
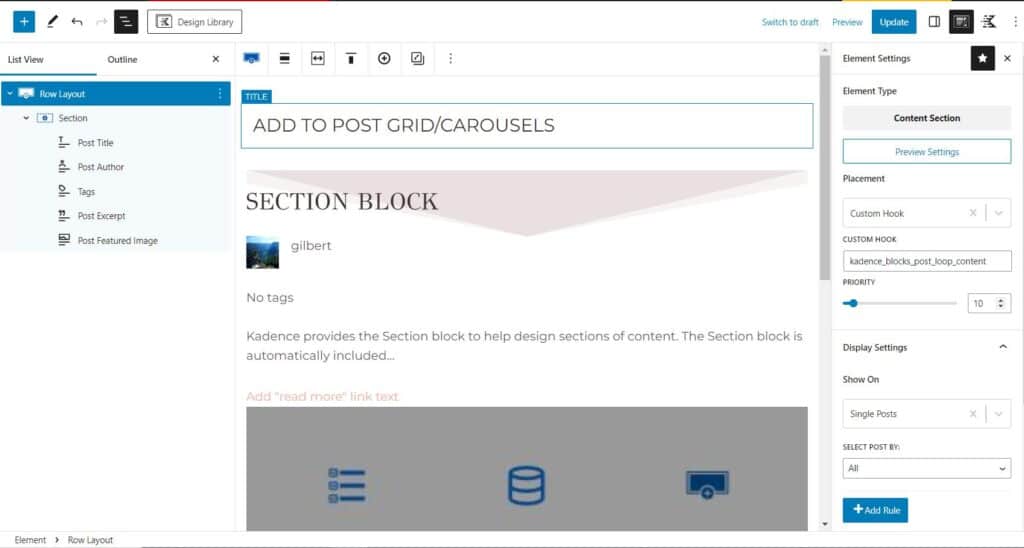
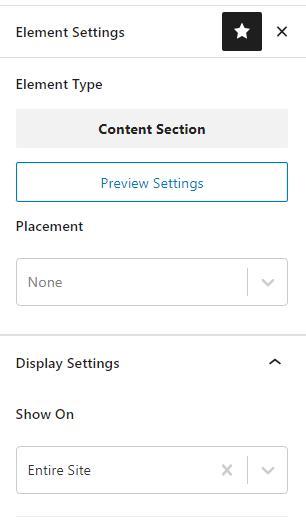
Create a Kadence Elements content section. Besides the element type, you should pay attention to the Placement and Display Settings. Change the Placement to Custom Hook (the last option in the select box). You can generally add your content section to any hook available on the front end. To completely replace the empty post grid you created in the first step, add the element to the kadence_blocks_post_loop_content hook. Also, pay attention to the page you show the element on and select the specific pages where you want to replace the post grids. If you select the entire site, every post grid/carousel block will be affected.
When creating the element, it’s crucial to keep in mind that it doesn’t serve as a substitute for the entire Post Grid/Carousel block. Rather, it replaces the loop items within the grid. Your focus should be on designing a template for a single entry in the carousel, which all posts in the grid will utilize.
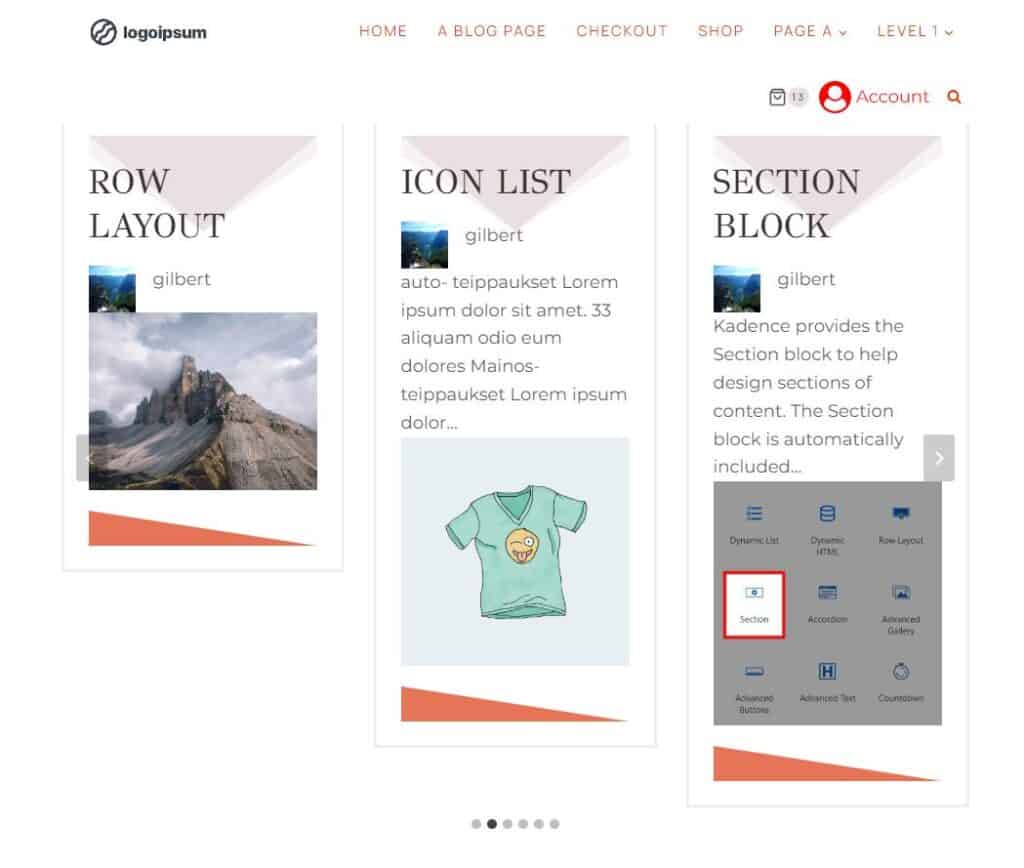
After you’ve saved your element with the correct placement and display settings, view the page with your empty Post Grid/Carousel. The carousel should now display a loop of posts using your element as a template.
Targeting a Specific Post Grid/Carousel
The instructions above will affect every Post Grid/Carousel on pages the element is configured to show on. This is fine if you have a single grid on a page or multiple grids that share the element template. If you want to target a specific grid, you must change a few settings and add custom PHP. However, the following instructions are helpful if you have more than one Post Grid/Carousel on a page and want to use different templates for them.
On your element, remove the Custom Hook placement
Set the Display Settings to “Entire Site”.
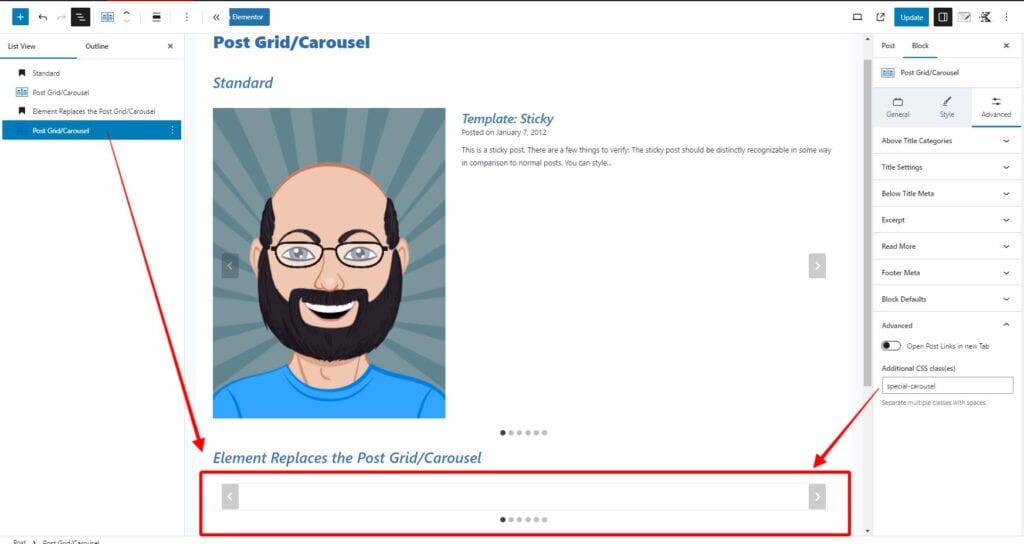
Add a custom class to your special post grid/carousel block, maybe “special-carousel”
Add this custom code snippet. You can add PHP code to your site using a plugin like Code Snippets or your functions.php file (in a child theme).
add_action('kadence_blocks_post_loop_start', function($attributes){
    if ( isset($attributes['className']) && strpos($attributes['className'], 'special-carousel') !== false ) :
        echo do_shortcode('[SPECIAL_ELEMENT_SHORTCODE]');
    endif;
});
Just change the ‘special-carousel’ class to your custom class name and ‘SPECIAL_ELEMENT_SHORTCODE’ to the correct element shortcode.
You can add the “special-carousel” custom class to the Post Grid/Carousel in the Advanced settings of the Advanced tab.
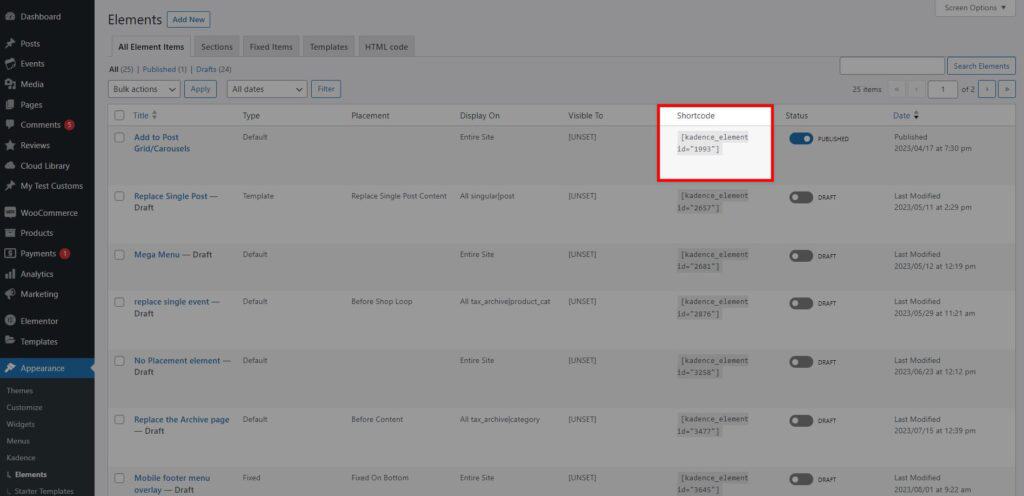
You can find the element shortcode in the dashboard (Appearance > Kadence -> Elements.
Finally, here is a screenshot showing the element affecting a single Post Grid/Carousel on a page with multiple carousels.