Kadence Gutenberg Blocks provides the Countdown block to display countdowns in your content. You can use a countdown to tell your customers how much time they have to take advantage of a sale. A countdown may be helpful to draw attention to an upcoming event. There are plenty of use cases for Kadence’s Countdown block and many ways to configure your timer using block settings.
Adding the Countdown block to your content is easy using the Gutenberg WordPress editor.
General
Countdown Configuration
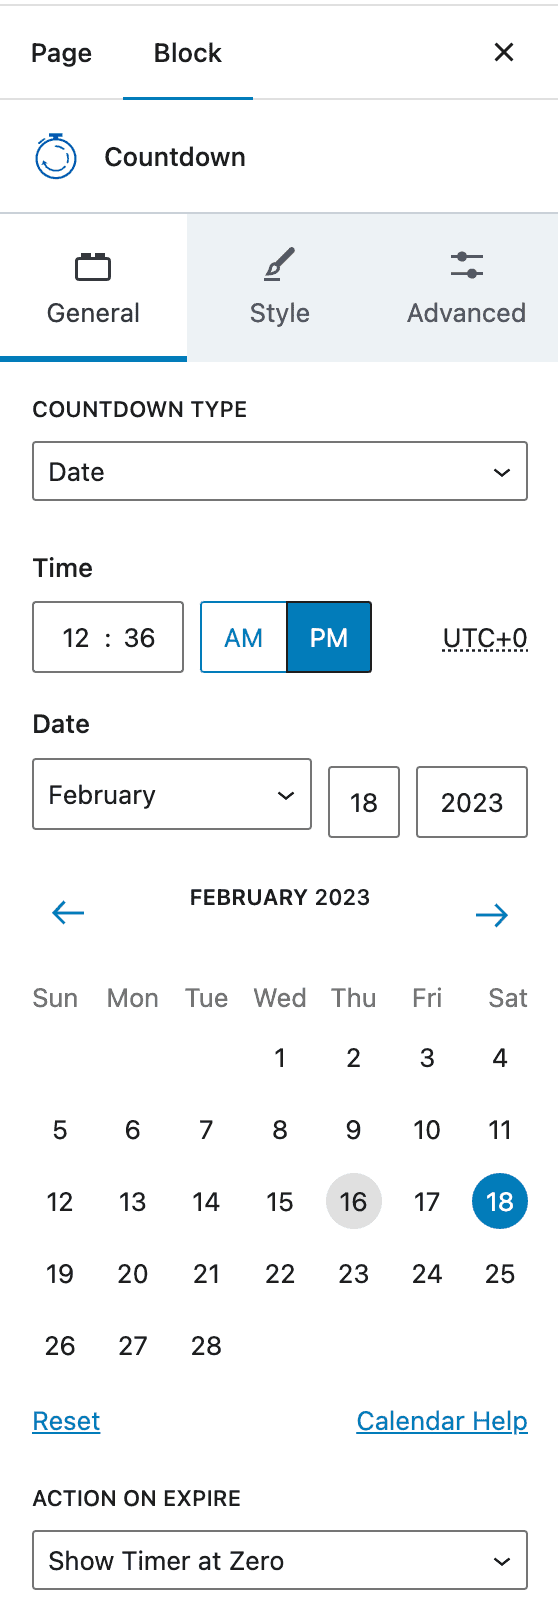
To create a countdown, you can adjust the expiration date and time in the block settings. When the timer reaches zero, it will expire. With the pro addon, you have the option to set an Evergreen timer and an expiration action. Simply use the settings panel to specify the desired time and date.
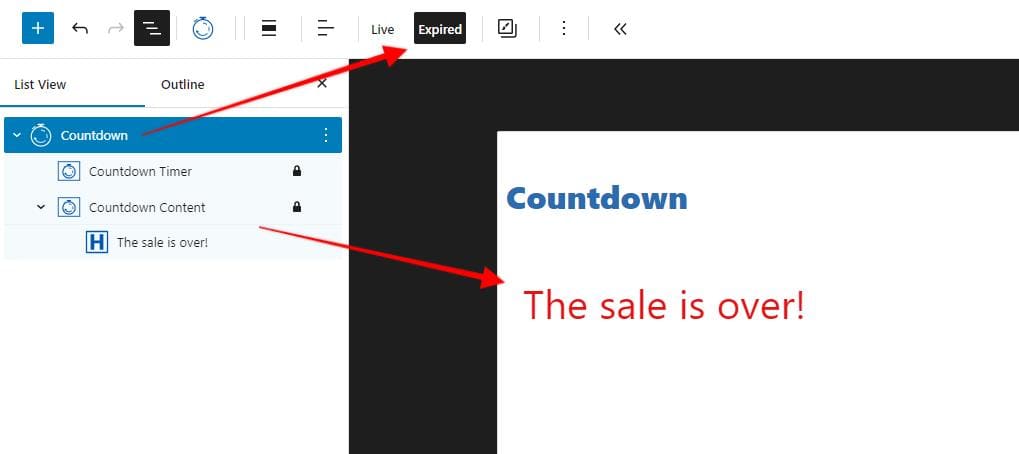
Action on Expire
There are several actions available when the timer expires. The free version only allows you to show the timer at zero when it expires. The pro addon provides additional actions at expiration, explained in the Pro Addon section below.
You can customize the timer even further with settings for the Countdown Layout, Number Settings, Label Settings, and more. You can add pre-text and post-text to timers, change the colors and sizes of your font, and add borders.
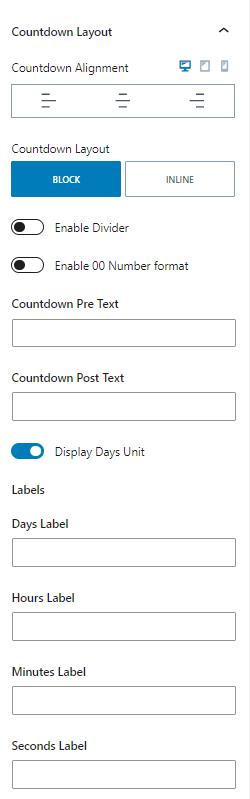
The Countdown Alignment justifies the timer to the left, center, or right. This setting can be adjusted for desktop, tablet, and mobile devices by clicking on the appropriate icons.
There are two layouts: block and inline. The block layout allows a divider, whereas the inline layout makes the countdown look like a line of text.
Countdown pre text adds text before the timer, and post text adds text after the countdown. You can also label the days, hours, minutes, and seconds.

Style
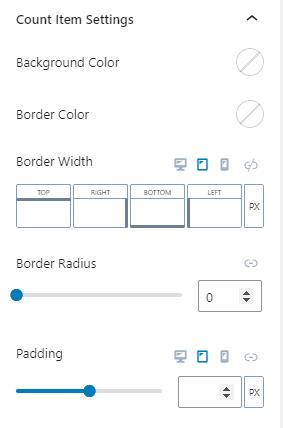
Count Item Settings
The count item settings have settings for the background color, border color, border width, border radius, and padding for the count items. Some settings, like the border color and padding, allow different settings for desktop, tablet, and mobile devices when the appropriate icon is selected.
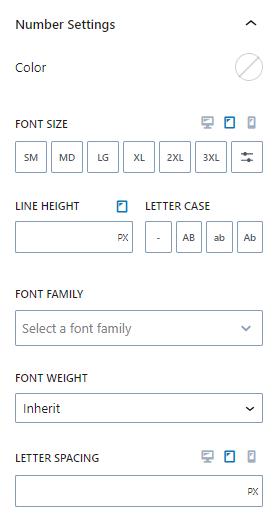
Number, Label, Pre Text, and Post Text Settings
The number, label, pre text, and post text settings let you adjust settings for the parts inside of the count items. You can adjust the color, font size, line height, font family, font weight, and letter spacing for each part of the item.
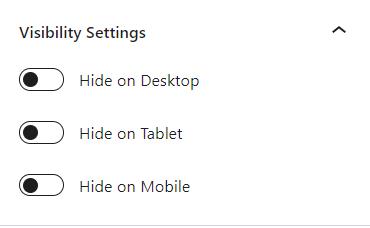
Visibility Settings
You can control when a block is visible on different devices using visibility settings. By default, the block will be displayed on all devices, but you can choose to hide it on desktop, tablet, or mobile by turning on the corresponding switch.
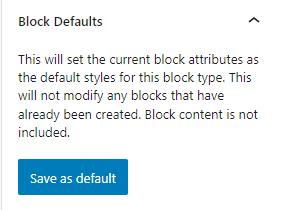
Block Defaults
Sometimes, you need to add a block many times and need them to have identical styles. In these cases, you can save the block’s current settings as default settings for new blocks of the same type. For example, if you use the Advanced Text block throughout your content, you might find it helpful to save default settings so that new Advanced Text blocks have them by default.
Kadence blocks have a Block Defaults section under the Advanced tab in the block settings. After you adjust the settings to the desired defaults, find the Block Defaults section and click the button that reads Save as Default.
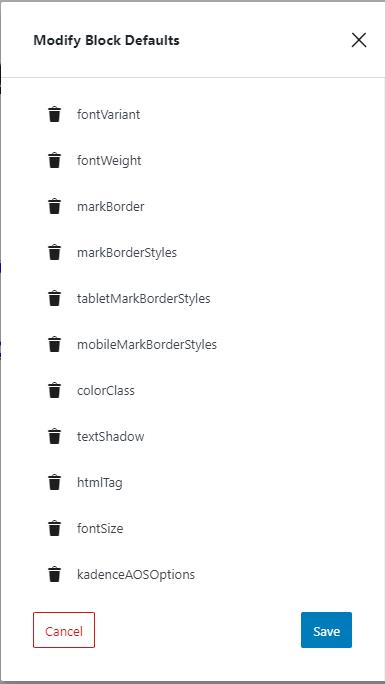
After clicking the button, you will find two new links in the section to Modify Attributes and Reset Defaults. If you choose to Modify Attributes, you can delete the default settings individually. If you choose to Reset Defaults, all the default settings are removed.
Remember, the default settings only apply to newly added blocks, not existing blocks.
Pro Addon
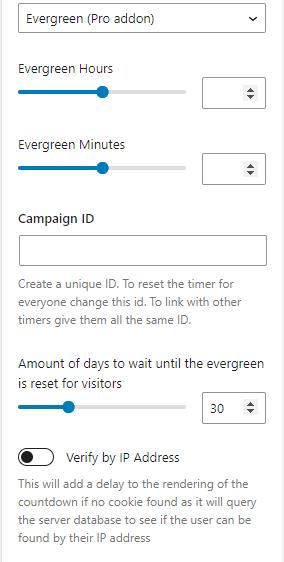
The pro addon comes with some extra features for you to enjoy. An Evergreen Countdown is an individual counter based on a user’s browser. The traditional countdown has an expiration date that is the same for anyone who visits the site. However, an Evergreen timer will be triggered for a user when they first enter the page. You can repeat this timer after it expires for a user, and it helps impart a sense of urgency, perhaps for a limited-time offer.
Instead of setting a specific time to expire, an evergreen timer lets you set a number of hours and minutes. When the countdown ends, the evergreen timer resets after the set amount of days to wait.
The pro addon also allows you to adjust the action at expiration. Upon expiration, the timer could be set to hide, be replaced with alternative content, or redirect the user to another URL.
Replacing the time with content provides another block called the Countdown Content block, which lets you add content which will display when the timer expires.