Whether your website is undergoing updates or in preparation for its launch, Kadence Theme Pro offers a straightforward way to guide users to a dedicated Maintenance or Coming Soon page. While using the Kadence Maintenance Mode feature, you can display a custom page to inform visitors of ongoing maintenance/website repairs, upcoming launch dates, or other important information, ensuring a smooth user experience while your website may not be fully available at the time. This feature not only helps you manage visitor expectations but also communicates professionally with search engines during temporary changes or website development.
Getting Started
Kadence Maintenance Mode is a part of the Kadence Theme Pro plugin. You can get this plugin as a stand-alone product or in one of our bundles.
With the Kadence Theme Pro plugin active on your website, navigate to the Dashboard > Appearance > Kadence page. In the Pro Addons section, locate the Maintenance Mode feature and enable it via the toggle switch.
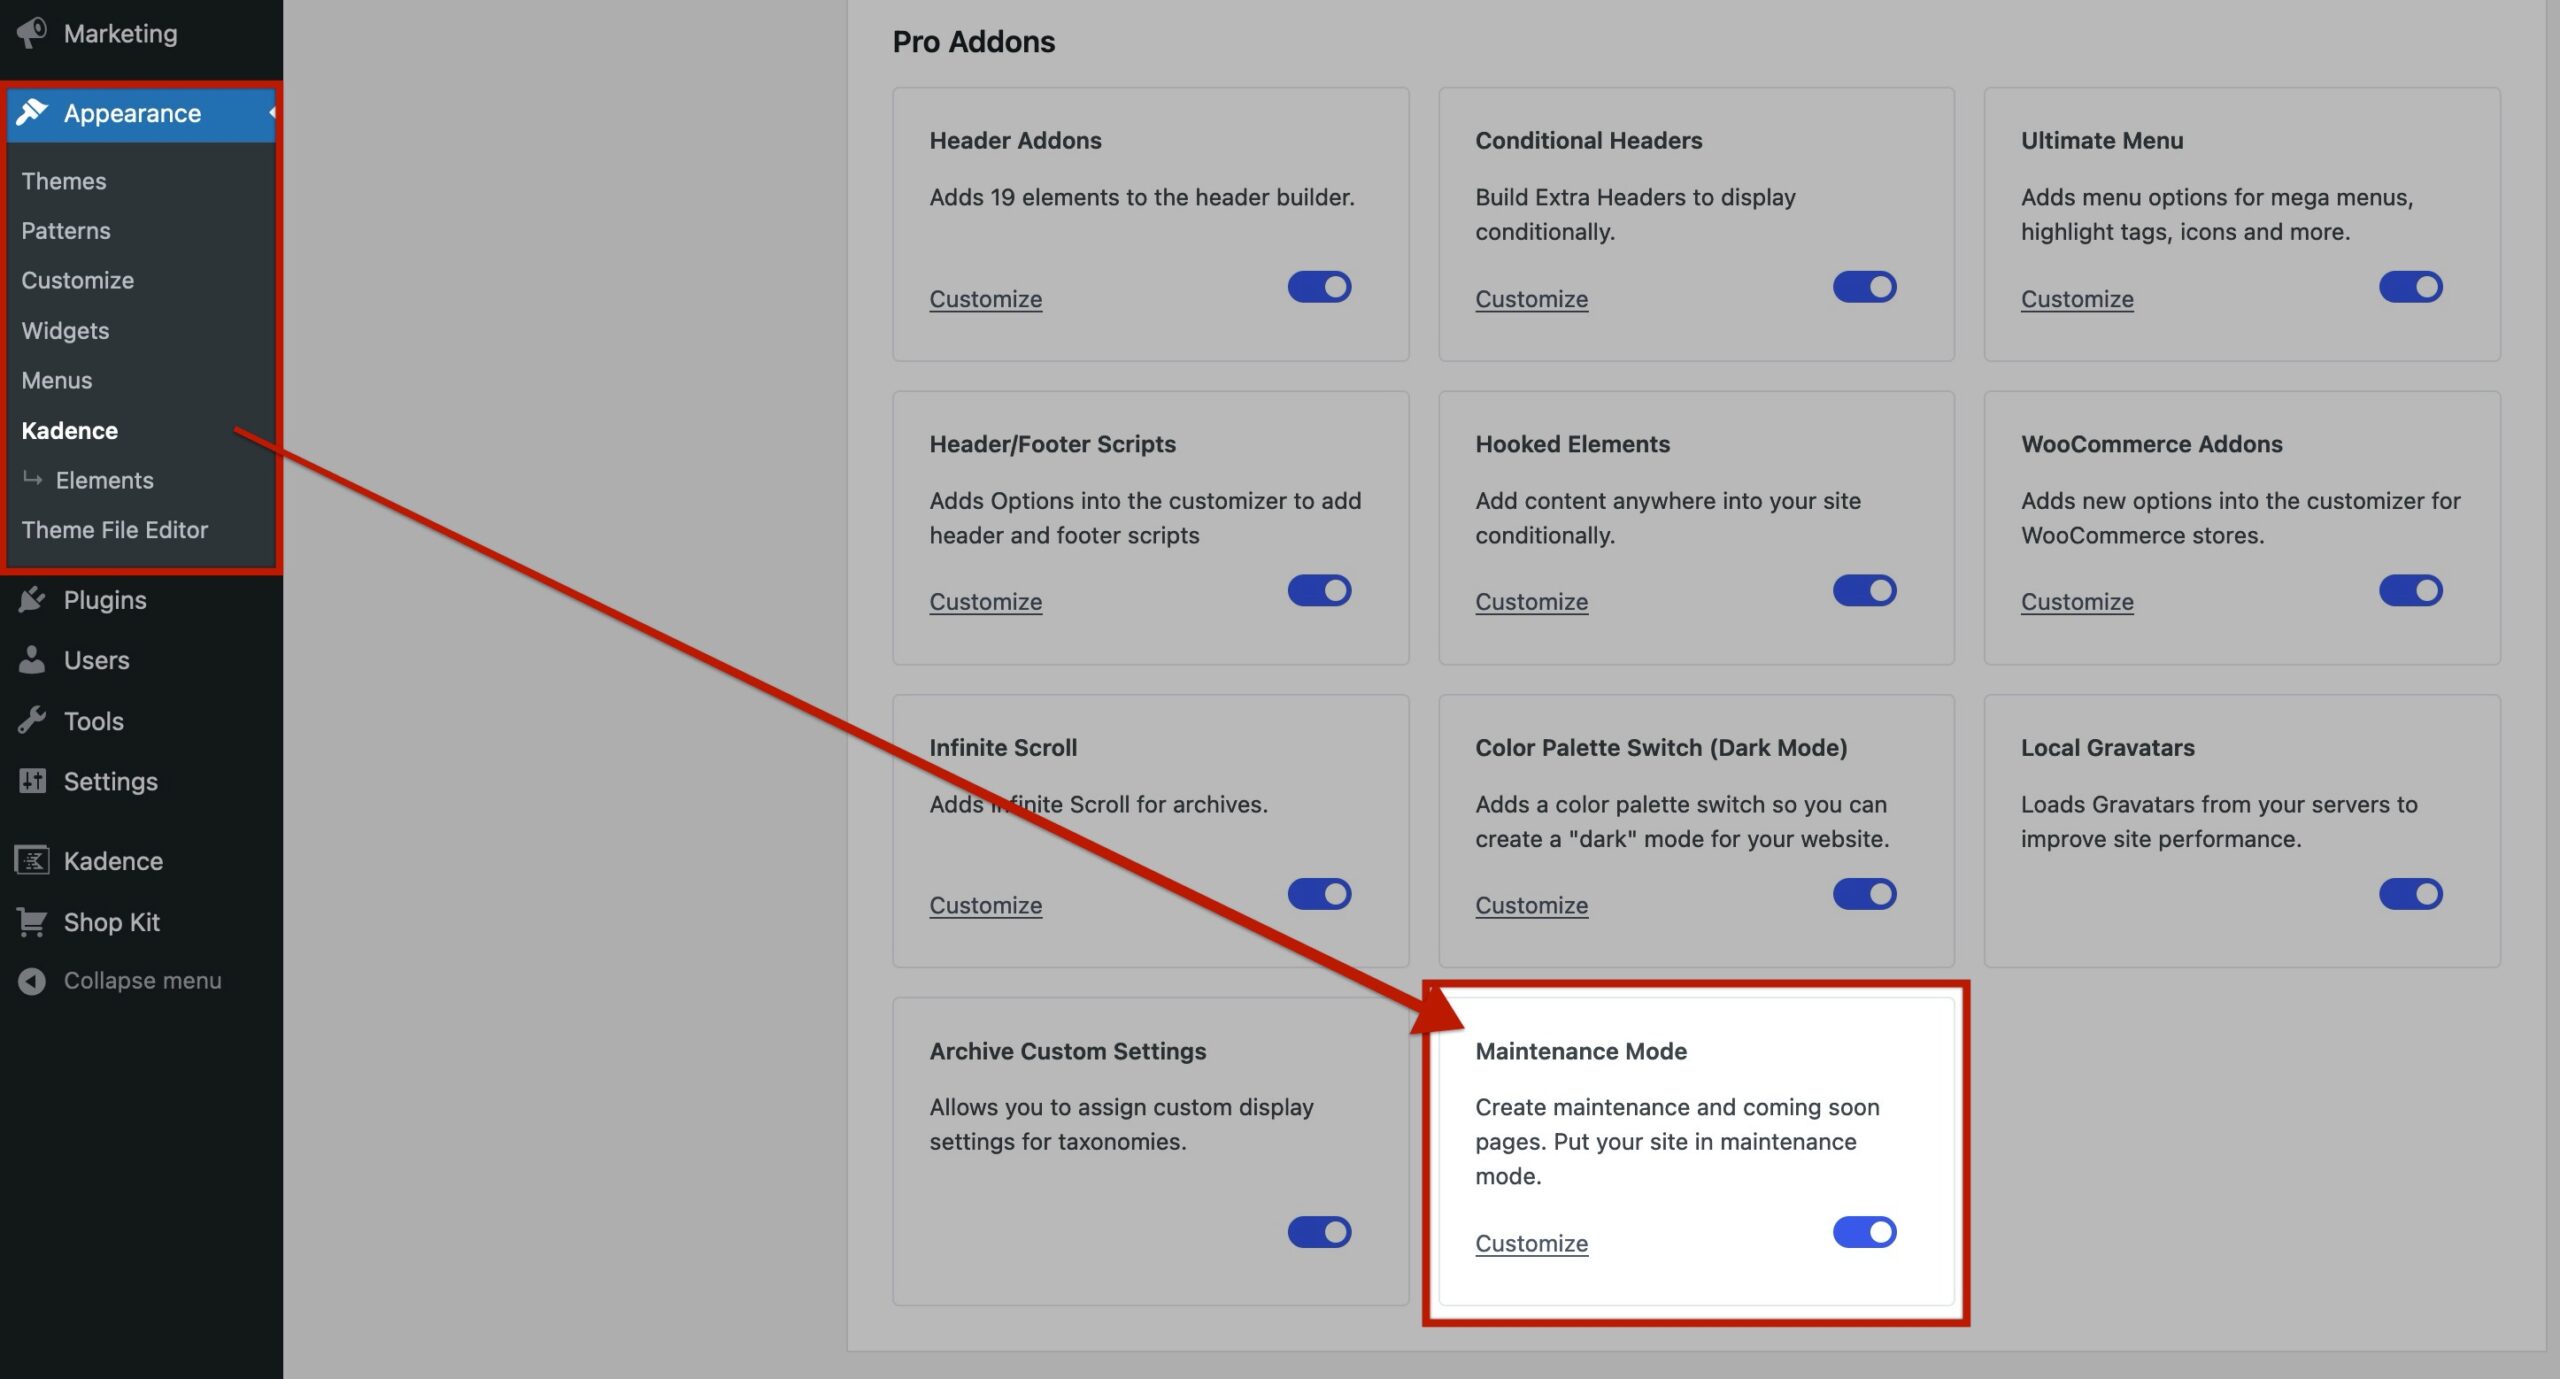
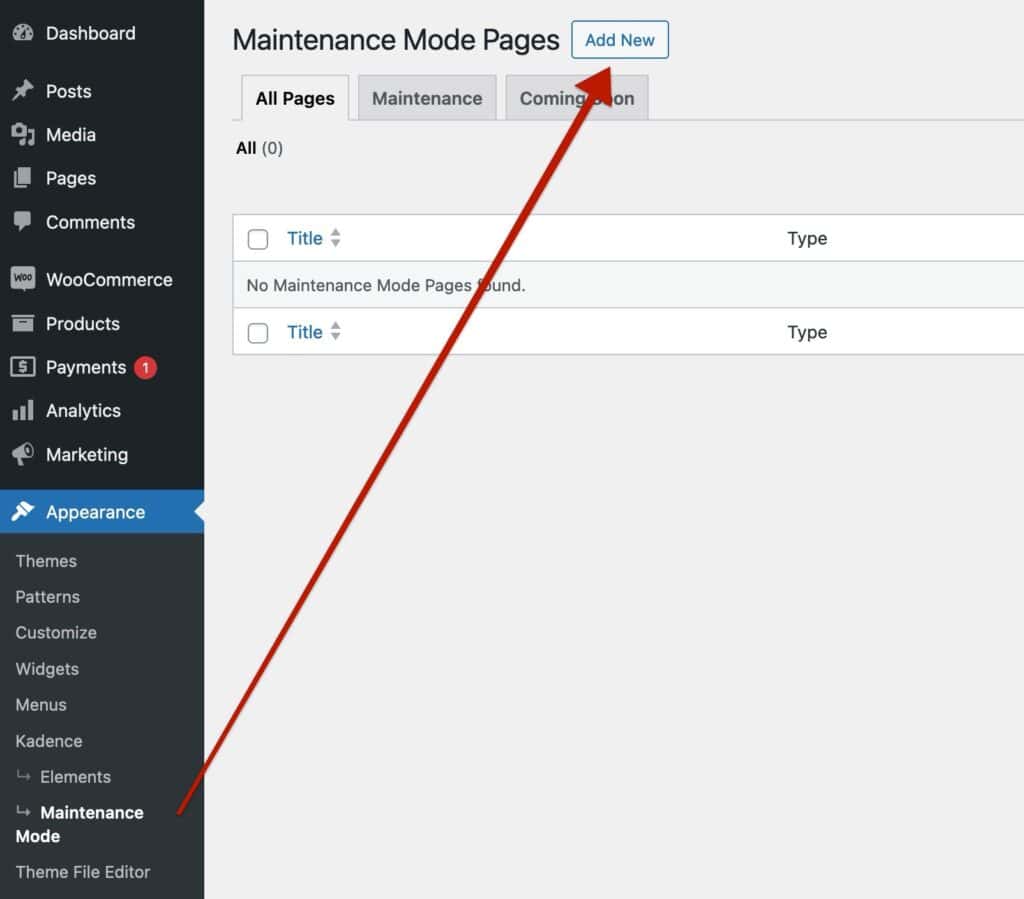
Once Maintenance Mode is enabled, click on the Customize link below the feature description. You can also manually go to the Dashboard > Kadence > Maintenance Mode page to set up your Maintenance Mode page(s).
Initially, you can create one of the two kinds of Maintenance Pages.
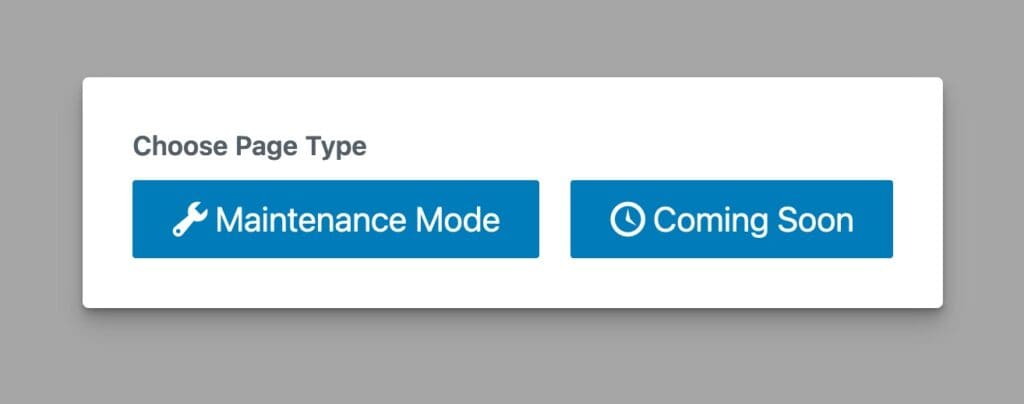
- Maintenance Mode: This page type uses a 503 Service Unavailable status code, signaling that the site is temporarily down for maintenance. This ensures that search engines can recognize the site’s temporary status and prompt them to revisit it later.
- Coming Soon Mode: This page type typically uses a 200 OK status code, indicating that the page is accessible and ready to be indexed by search engines, even if the full site isn’t completely live yet.
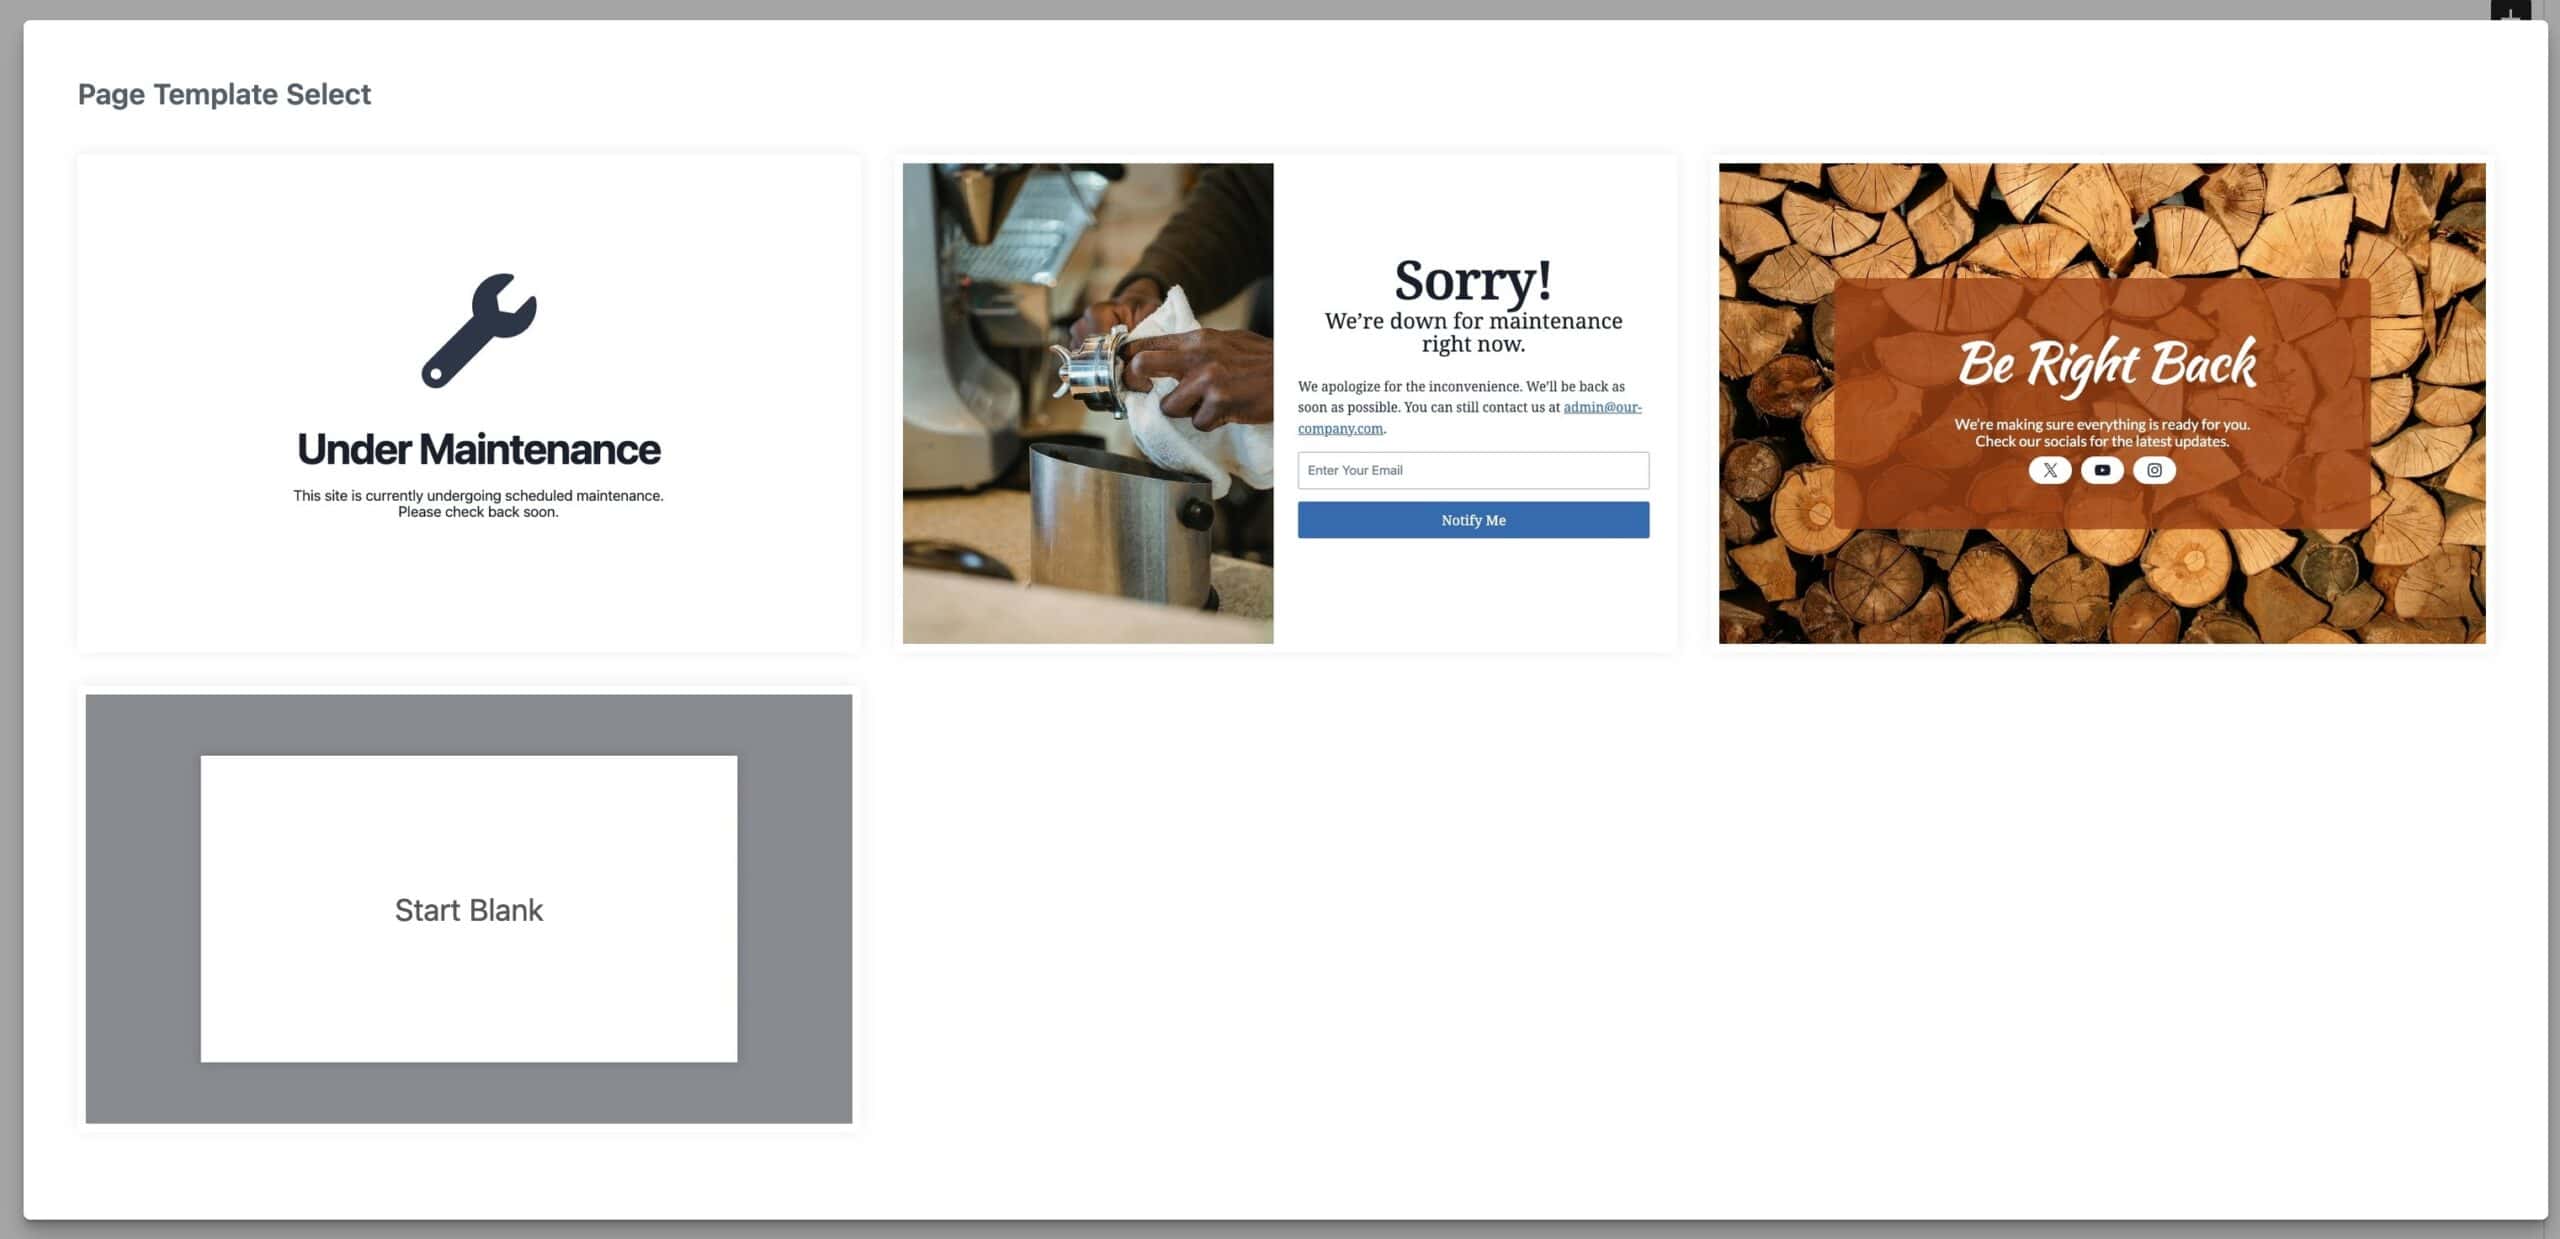
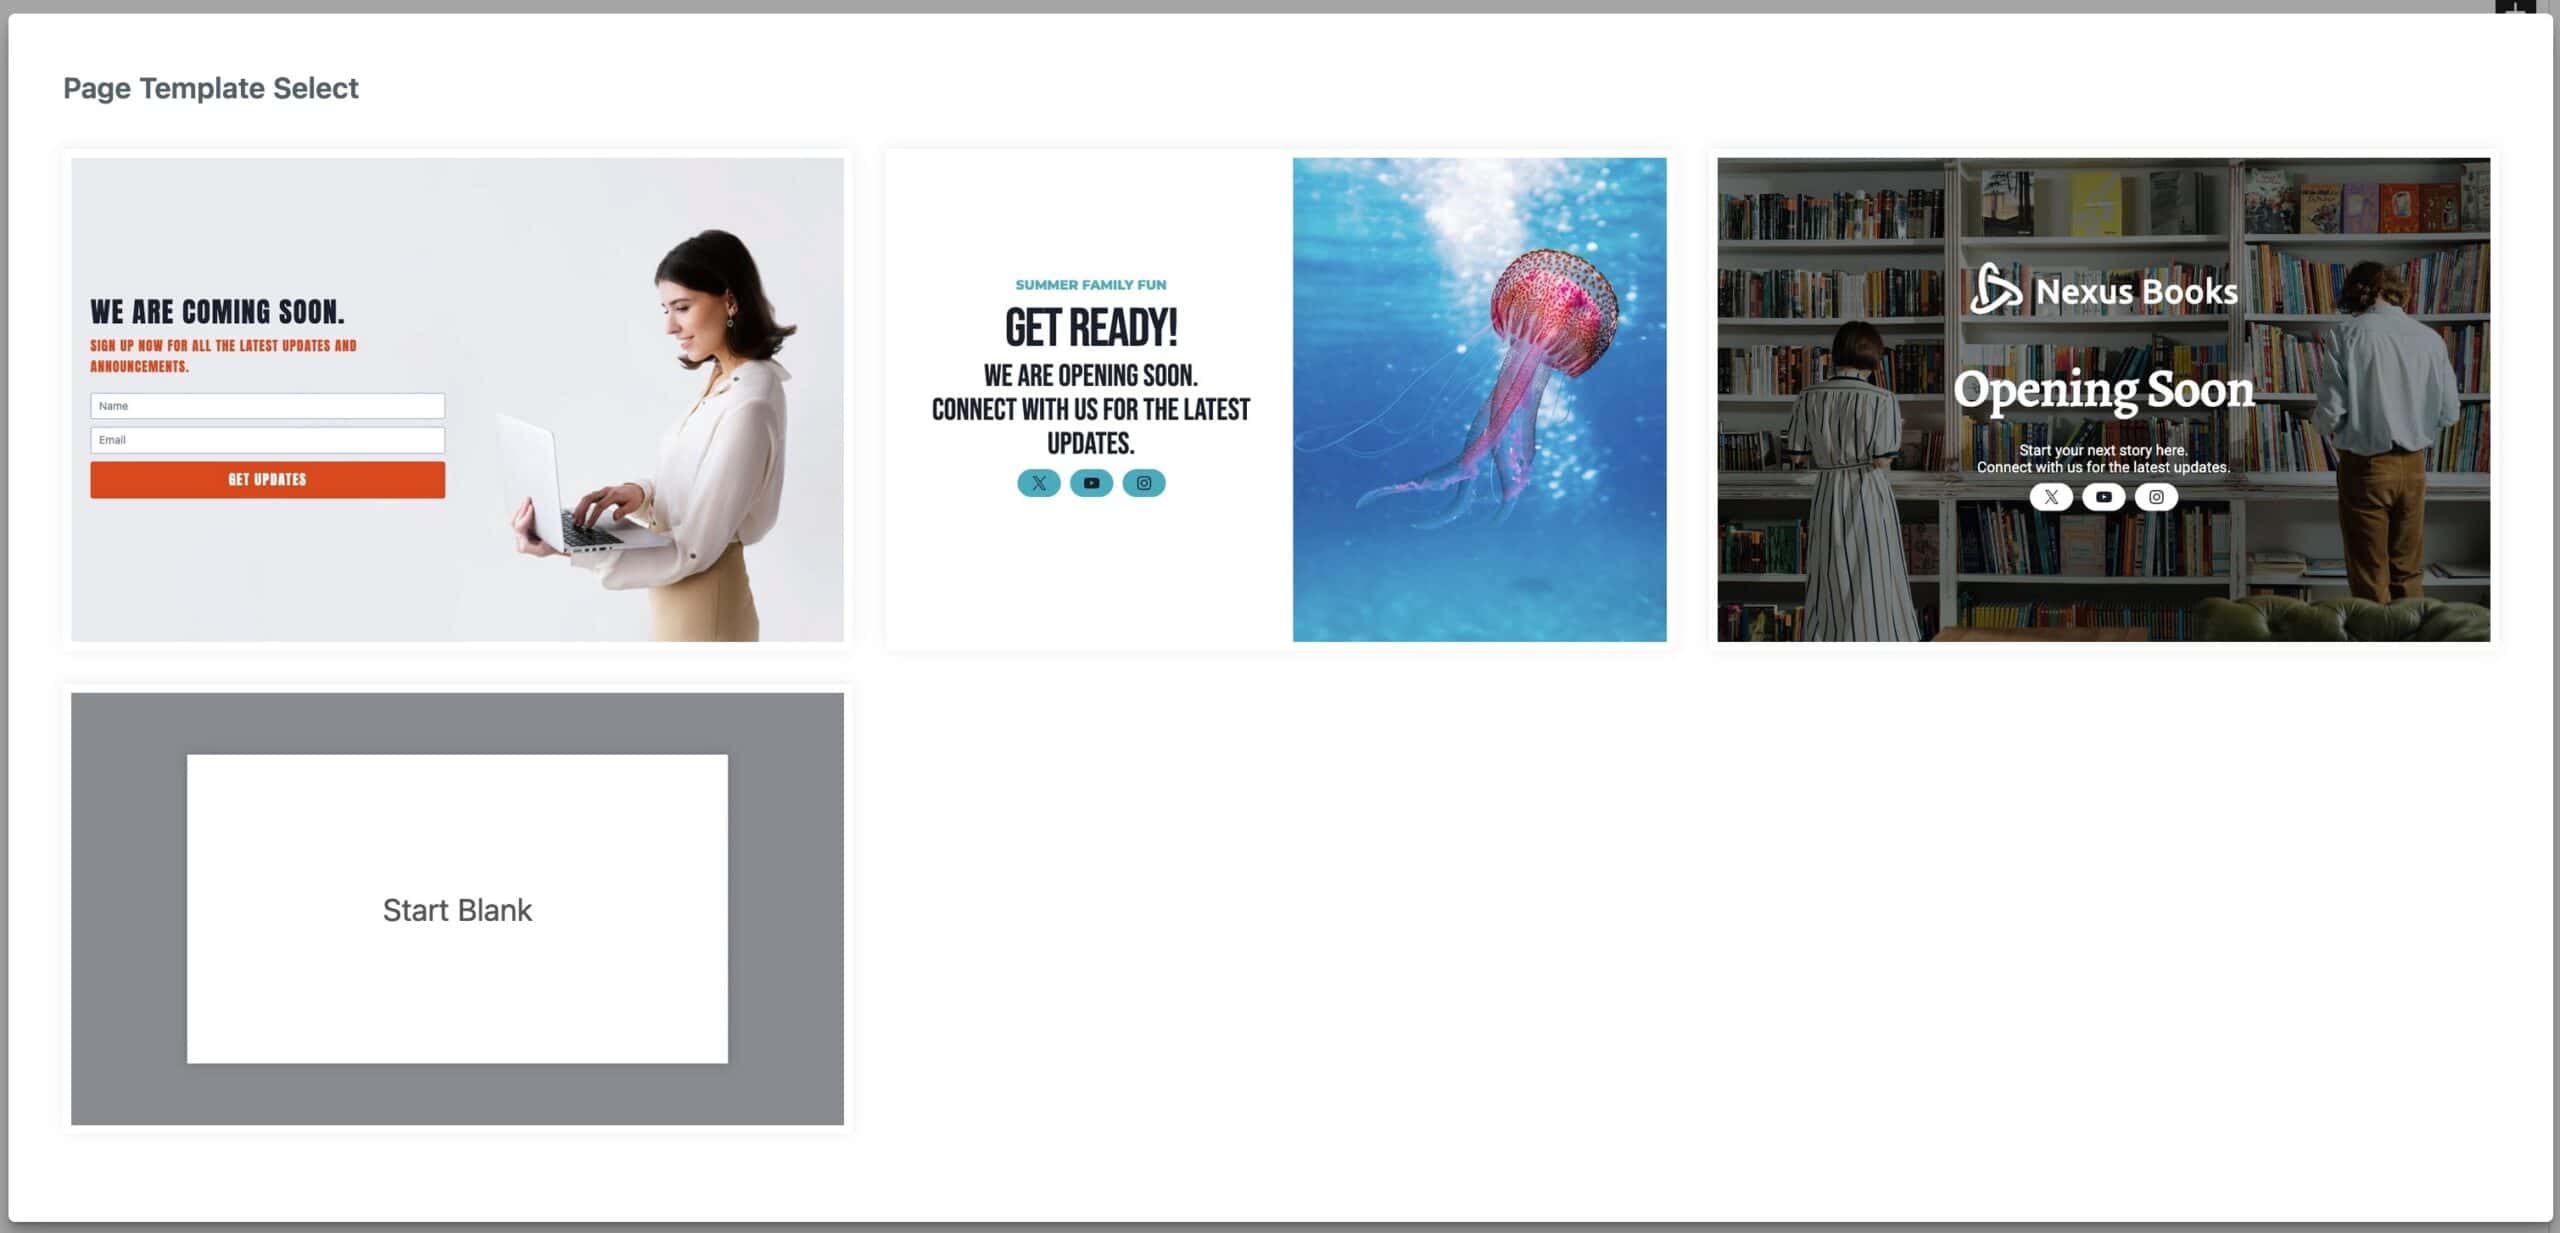
Choose the mode that best suits your scenario. After selecting the page type, you can either choose a pre-made template or start with a blank page to design your own Maintenance Mode Page from scratch.
When using the Start Blank option, consider using a Row Layout Block with a 100vh Min-Height to ensure your custom page content covers the entire screen. This approach is ideal for displaying a full-page background image and videos or generally fitting your content to the entire screen height.
To set this up, go to Row Layout Block Settings > Advanced Tab, then expand the Structure Settings. Next to the Minimum Height setting, click on the PX box to change the unit of measurement to VH (View Height). Set the value to 100 to ensure the content covers 100% of the viewport height. This configuration is particularly useful for creating a visually impactful design with a full-page background image, video, or gradient.
Once your design is ready, use the Maintenance Mode Settings (explained below) to configure where and how your Maintenance Page will be displayed on the site.
Maintenance Mode Page Settings
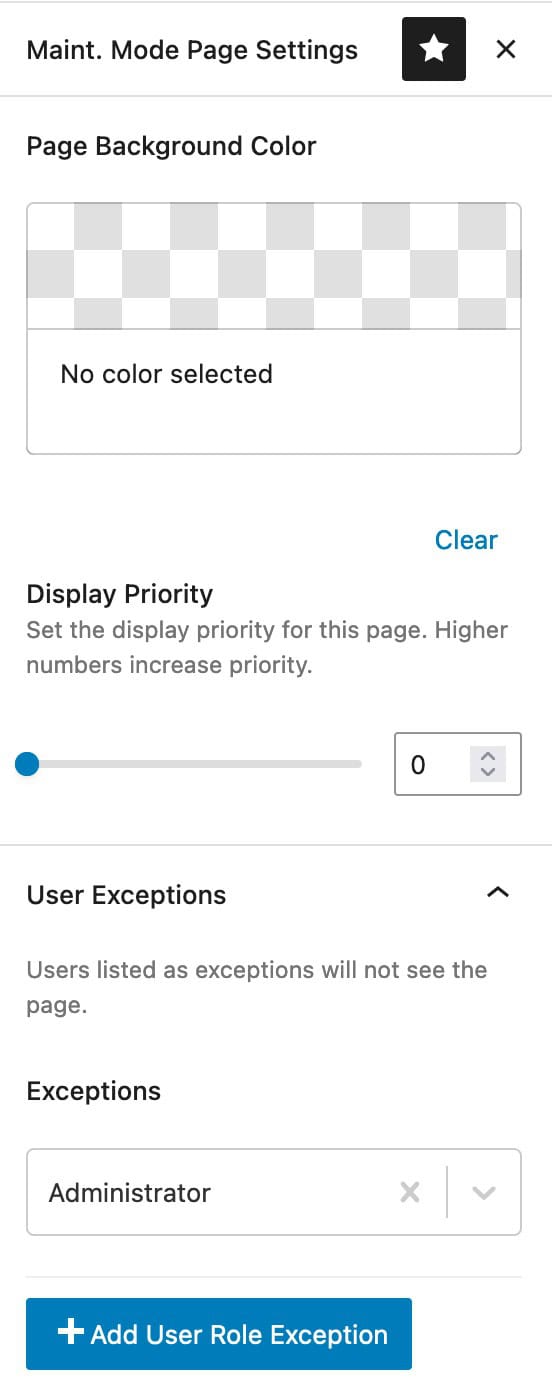
When inside the Maintenance Mode Page Editor, use the Maintenance Mode Settings to manage and configure your Maintenance Mode options. This allows you to control things like the Page Background Color, Priority, User Exceptions, and Expiration Settings.
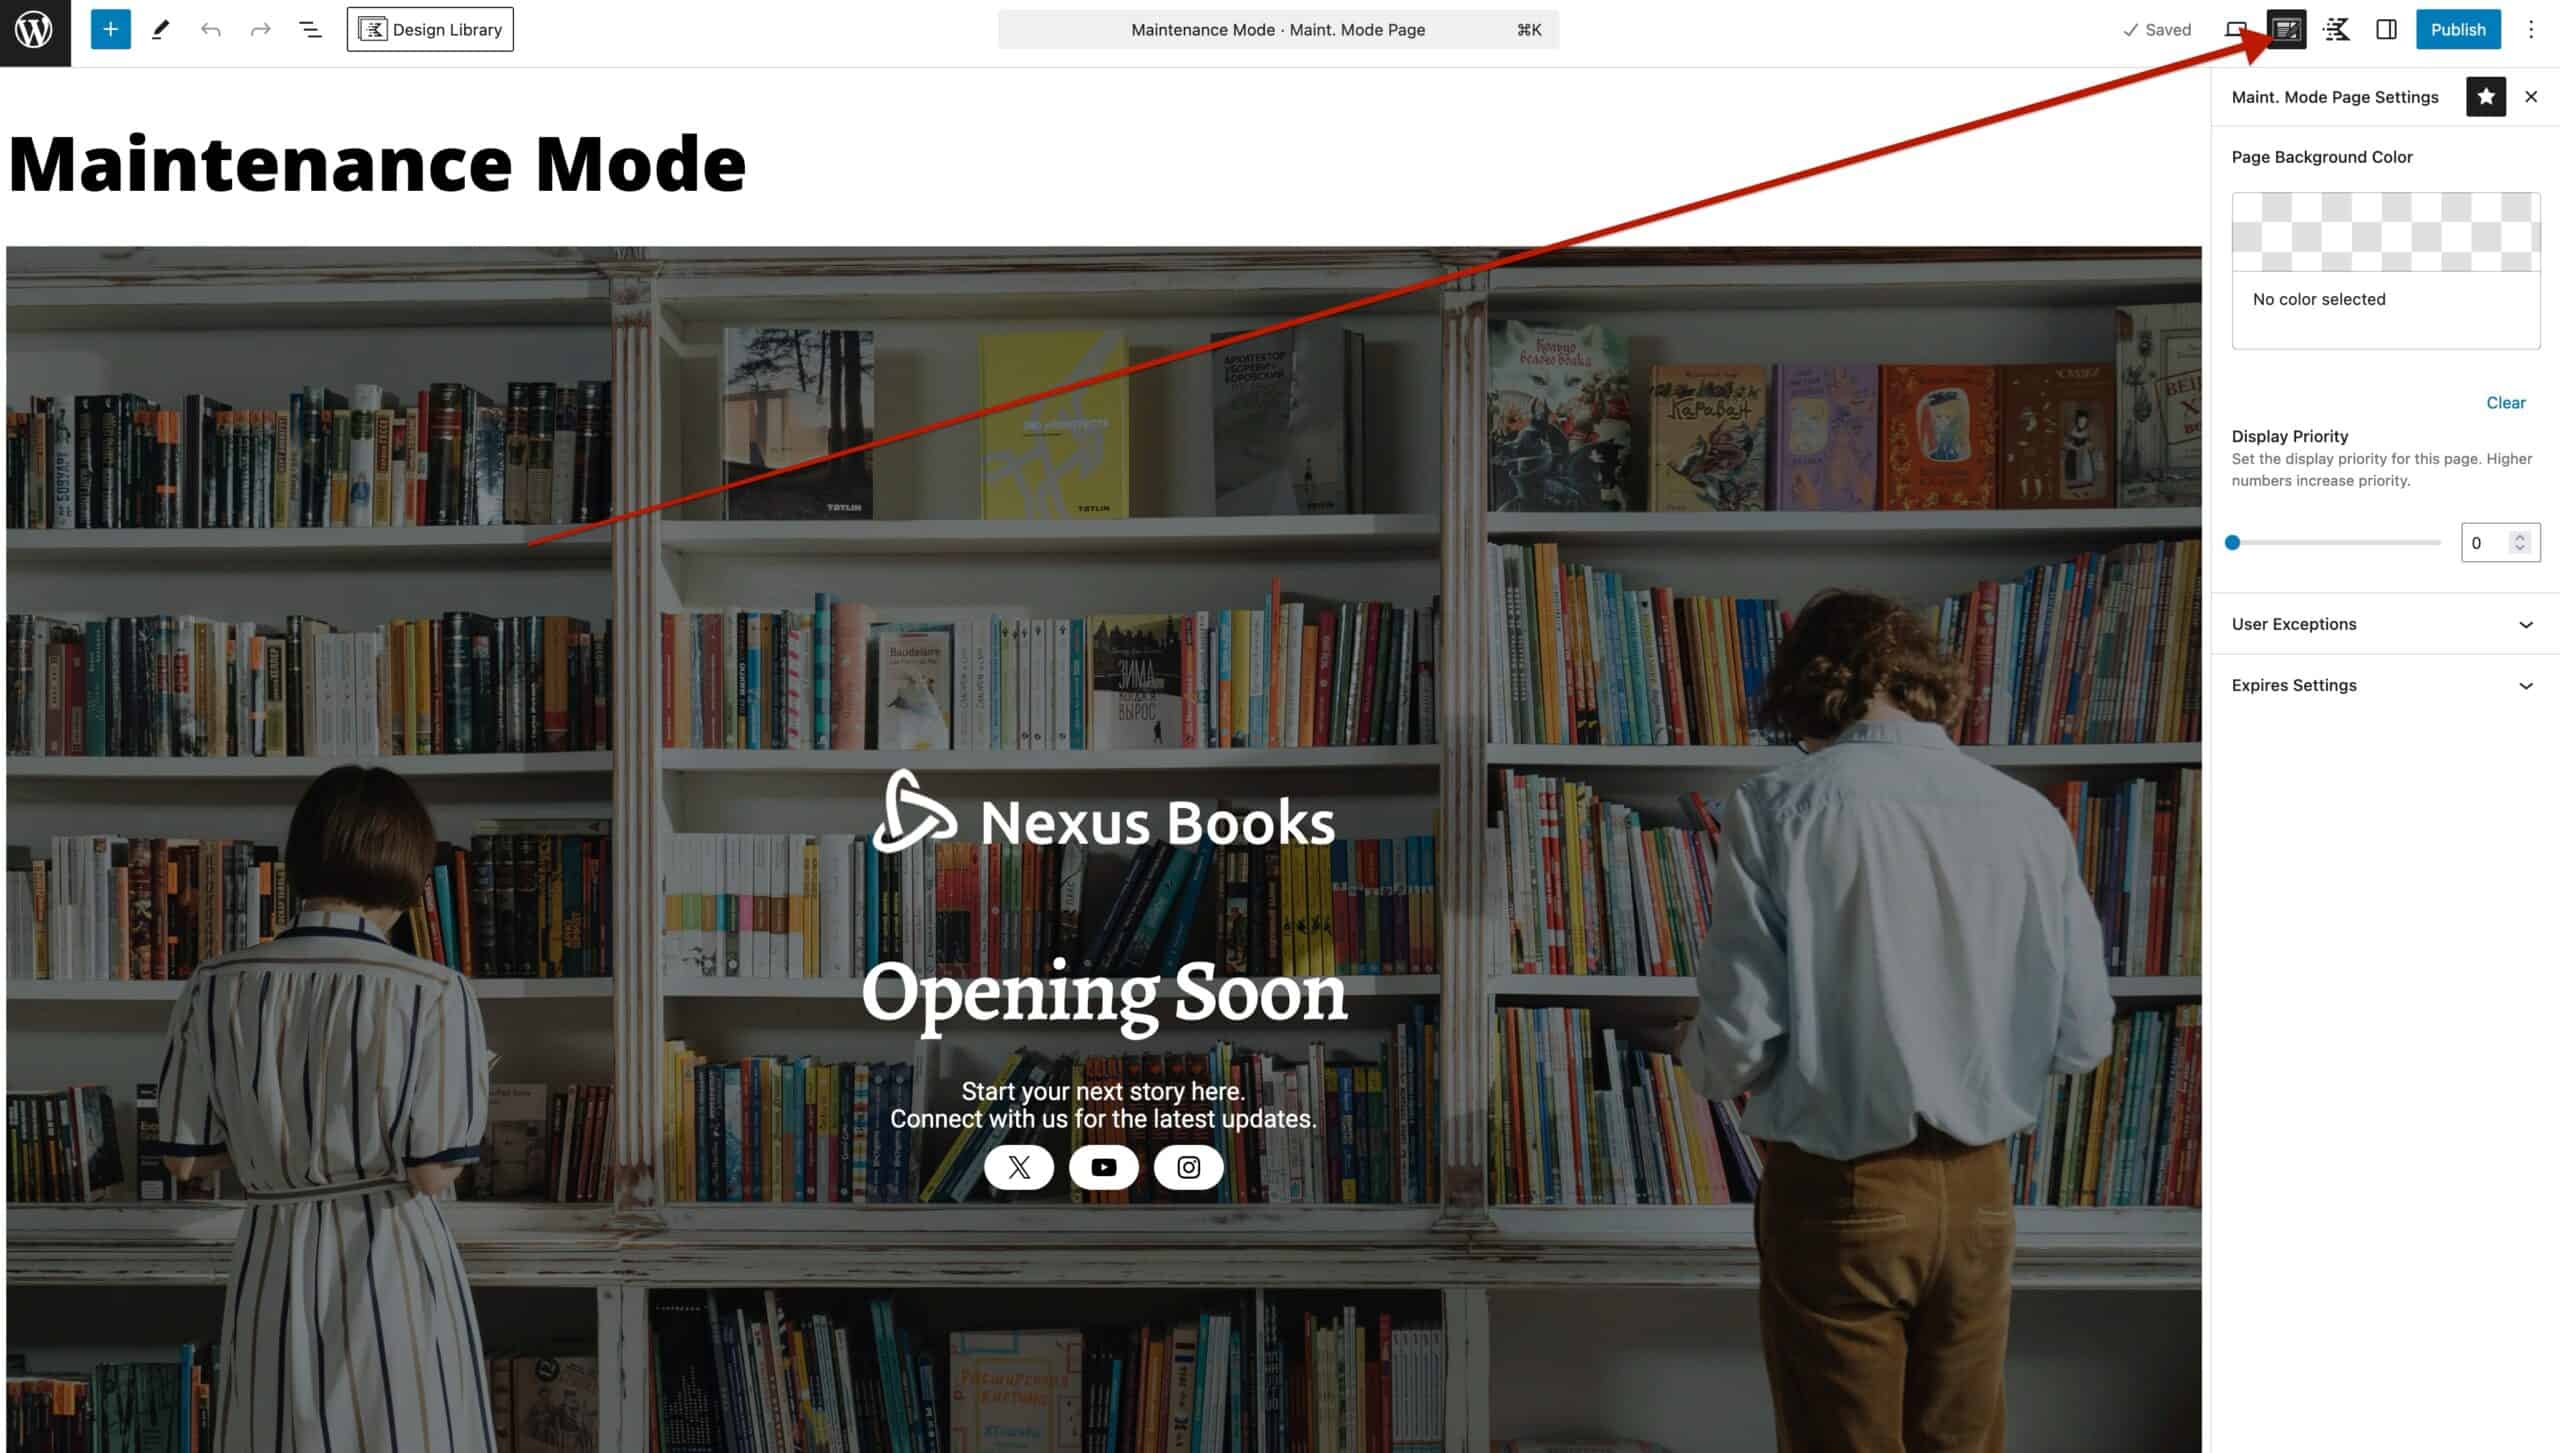
Page Background Color: If you’re not using a Row Layout Block with a 100vh height, you may want to adjust the Page Background Color. This can be done using this setting.
Display Priority: Set a priority for your Maintenance Mode page. The page with the highest priority will be displayed above the pages with a lower priority value.
User Exceptions: In the User Exceptions dropdown, you can specify which User Role Types will see the live site instead of the Maintenance Mode page. By default, this is set for Administrators. You can add additional User Roles to the Exceptions List by clicking the Add User Role Exception button. You can also choose to apply this based on whether users are logged in or logged out.
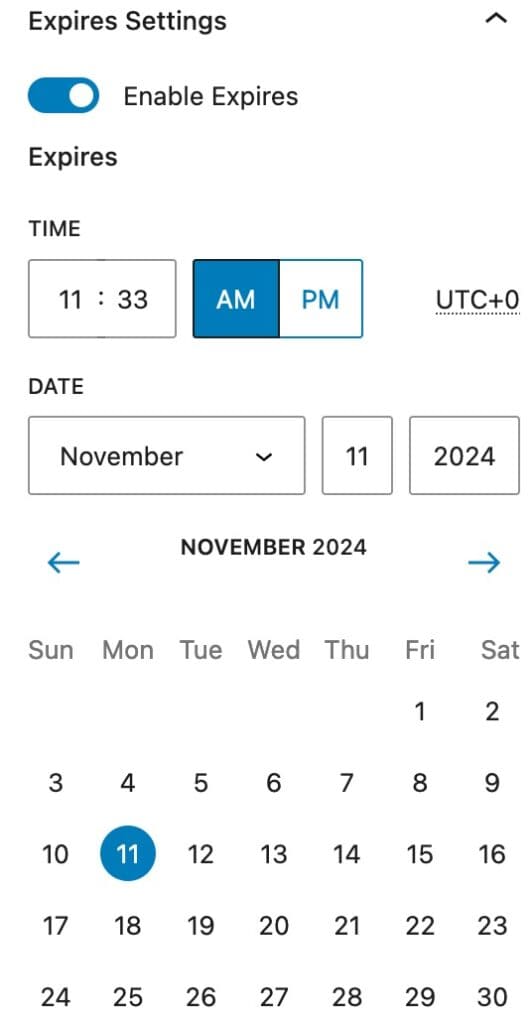
Expires Settings: Set an expiration for the Maintenance Mode page to automatically disable it once the specified date and time are reached. This is useful for Coming Soon pages with a predetermined opening date and time.