
When troubleshooting issues on your WordPress website, Error Logs are a valuable tool for diagnosing the underlying problems that could be affecting your site’s functionality. By enabling the WordPress Error Log, you can track PHP errors and warnings, making it easier to pinpoint and resolve potential issues. For example, whenever a website receives a Critical Error, an error usually can be logged and examined for diagnosis. This can be extremely useful when determining where an issue on your website is coming from. This document will walk you through the steps to enable and view WordPress Error Logs effectively.
Accessing the wp-config.php file
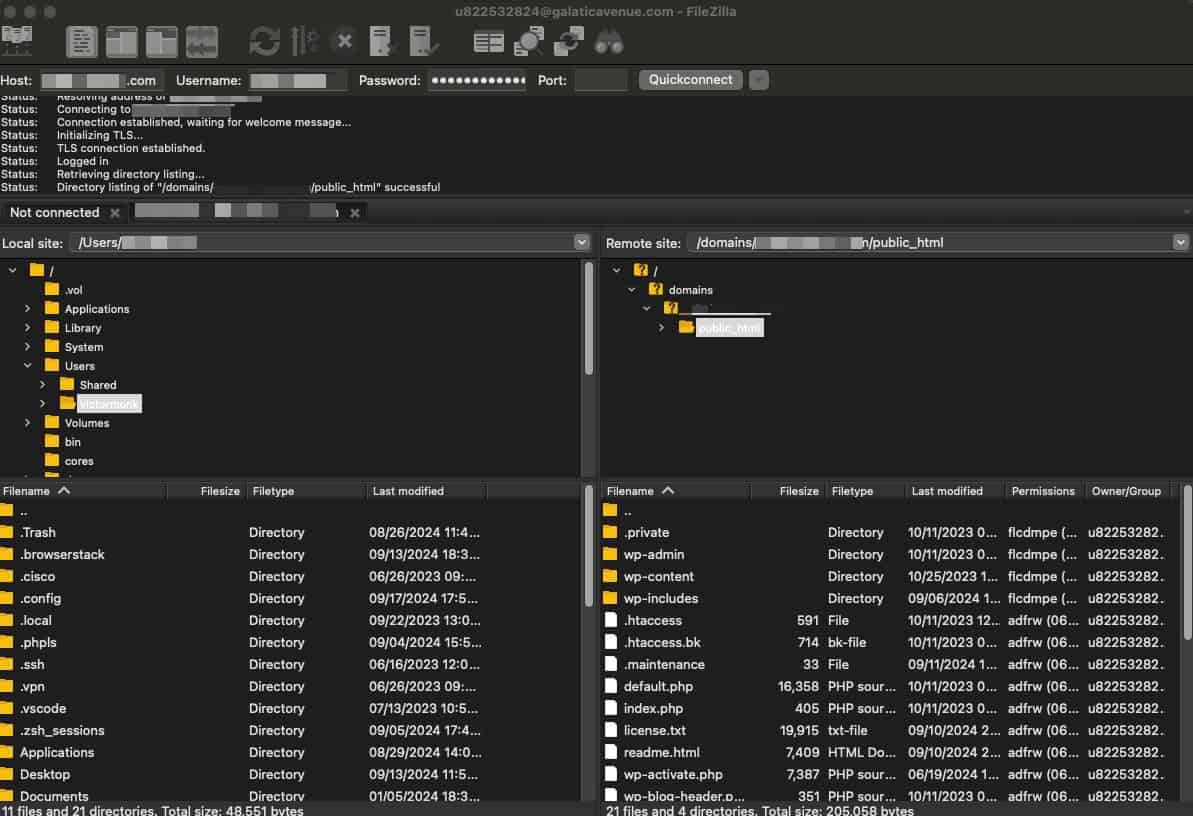
First, you’ll need to access your WordPress files. You can do this by connecting to your website via FTP, using your hosting provider’s file manager, or browsing the files locally if you’re working in a local environment. Once you’re connected, navigate to the root directory of your WordPress installation. This is the main folder that contains essential directories like the wp-content folder and important files such as the .htaccess and wp-config.php files.
To access your files via FTP, you’ll need to find your FTP connection details through your hosting provider’s control panel. Once you have this information, you can use FTP software like FileZilla or SmartFTP to connect to your website using FTP. Once you are connected via FTP, you will be able to access your website directories.
Inside of your main website directory, you’ll find the wp-config.php file. This is the file that needs to be edited to enable and use the WordPress Error Logs.
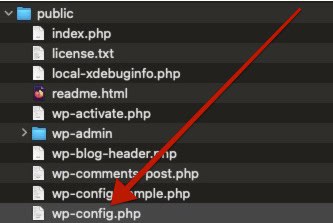
Open the wp-config.php file in your preferred text editor. If you’re using a hosting file manager, you can often edit it directly within the interface. If you are using an FTP connection, you can download the file and open it with a text editor like Notepad or VS Code.
Enabling Debug Mode and Error Logging
Inside the wp-config.php file, look for a line that mentions the WP_DEBUG text. By default, you should see something like:
define( 'WP_DEBUG', false );You can replace this code with a the following code to enable debugging and log errors to a file:
// Enable WordPress debug mode
define( 'WP_DEBUG', true );

// Log errors to /wp-content/debug.log
define( 'WP_DEBUG_LOG', true );

// Hide errors from displaying on the front-end
define( 'WP_DEBUG_DISPLAY', false );

@ini_set( 'display_errors', 0 );
This code tells WordPress to log errors to a debug.log file in the wp-content folder, and prevents those errors from being shown to your website visitors on the front end. Learn what each line of code does below.
- define( ‘WP_DEBUG’, true ); This code enables WordPress’s debugging mode, allowing the logging of errors, warnings, and notices.
- define( ‘WP_DEBUG_LOG’, true ); This tells WordPress to save all of the logged errors to a file named
debug.loglocated in thewp-contentdirectory. - define( ‘WP_DEBUG_DISPLAY’, false ); This prevents errors from being displayed on the front end of your site, ensuring that visitors won’t see error messages. (Note that this line of code is not required to enable and view the main debug log, this is related to displaying front end errors)
- @ini_set( ‘display_errors’, 0 ); This line also prevents the displaying of front-end errors, ensuring that any PHP errors are not visible to users on your site. (Note that this line of code is not required to enable and view the main debug log, this is related to displaying front end errors)
Adjust the code values as preferred and save the file. If you’re using FTP, make sure to re-upload the file to your WordPress site, replacing the existing one for your changes to take effect.
Viewing the Error Log
Once debugging is enabled, WordPress will start recording errors, warnings, and notices in a file called debug.log, located in the wp-content folder. Navigate to the wp-content folder and look for debug.log. You can download it or open it directly in your file manager to review any errors that have been logged.
Previously logged or triggered PHP errors will not appear in the WordPress Error Log. If you do not see a debug.log file in the wp-content folder, you will need to trigger a PHP error to create the file for the first time.
Disabling Debugging After Use
After resolving the issues, it is important to disable debug mode, as it is not recommended for use on live production websites. Keeping debug mode enabled can lead to an inflated Error Log and potentially expose sensitive information from your website.
Reopen the wp-config.php file and update the settings by setting WP_DEBUG and WP_DEBUG_LOG to false:
define( 'WP_DEBUG', false );
define( 'WP_DEBUG_LOG', false );
You can either remove or comment out the other two lines of code (if you’ve added them), depending on your preferences. If you want to retain them for future use, you can comment them out as follows:
// define( 'WP_DEBUG_DISPLAY', false );
// @ini_set( 'display_errors', 0 );
Once finished, proceed to save the file. If you are using FTP to access your website’s filebase, then ensure you reupload the wp-config.php file to your website after making these changes.
