Kadence Insights enables you to use A/B Testing to compare different areas of your website’s performance. With Kadence Insights, you can create multiple A/B Testing Variants and place them on your site using the Block Editor. Different browser sessions will see different Variant Designs.
The Kadence Insights plugin introduces a Custom Post Type called A/B Testing, which can be added to the BlockEditor using the dedicated A/B Testing Block. A/B Testing Elements can be integrated into Posts, Pages, Conversions, Elements, and anywhere the Block Editor is supported. Utilize Kadence Analytics or Google Analytics to generate precise, data-driven comparisons of your A/B test performances.
The Kadence InsightsPlugin can be bought as a standalone product or in the Full Bundle by clicking here. This document goes over the available Settings and Features of Kadence Insights. To learn how to properly set up your first A/B Test, please refer to this document.
Getting Started
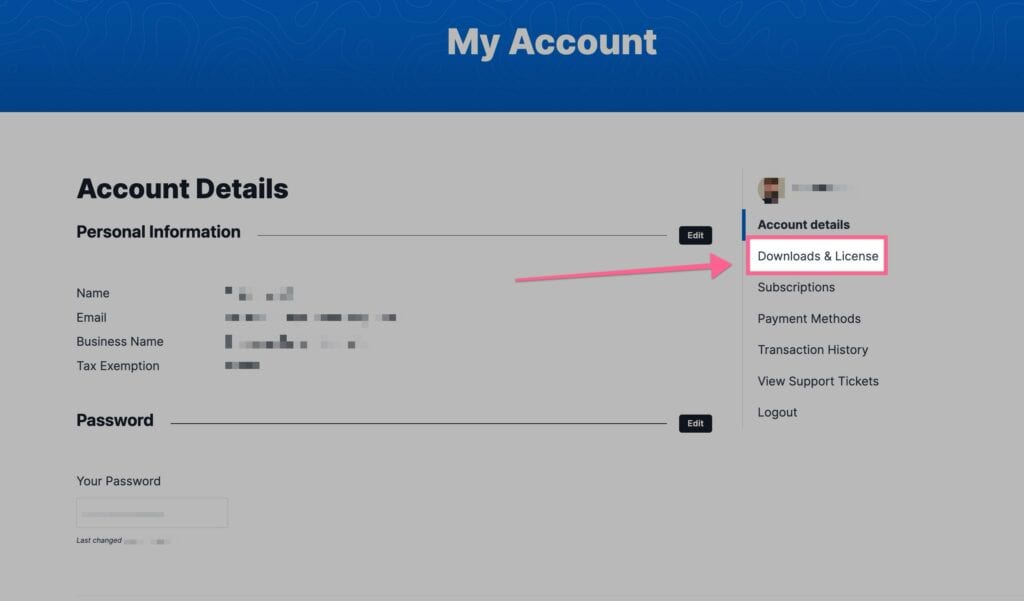
To get started, go to your KadenceWP Account Dashboard and download the Kadence Insights Plugin.
Navigate to your WordPress Dashboard and go to the Plugins -> Add New Plugins page. Then, click on the Upload Button at the top of the page and upload your Kadence Insights ZIP file. Then, install the plugin and activate it.

You will get a prompt in the WordPress Dashboard to Activate the Kadence Insights Plugin. Navigate to your KadenceWP Downloads page and copy your License API Key.
Then, click on the Activate Now link in the Kadence Insights Dashboard Prompt. Add the API Key to the Licensing Box and press the Save Changes button.
A/B Block Settings
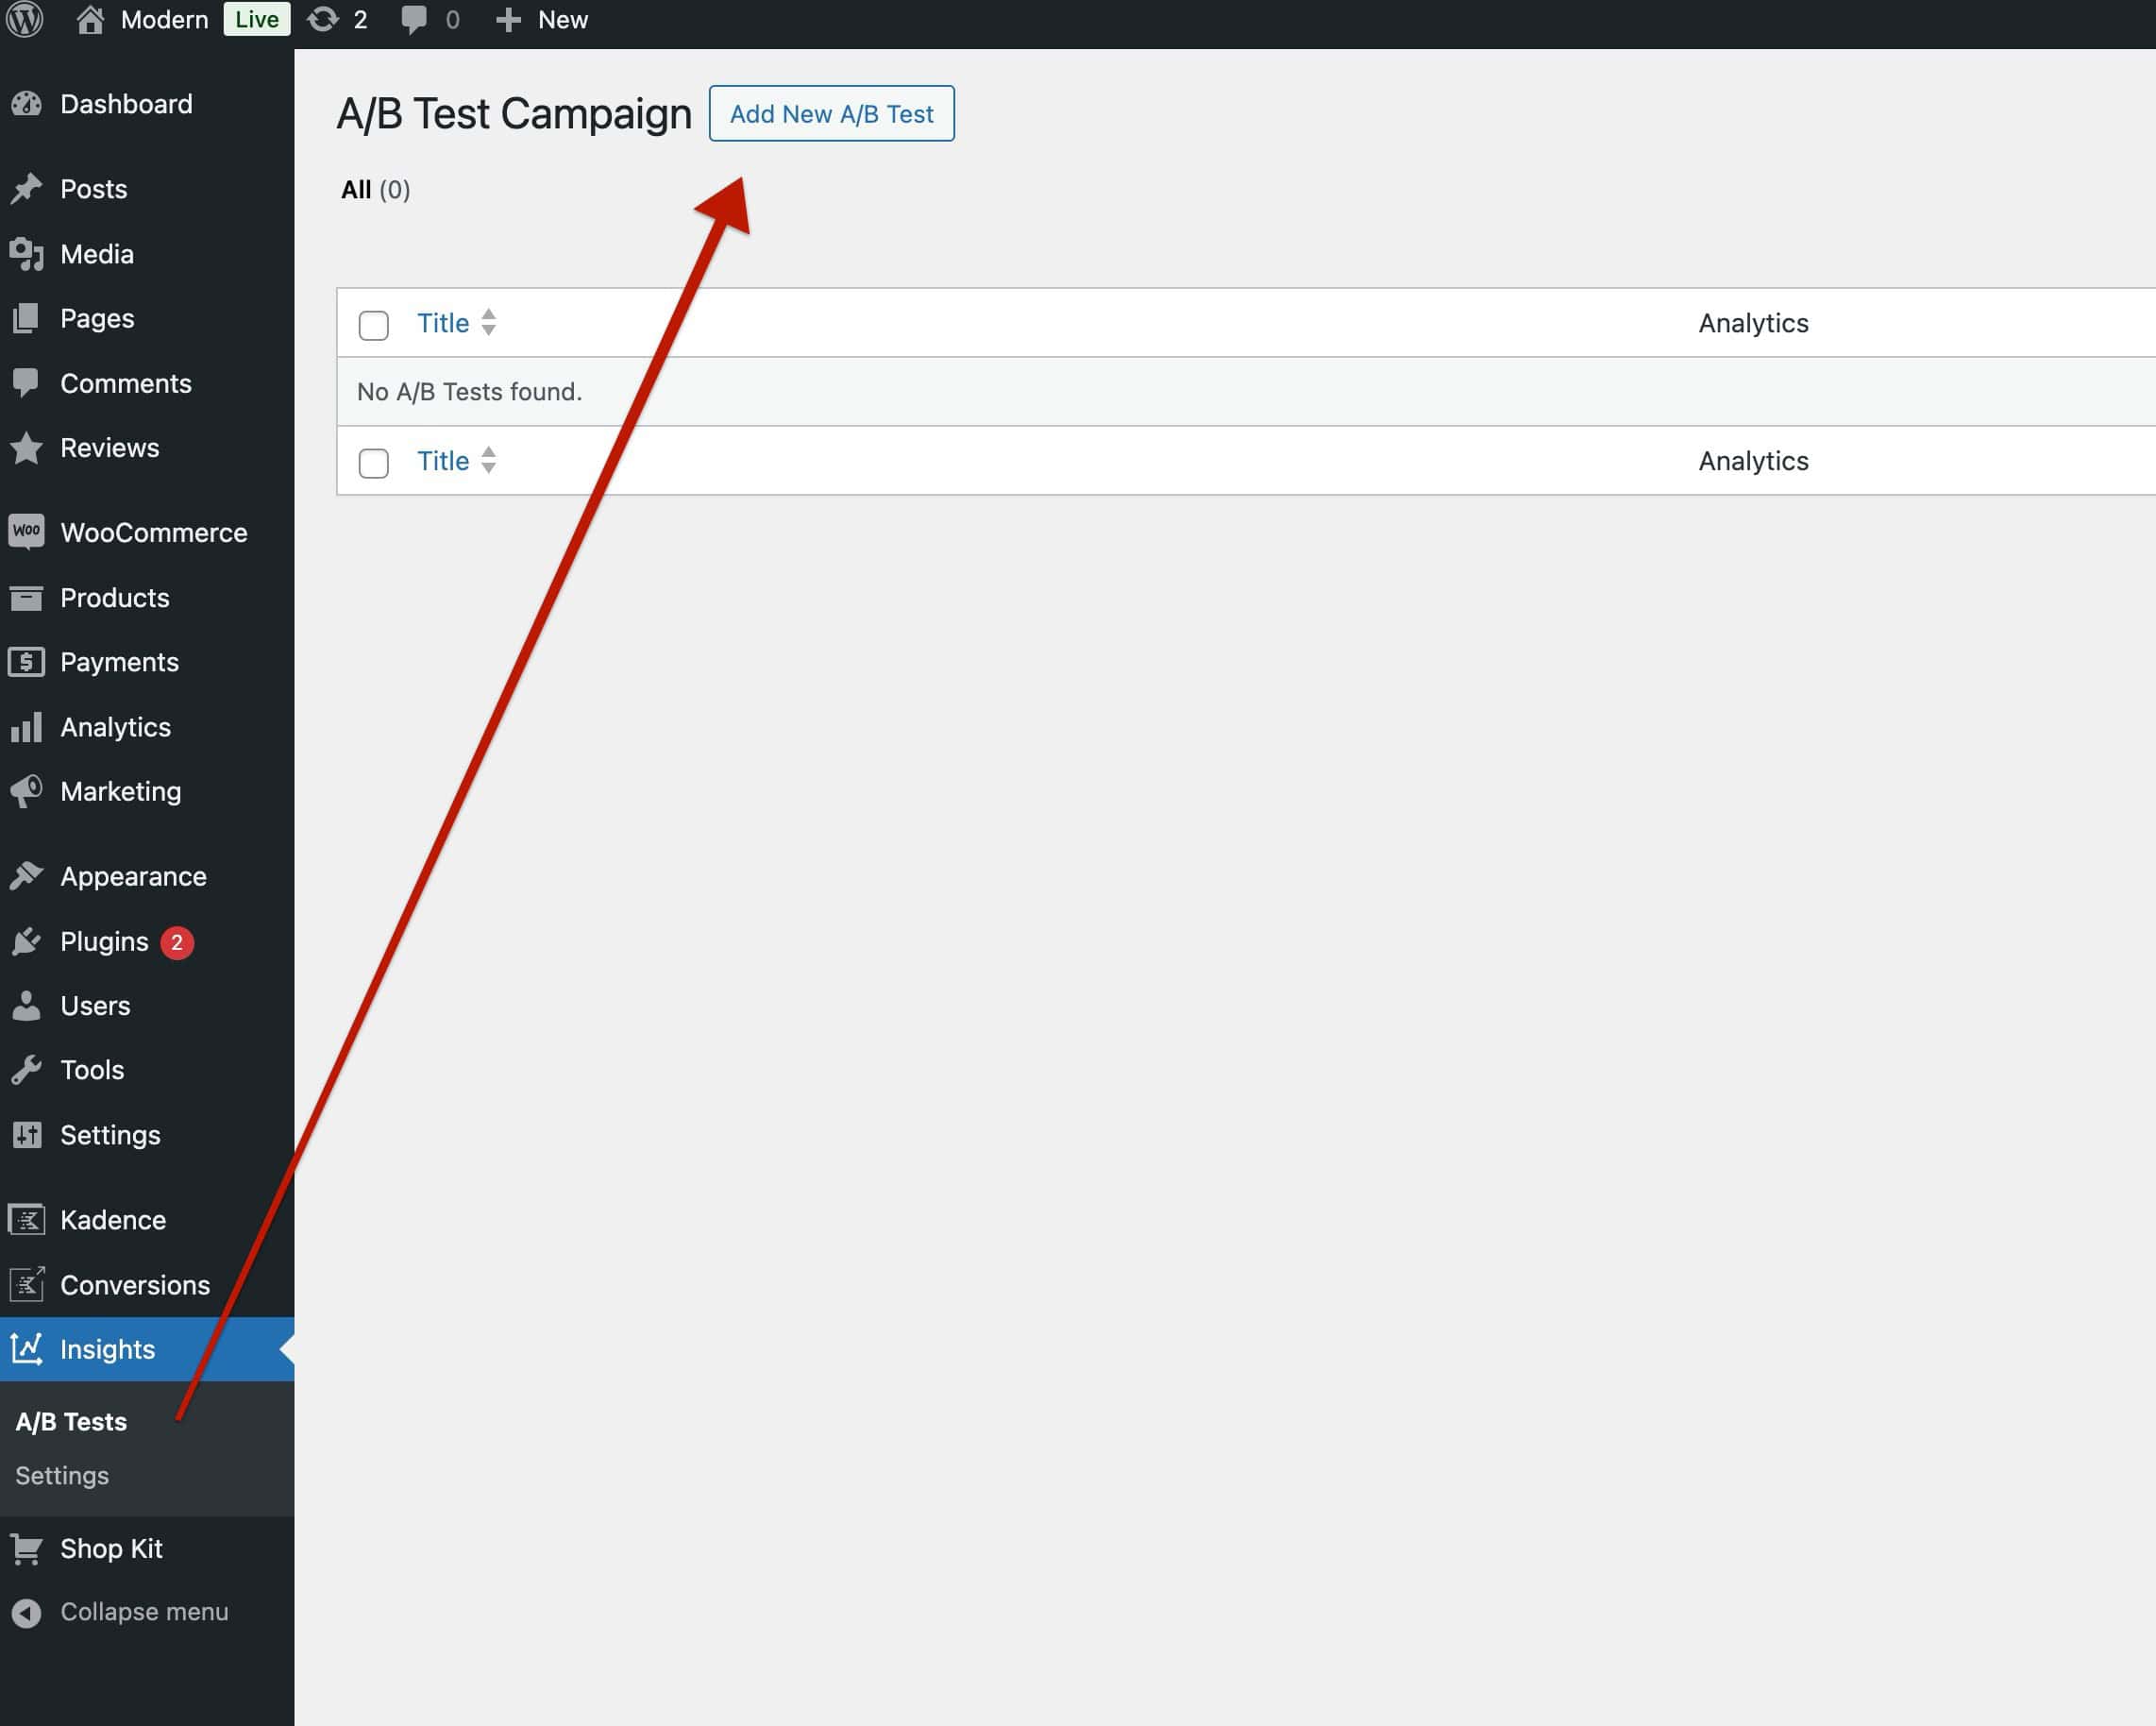
Once Kadence Insights is activated on the website, navigate to the Dashboard -> Insights -> A/B Tests page to begin creating your first A/B Test.
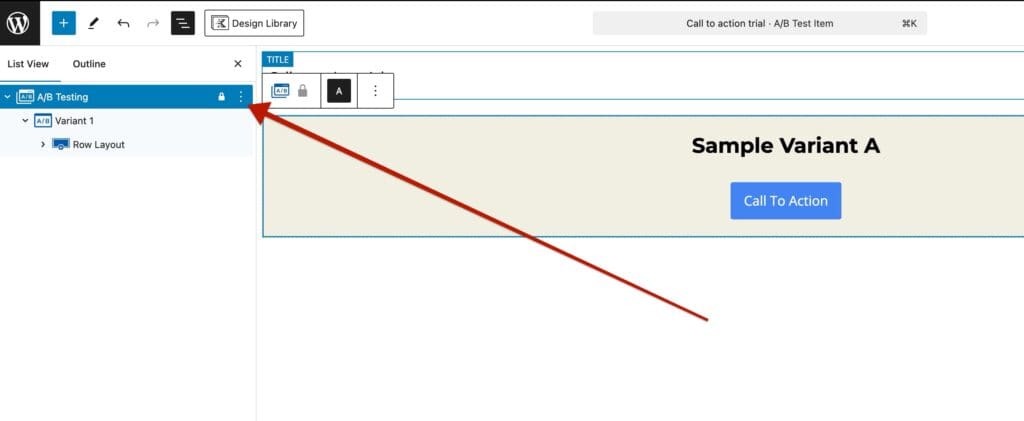
You can also create a new A/B Test directly inside the Block Editor. You can do so by selecting a Block and using the Block Toolbar to open more options. Then, select the Create A/B Test button to create a new A/B Test from within the Block Editor. (Outside of the standard A/B Tests page)
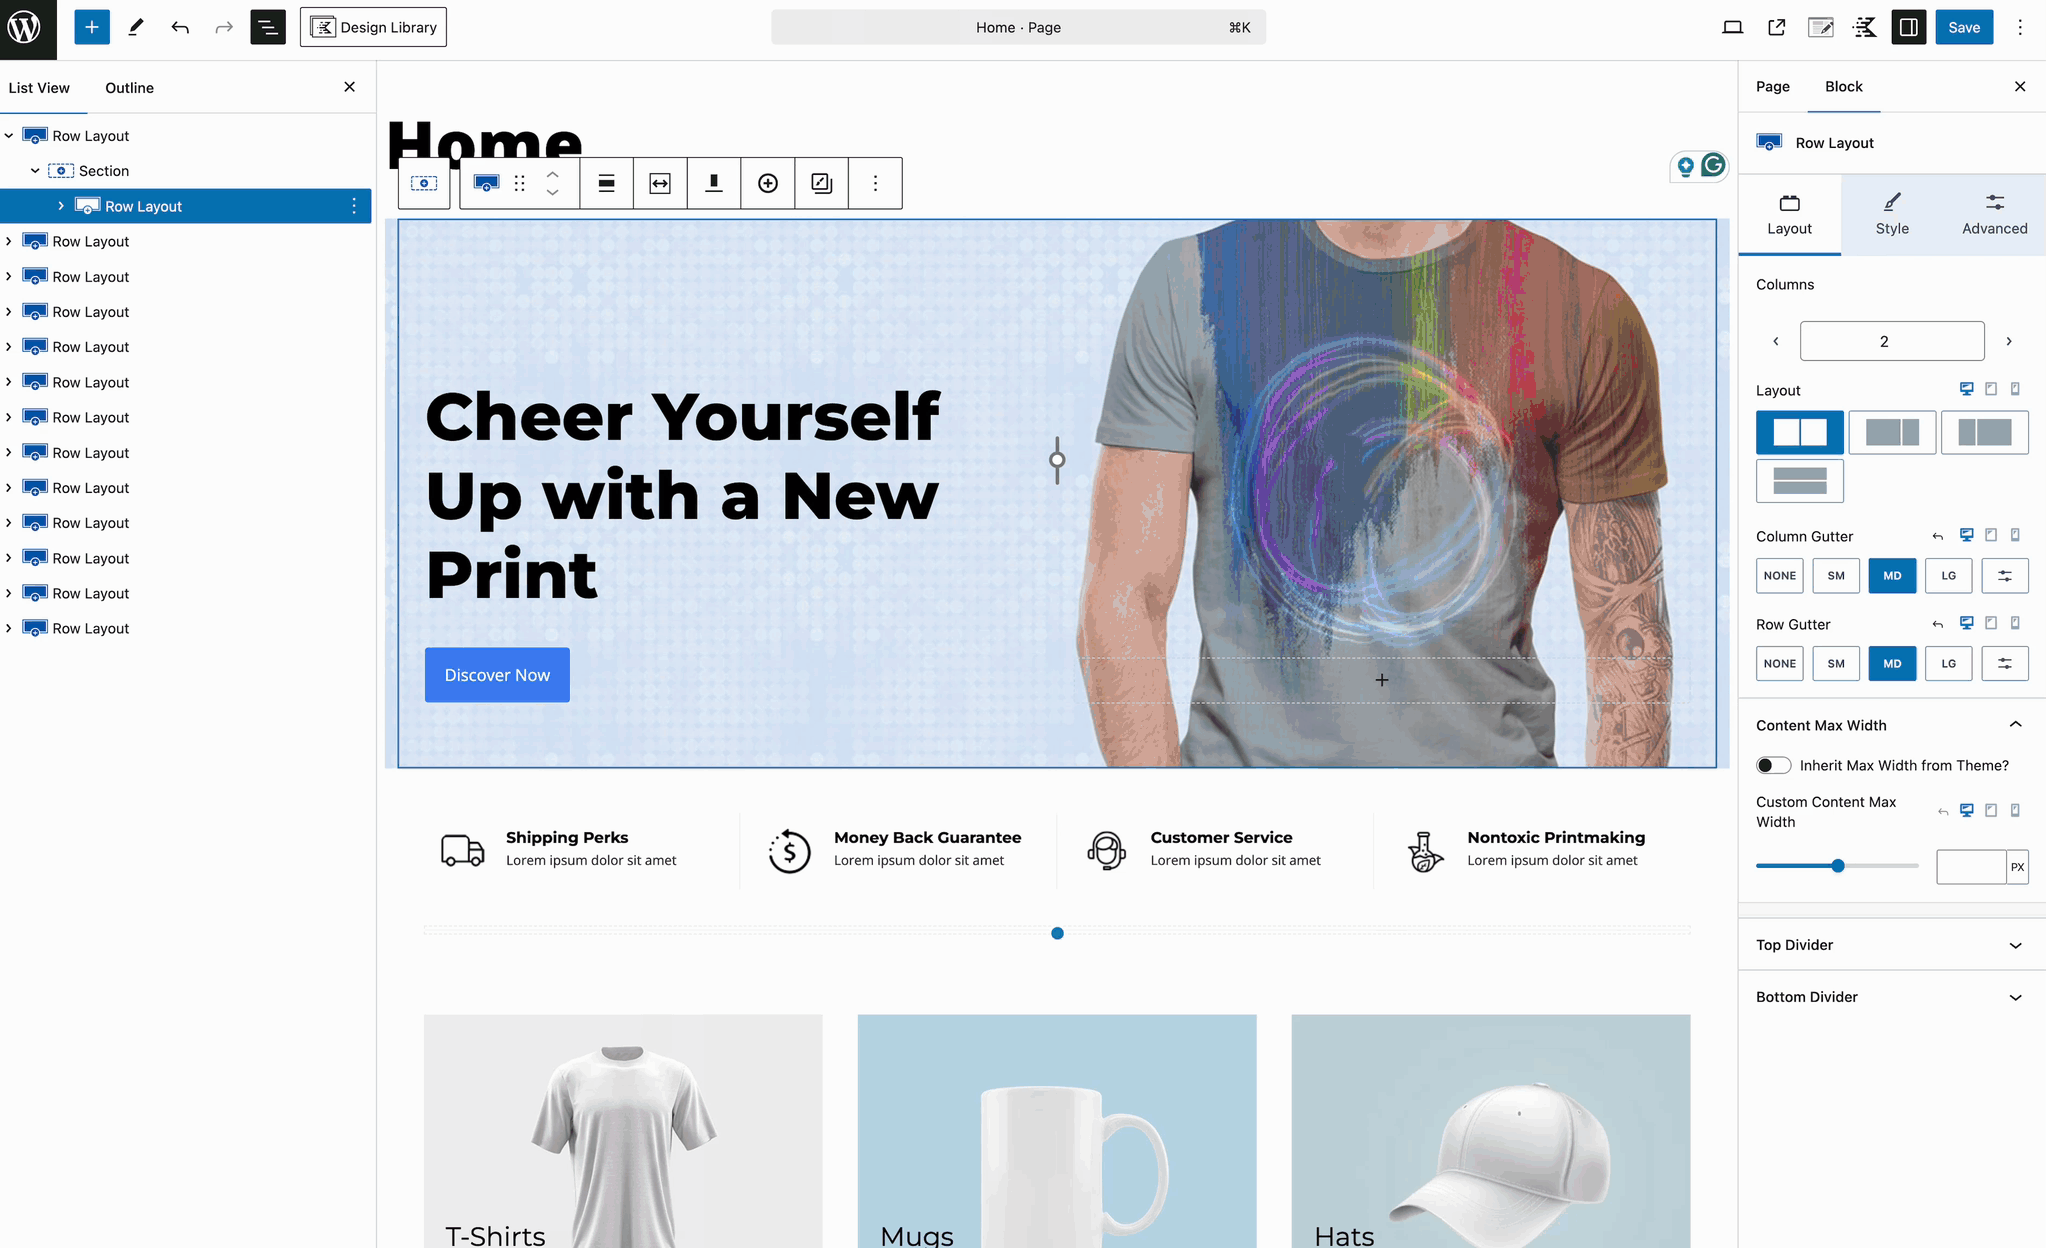
When creating a new A/B Test Post, you will be presented with a standard A/B Testing Block. Use the A/B Testing Block Settings to add Variants, customize the Goal Metric(s), and add custom CSS Classes to your A/B Testing Block. Using the Block Outline, select the A/B Testing Block to access the Block Settings.
Campaign Name: Set a name for your A/B Testing group. This is a unique identifier to know which A/B test you are working on.
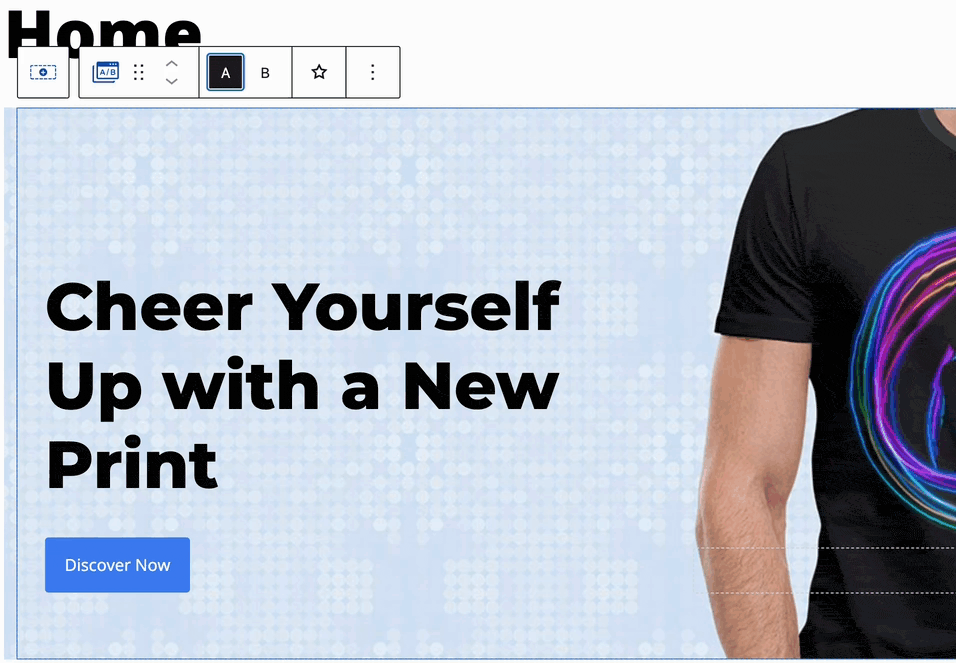
Variants: Use this option to add and adjust multiple Variants. Each Variant should differ in some noticeable way. You can add as many Variations of the A/B Test as you need. These Variants will be randomized based on the Browser Session, so different users will see different Variations of your A/B Test.
Access different Variations for your A/B Testing Block by using the Block Toolbar. Each Variant will be labeled with an alphabetical letter: the first Variant will be A, the second B, and so on.
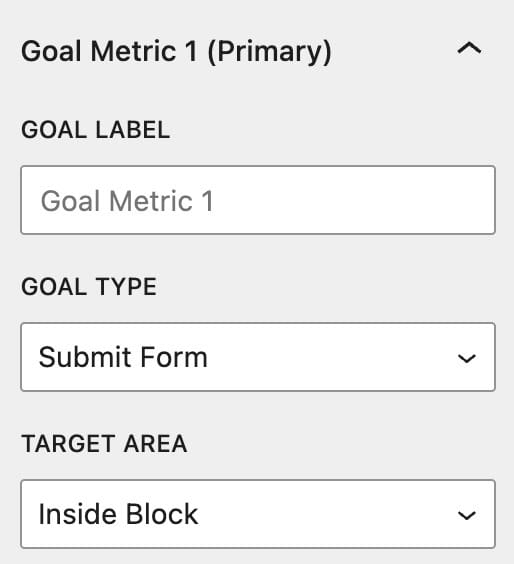
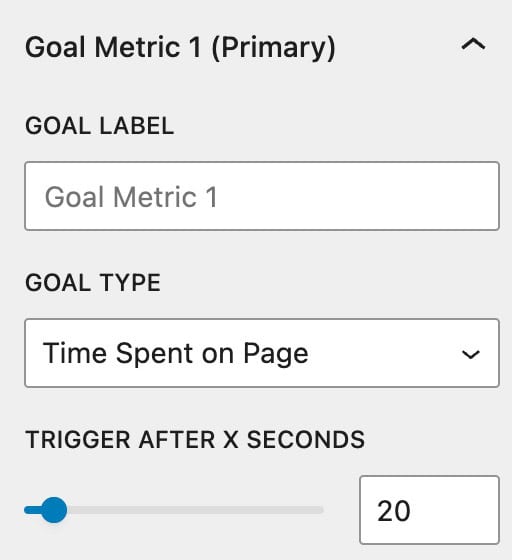
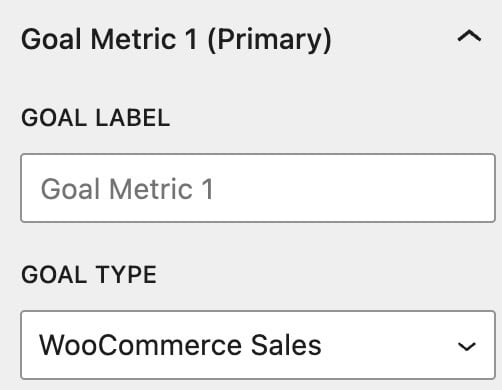
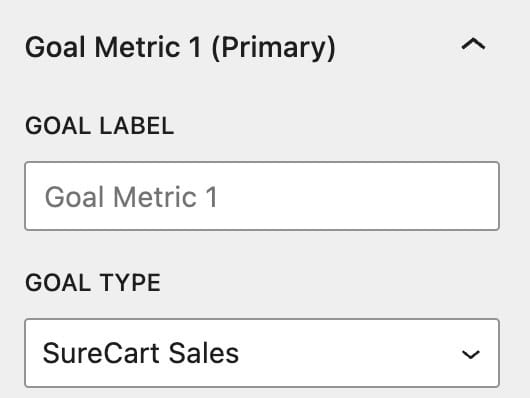
Goal Metric: You can set single or multiple goal metrics when using A/B Testing. Set the Goal Metrics based on the optimization goals you wish to achieve. You will be able to analyze each Goal Metric for each of your A/B tests. Below, see all the available goal metrics and what can they be used for:
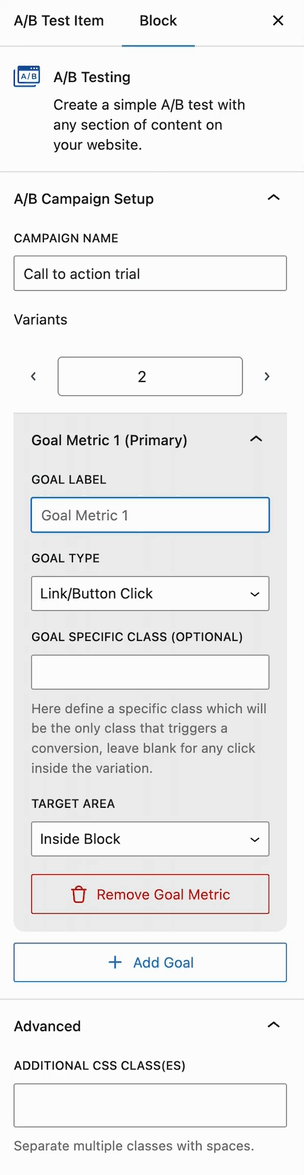
- Link/Button Click – This goal is measured when a Link or a Button is clicked within the A/B Test. Use the Goal Specific Class option if you have multiple buttons and/or links and need a unique identifier. Additionally, the Target Area can be set to either Inside of the Block or Anywhere on the Page.

- Submit Form – This goal will be triggered whenever a Form is submitted. This can be set to a Form Inside the Block or within the Page.
- Time Spent On Page – This goal is measured by the amount of time a user spends on a page. This can help determine which A/B Tests are retaining more attention than others. This can be set between 1 and 200 seconds.
- WooCommerce Sales – This goal is measured whenever a WooCommerce Sale is made. This can be useful for finding which A/B Tests are converting to WooCommerce Sales.
- SureCart Sales – This goal is measured whenever a SureCart Sale is made. This can be useful for finding which A/B Tests are converting to SureCart Sales.
Insight Settings
Access the Kadence Insights Settings to enable Analytics. You also have the option to enable Google Analytics. This doesn’t add Google Analytics to your website directly. You must already have Google Analytics set up and the script added to your website. Whenever conversions occur, Kadence will send events to Google Analytics for precise tracking. Click here to learn more about using Google Analytics.
You can access the main Kadence Insight Settings from the Dashboard -> Insights -> Settings page.
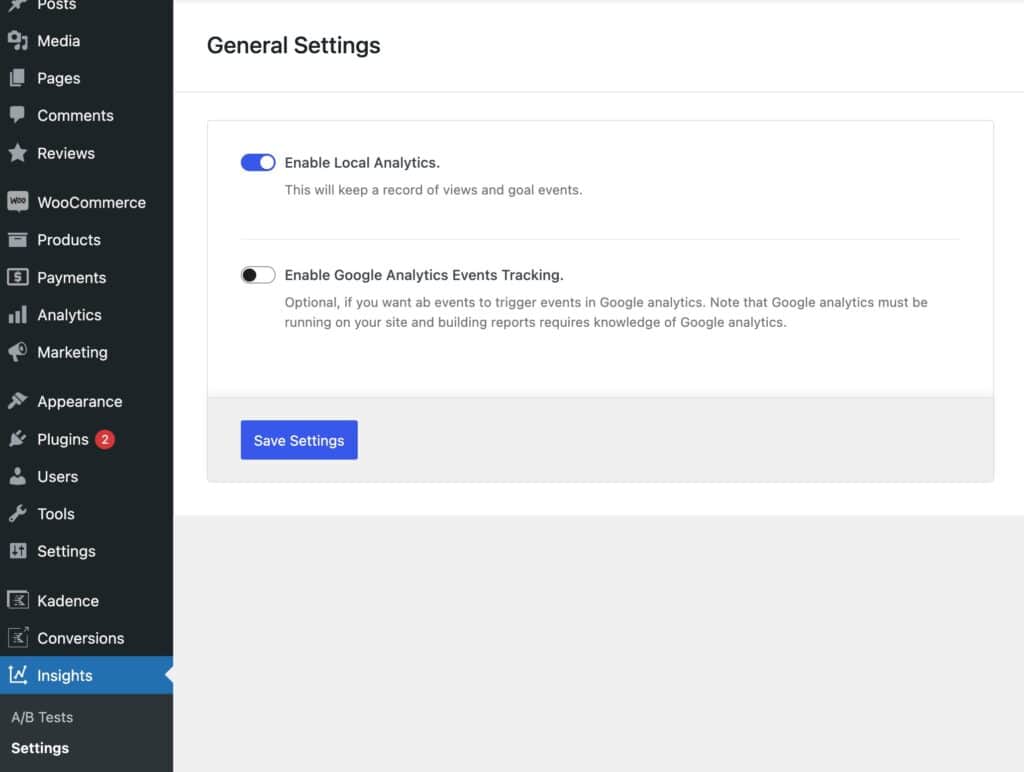
- Local Analytics: Local Analytics are tracked and recorded locally. When handling websites with a lot of traffic, you may consider using Google Analytics instead of local storage.
- Google Analytics: When using Google Analytics, you can find events generated by Kadence Insights under the category “Kadence”.
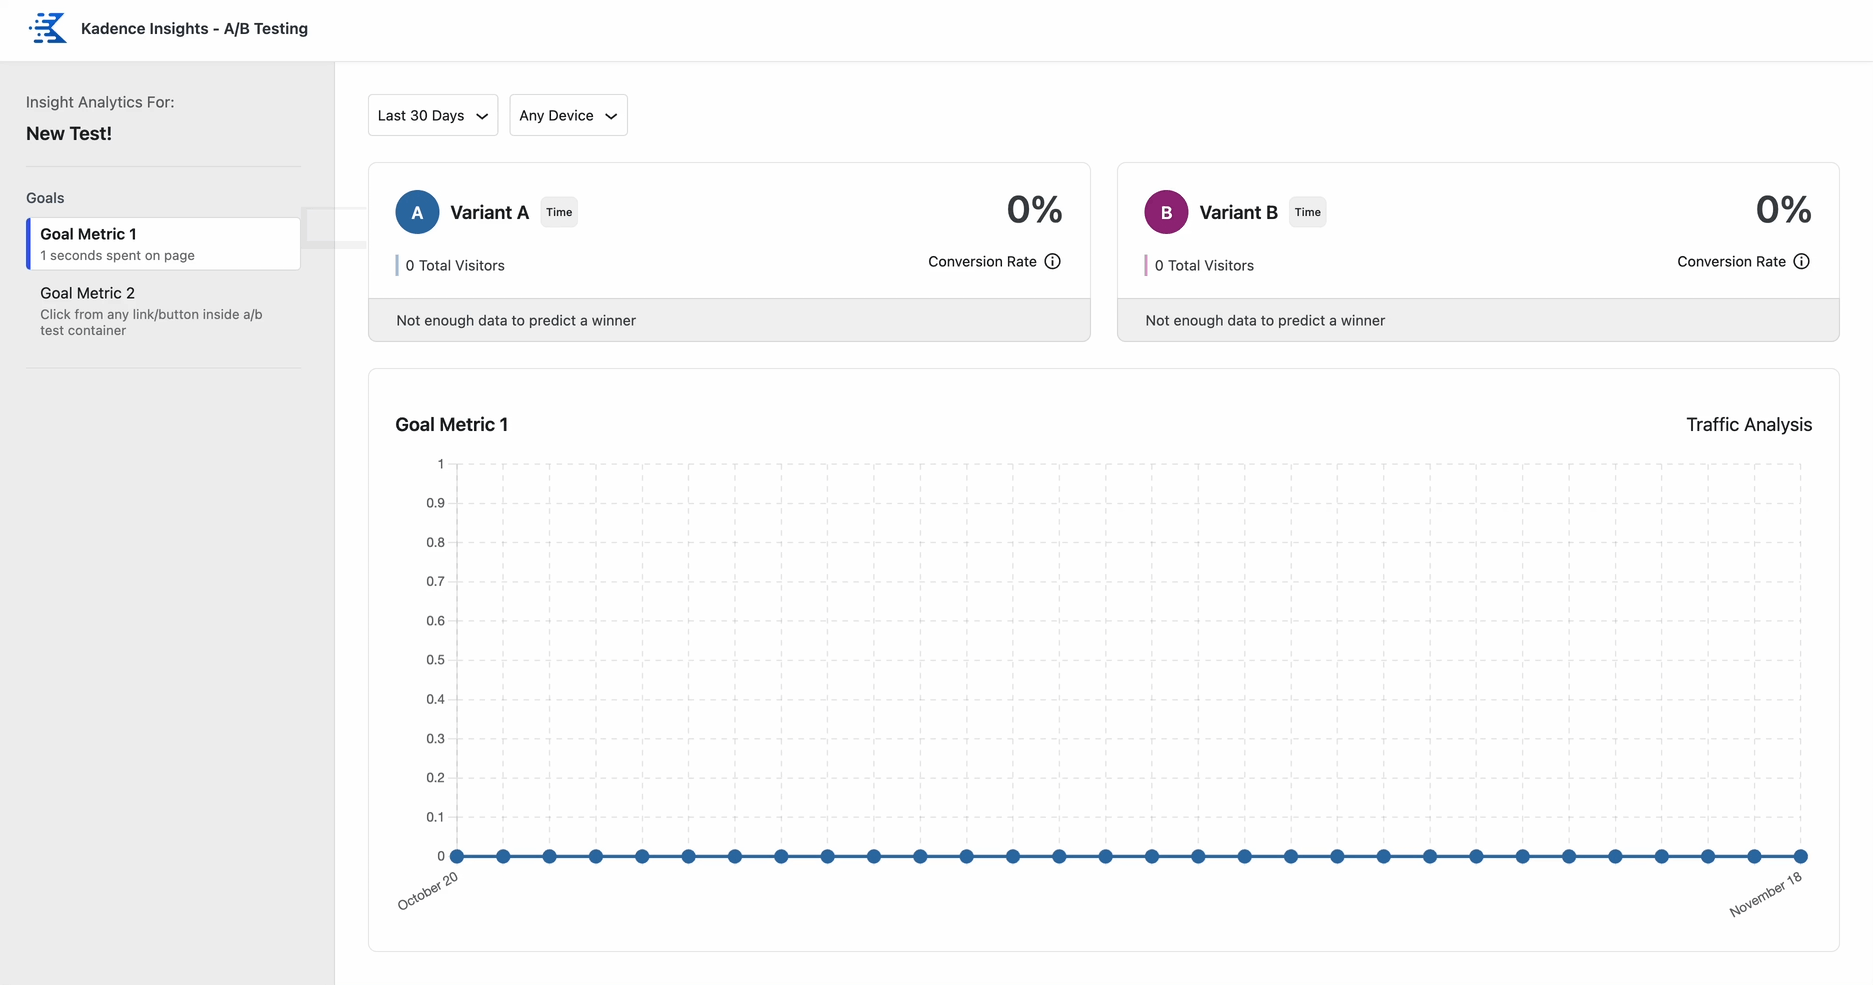
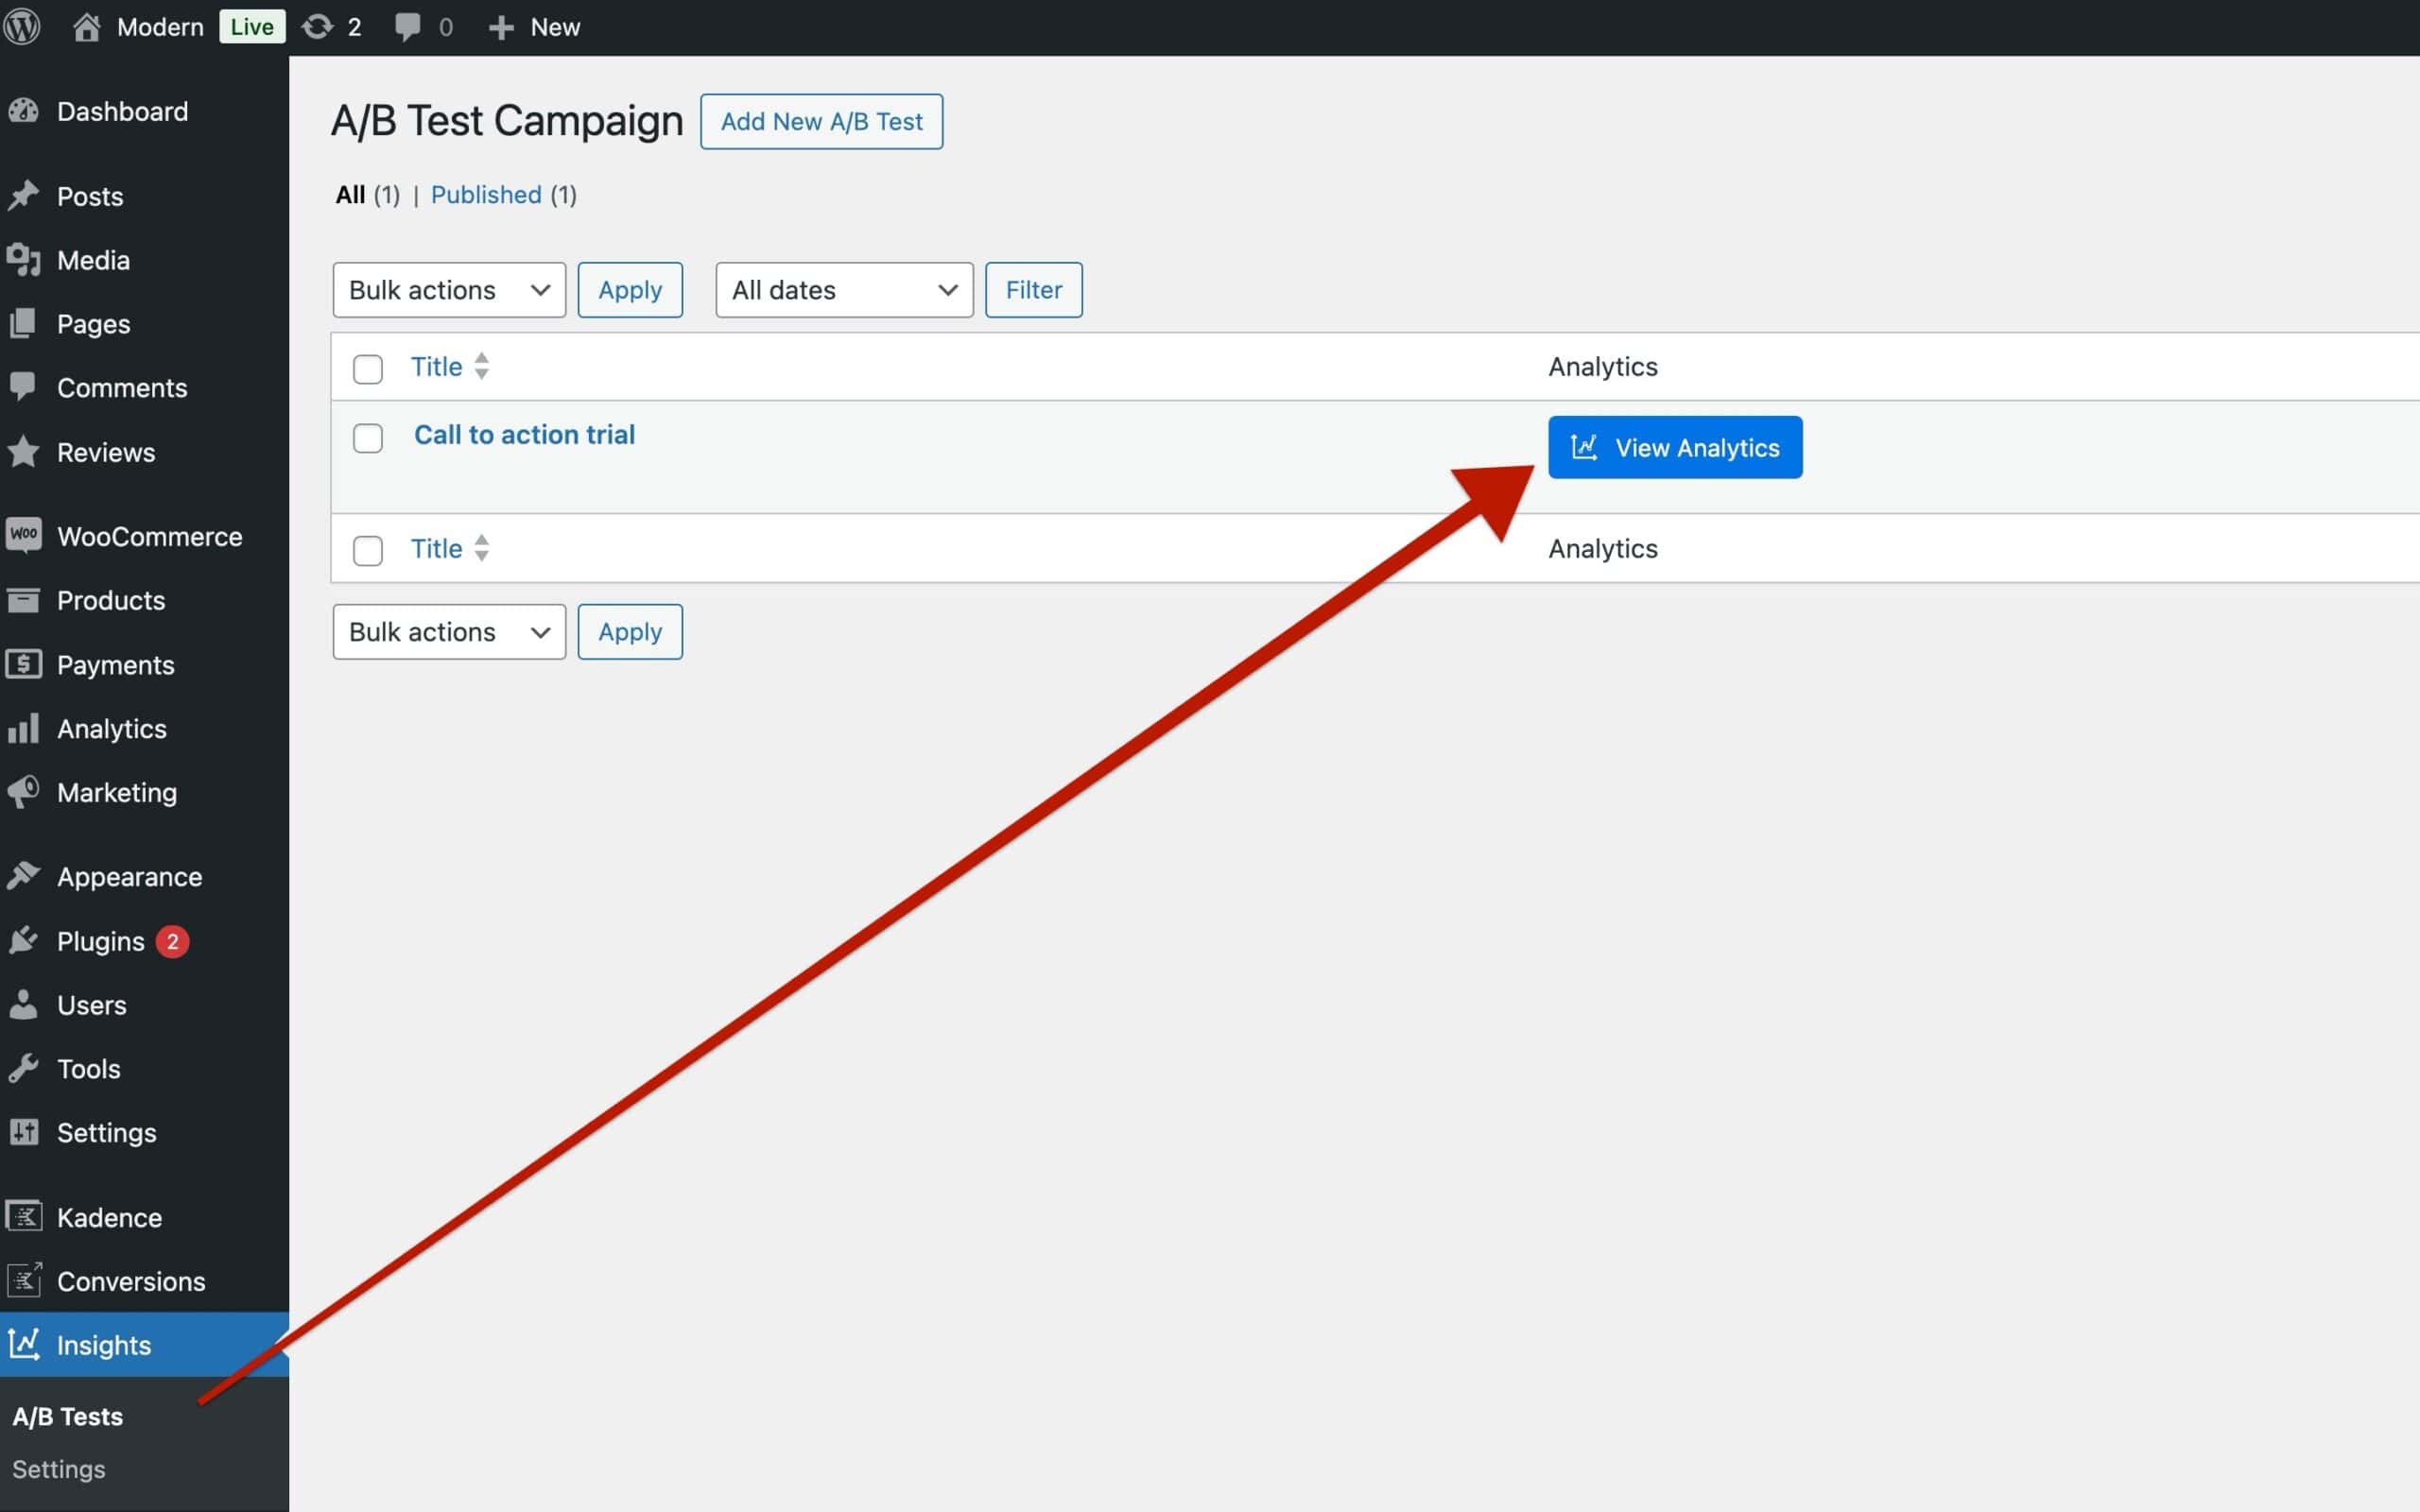
When Analytics are enabled, access them from the A/B Tests page. You will see an Analytics button to view the analytics of the current A/B Test.
This will bring you to a page where you can see details for each Variation. This includes views and conversions. If you have multiple Goal Metrics, you can view the results for each goal. You can also set a timeframe and device type.