Customizing Your Emails With Kadence Woomail Designer Plugin
Install and Active
- Once you have downloaded the plugin, navigate to Plugins >> Add New from your WP Admin Panel.
- Click “Upload Plugin” then find the plugins zipped file.
- Install the plugin and activate it.
Designing Your Woomail
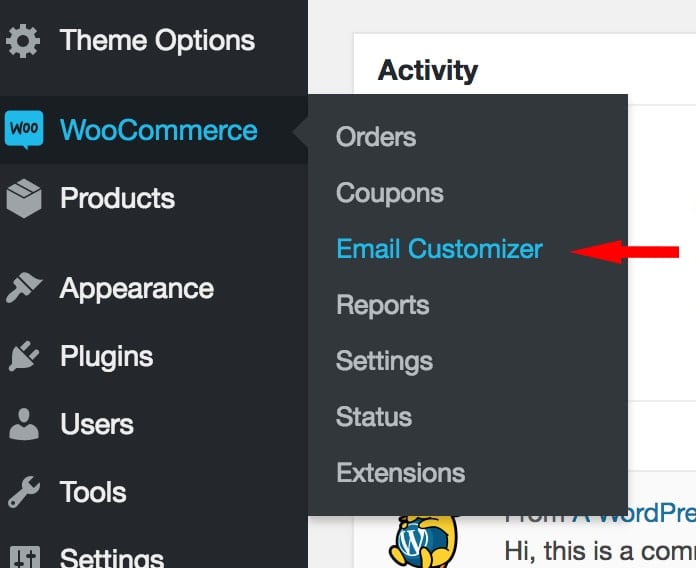
- From your WP admin panel, navigate to Woocommerce >> Email Customizer.
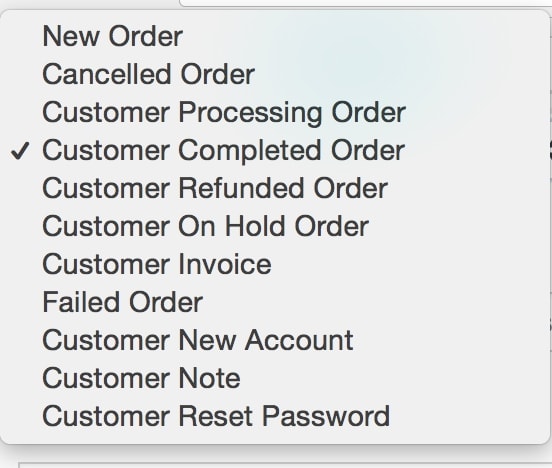
- Open the Email Type and Text tab and select the email type you would like to customize first.
- Next, set your subject text (this will appear in the subject line of your woomail), heading text, subtitle text, and body text.
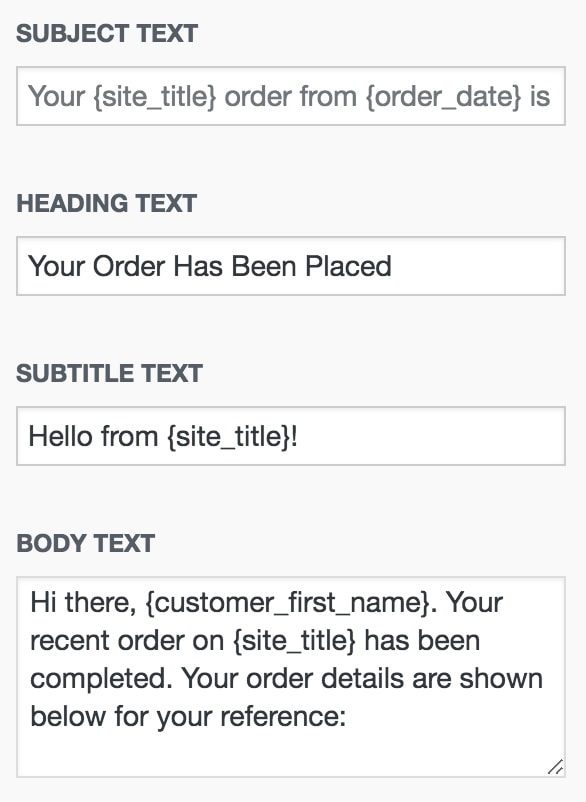
- You can add/remove/replace any of the placeholder shortcodes throughout the text.
{site_title}, {order_date}, {order_number}, {customer_first_name}, {customer_last_name}, {customer_full_name}, {customer_username}
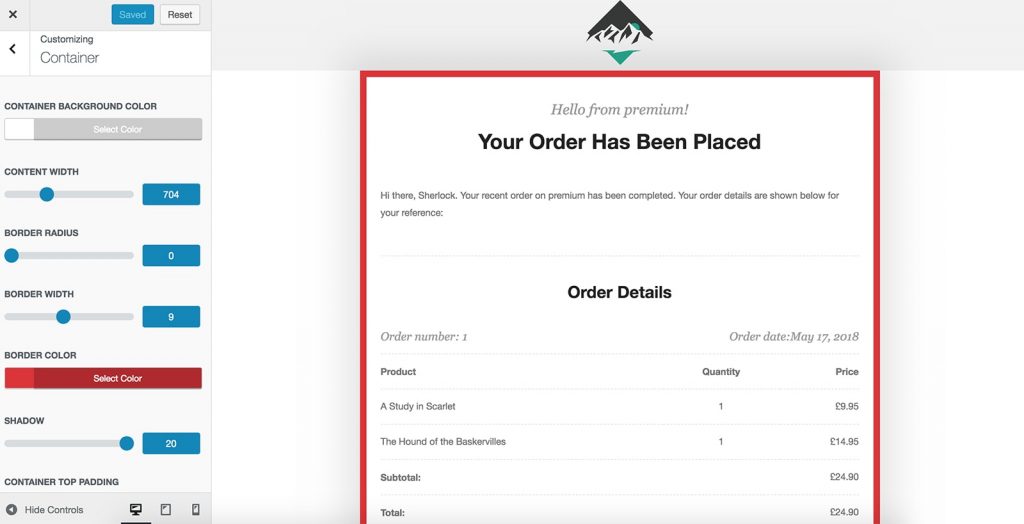
- Next, you can edit the style and design of the container, header, content, and footer.
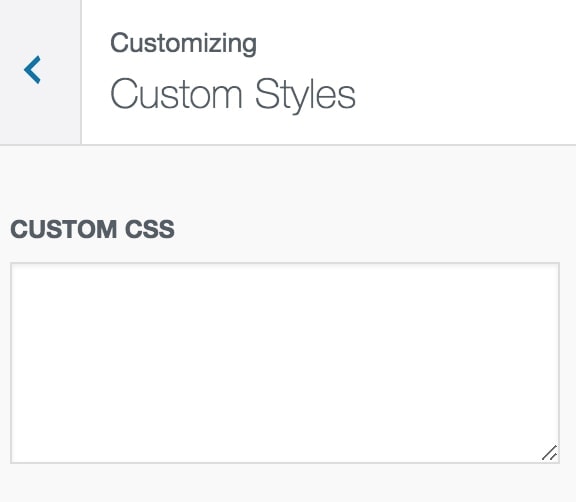
- If you would like, you can add additional styling to the custom css box within the Custom Styles tab.
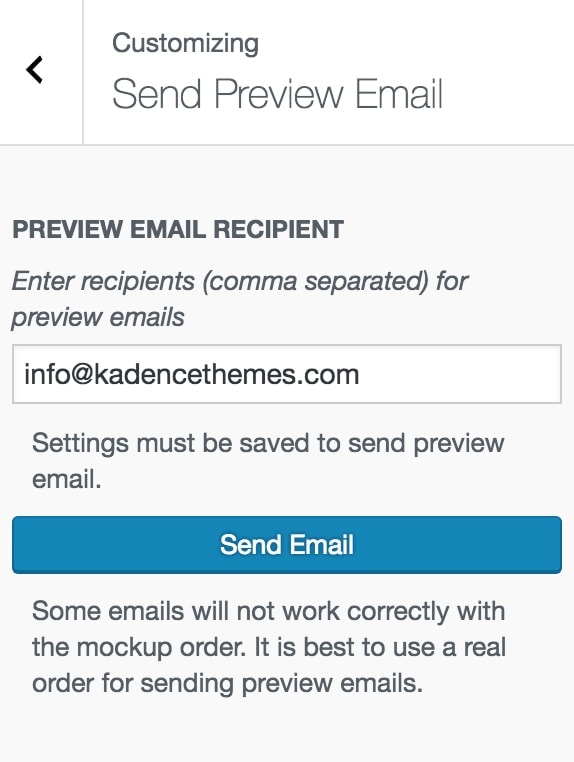
- To ensure your design is looking as you want, you can send yourself a preview email.
- Repeat the above steps for all the email types you would like customized.
Create Your Website With KadenceWP Today!

Written by Hannah
Hannah Ritner is the product expert at KadenceWP. With over 10 years at Kadence, she’s worn many hats, but her main drive has always been helping customers reach their goals. Hannah loves empowering people and has been a key player in building the Kadence Community. She’s all about making a real impact for businesses and their customers.
By Hannah
Hannah Ritner is the product expert at KadenceWP. With over 10 years at Kadence, she’s worn many hats, but her main drive has always been helping customers reach their goals. Hannah loves empowering people and has been a key player in building the Kadence Community. She’s all about making a real impact for businesses and their customers.
Updated July 22, 2024
| 2 min read
Create Your Website With Kadence