
Kadence AI can be used with the Kadence Design Library, Kadence Starter Templates, and used to generate inline content with the Kadence Text (Adv) Block. To use Kadence AI Context for these things, you must first Activate Kadence AI. To Activate Kadence AI, you are required to have a KadenceWP Account that you can connect to your WordPress website. If you do not have a KadenceWP Account, you can create one here for free.
Connecting Kadence AI
Follow these steps to Activate Kadence AI:
You must be Logged Into your KadenceWP Account prior to Connecting KadenceWP to your WordPress website. You can Click Here to log in or create a new KadenceWP account.
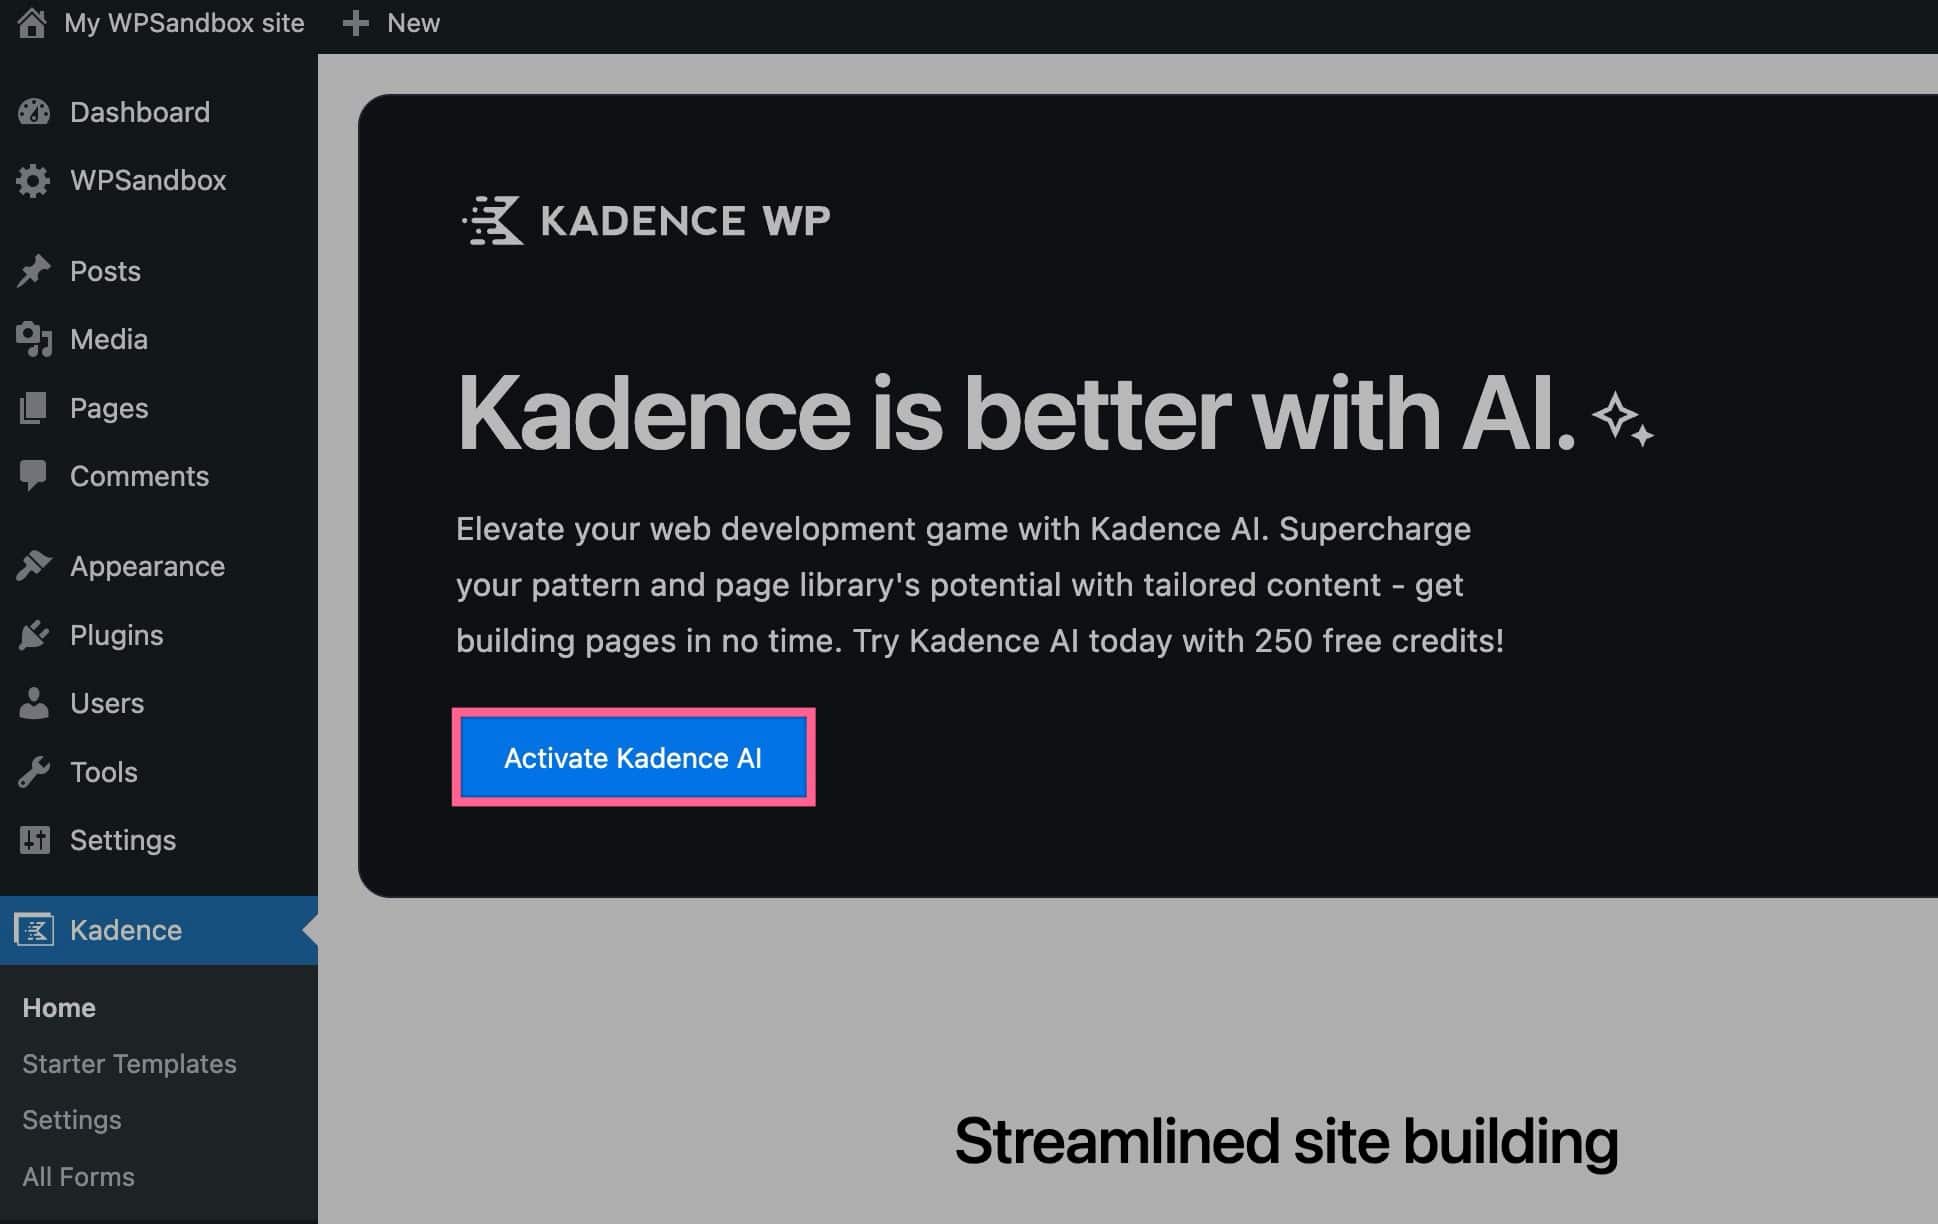
Go to your Dashboard, then Kadence, and select Home. After that, click on the “Activate Kadence AI” button, which will prompt you to connect to your KadenceWP account. (You should already be logged into KadenceWP and prompted to connect your Account to your WordPress website.)
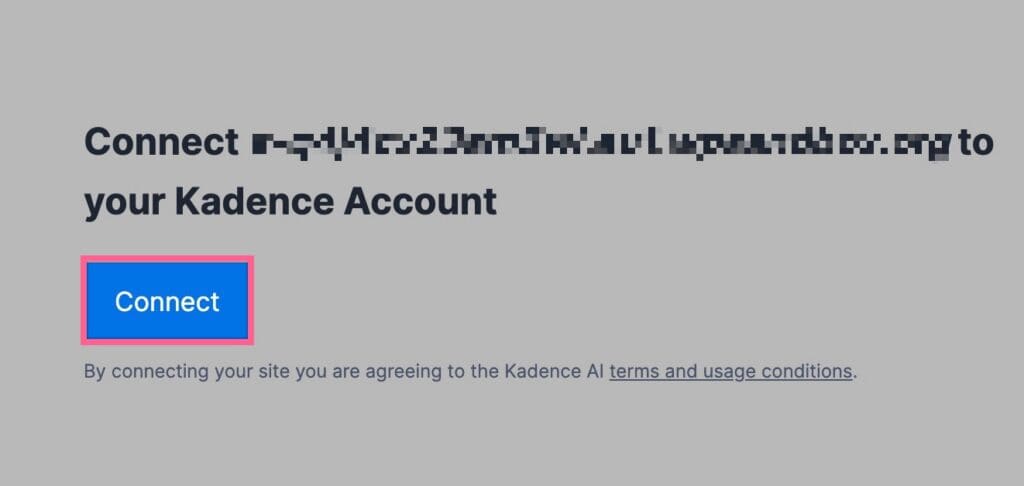
Once you connect your KadenceWP Account, you will be prompted to fill out Your Information.
Your Information
Filling out Your Information accurately and properly is crucial for AI to understand your overall goals.
Your Site’s Language: You can select one of our AI Supported Languages to generate your website content in a language other than English. (You should fill out your AI information based on the Language Selected)
I am: This is where you identify who you are as a company. You can select from; An Individual, A Company, or An Organization. Be sure to select whichever one applies to your project.
Name: This is where you specify your Individual, Company, or Organization name.
Where are you based? This information indicates whether you have a single physical business address, service a specific area, or only offer online services.
What Industry are you in? Here, you can search and find the Industry that best describes your website/business. You can also add custom text if you don’t see your industry on the list. Picking an accurate industry helps ensure AI caters text to your industry standards.
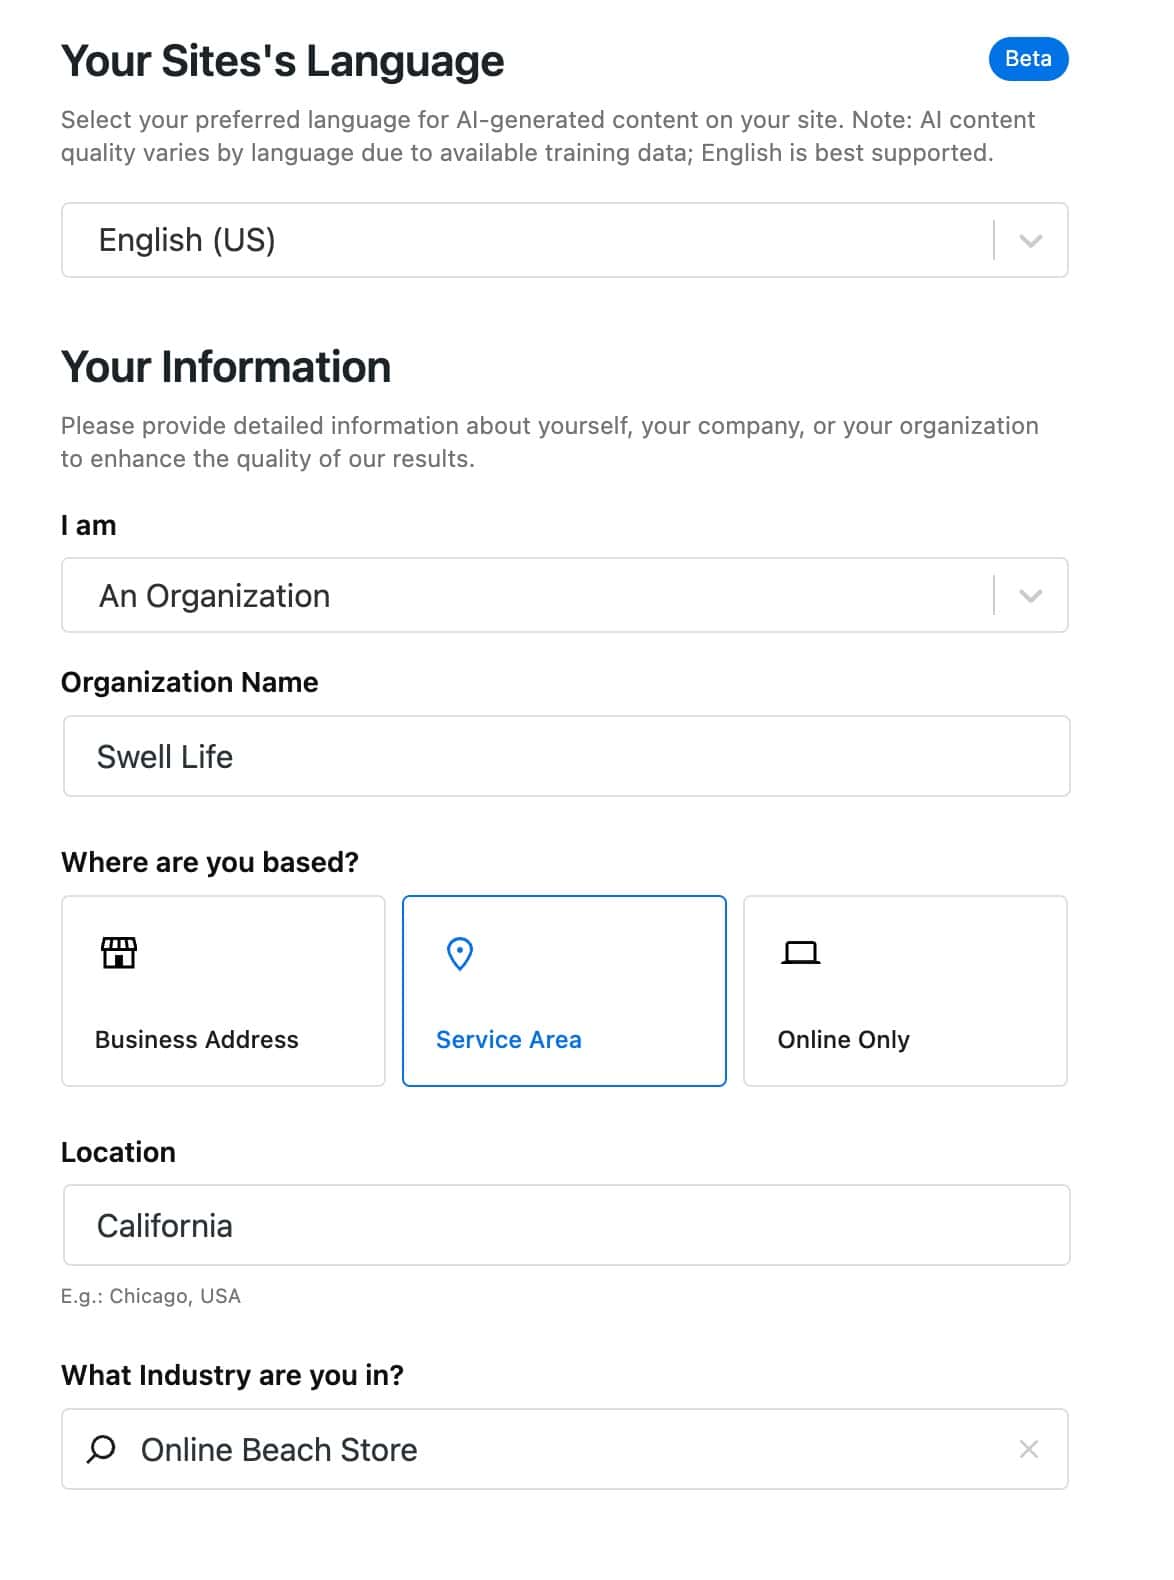
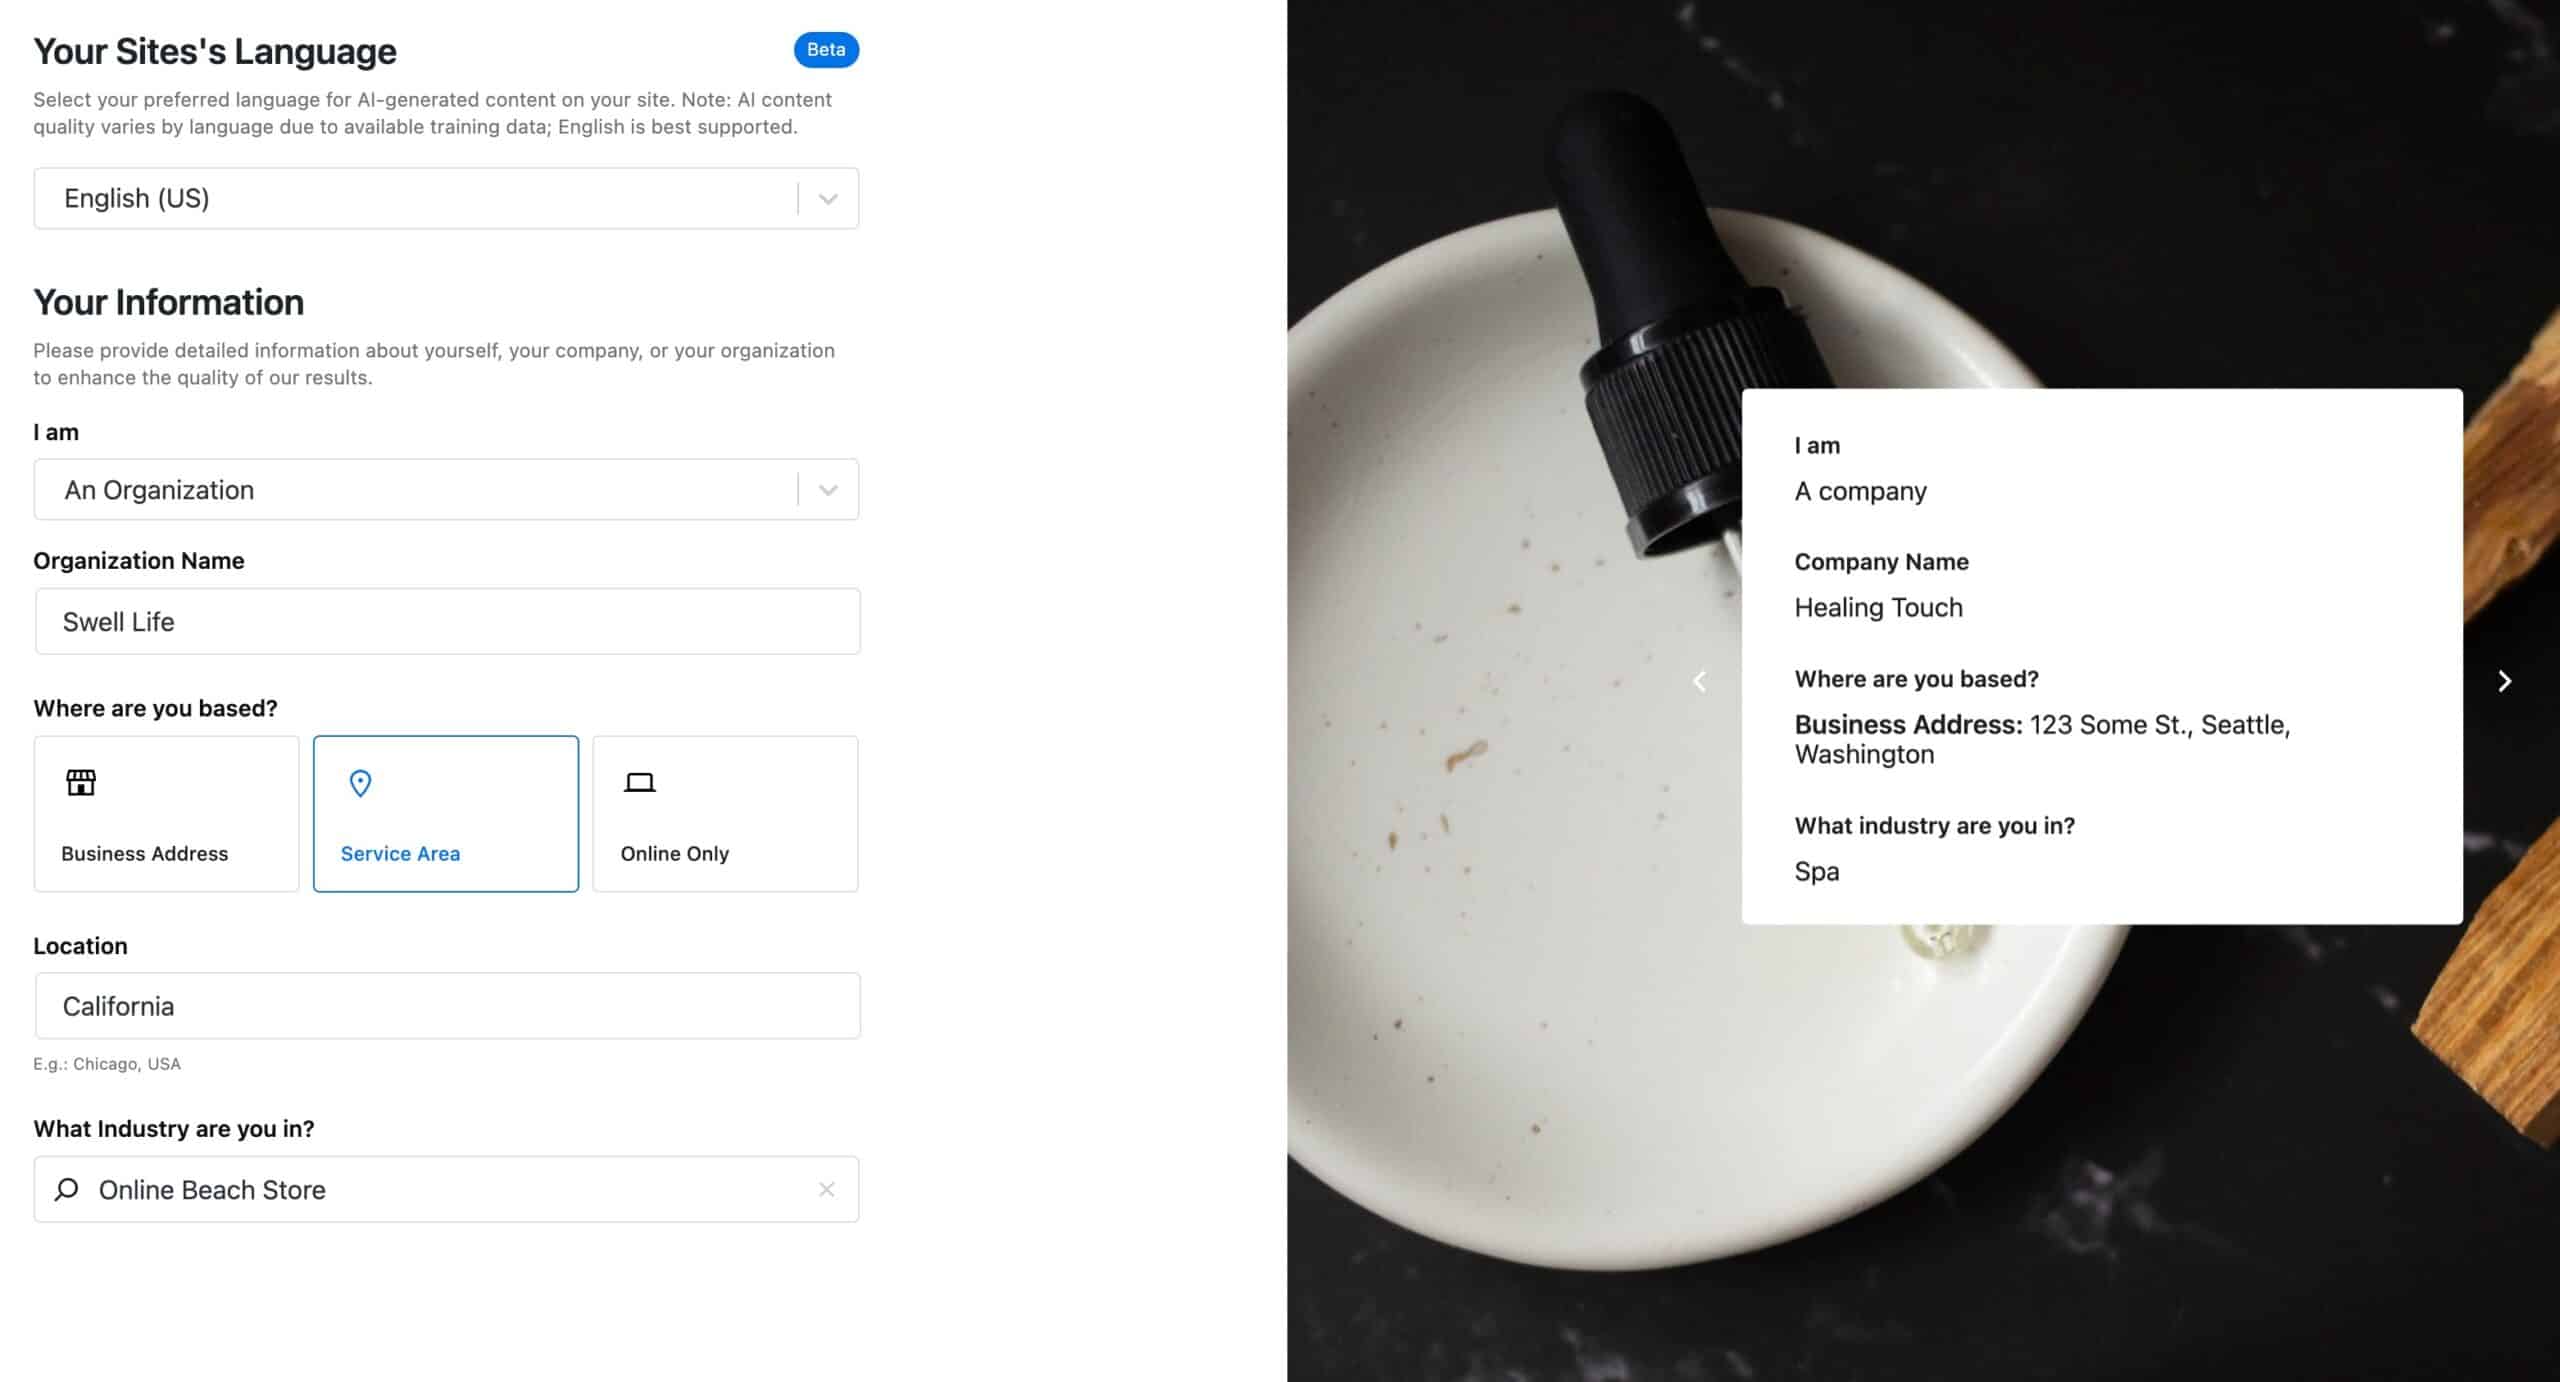
Here is an example of the Your Information section being filled out.
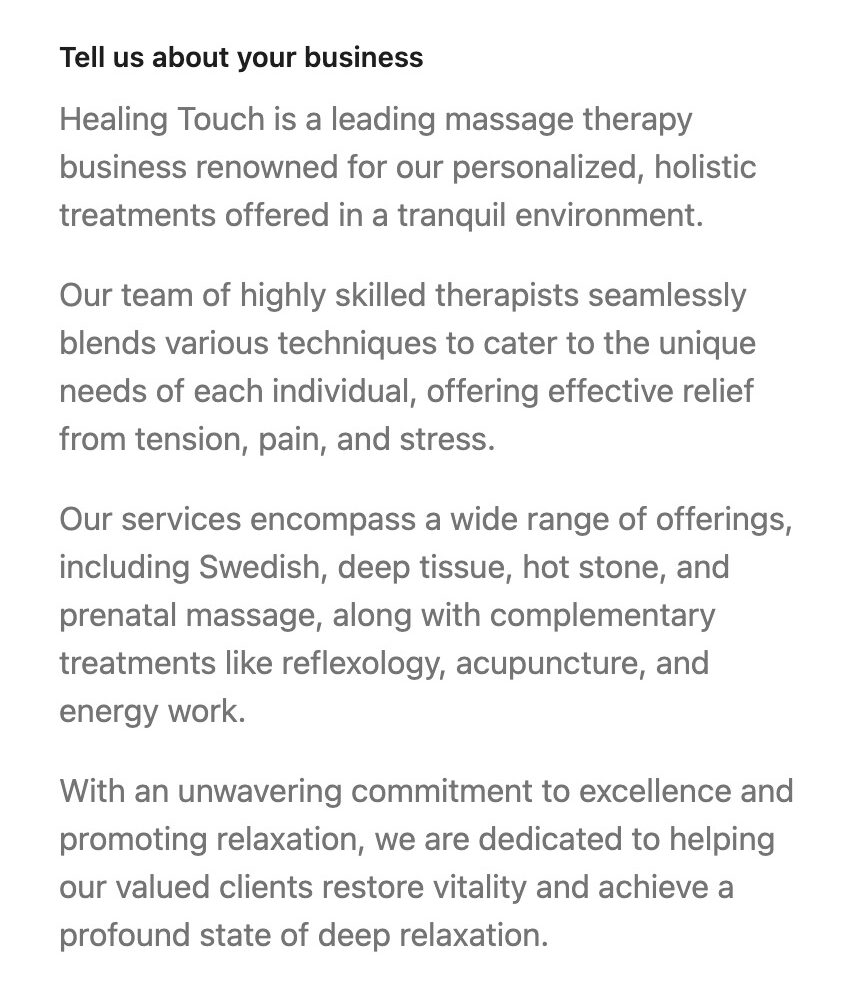
About Your Business
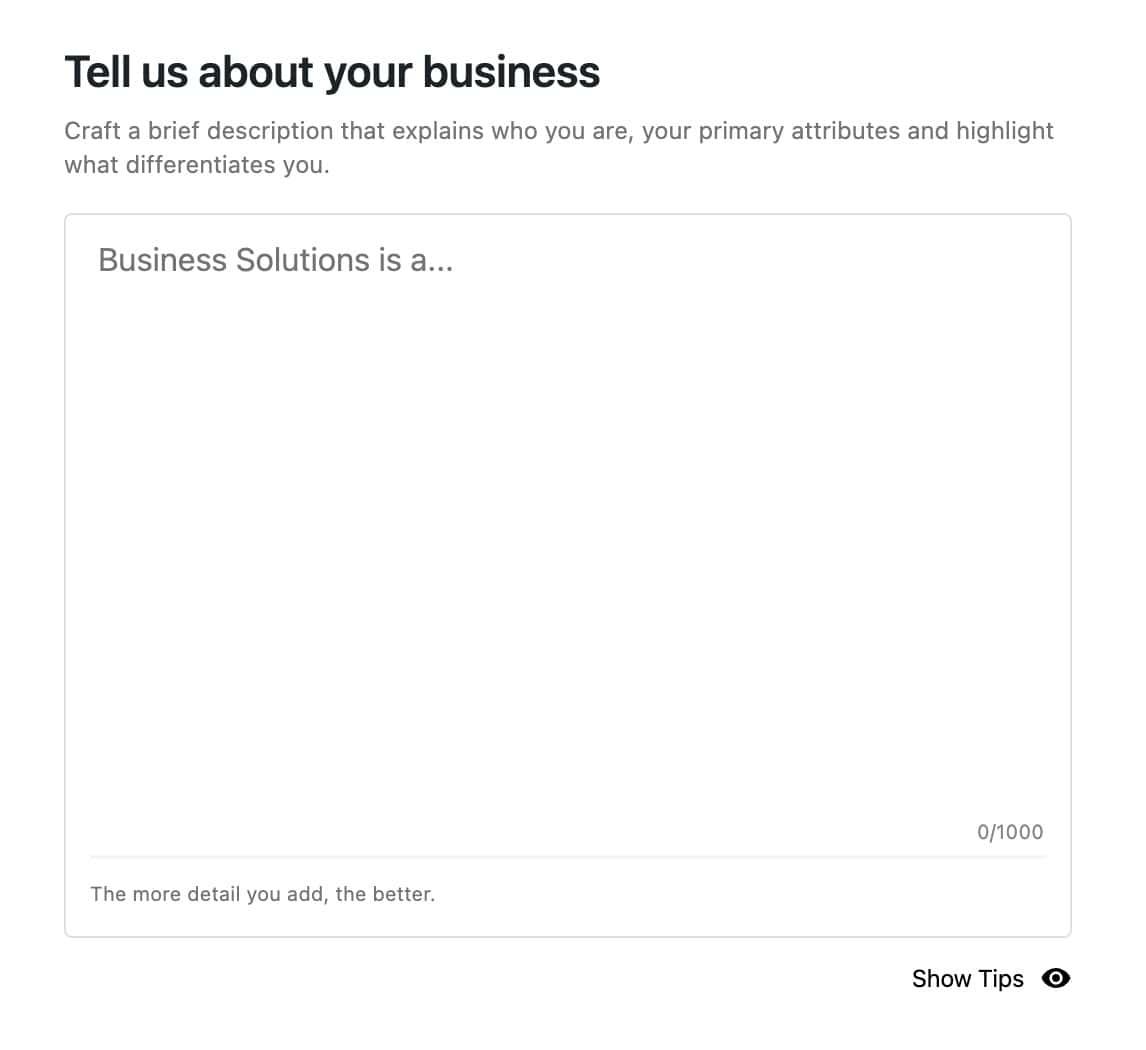
After filling out your basic information, you will be directed to a page where you must provide information about your business. This information is very important as it will help the AI to understand your business better.
You should be as descriptive as possible about who you are and what you offer. Here are some tips for writing a good About Your Business Description:
- What is your core offering or business purpose?
- What products and services do your offer?
- Describe your team and/or brand story.
- Highlight relevant numbers or statistics that support your value or impact.
- What makes you stand out in your industry? Highlight your competitive edge and the value you bring.
- List any notable partnerships.
- What is the action you want visitors to take?
You can click on the Show Tips text with the Eye Icon to show some tips for writing a business description.
Once you are finished writing a description for your website, you also click on the “Improve With AI” button to have AI help improve your business description. This will allow AI to revise your text automatically.
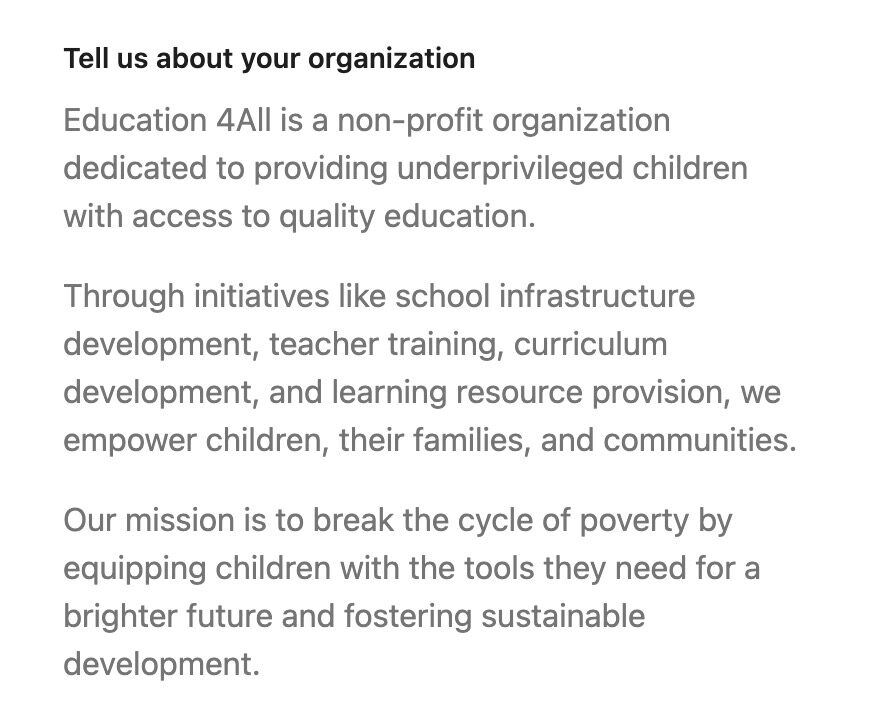
On the Right Hand side, you will see a slider of examples that display different business prompts. You can click use the Arrow Icons to navigate through different example slides.
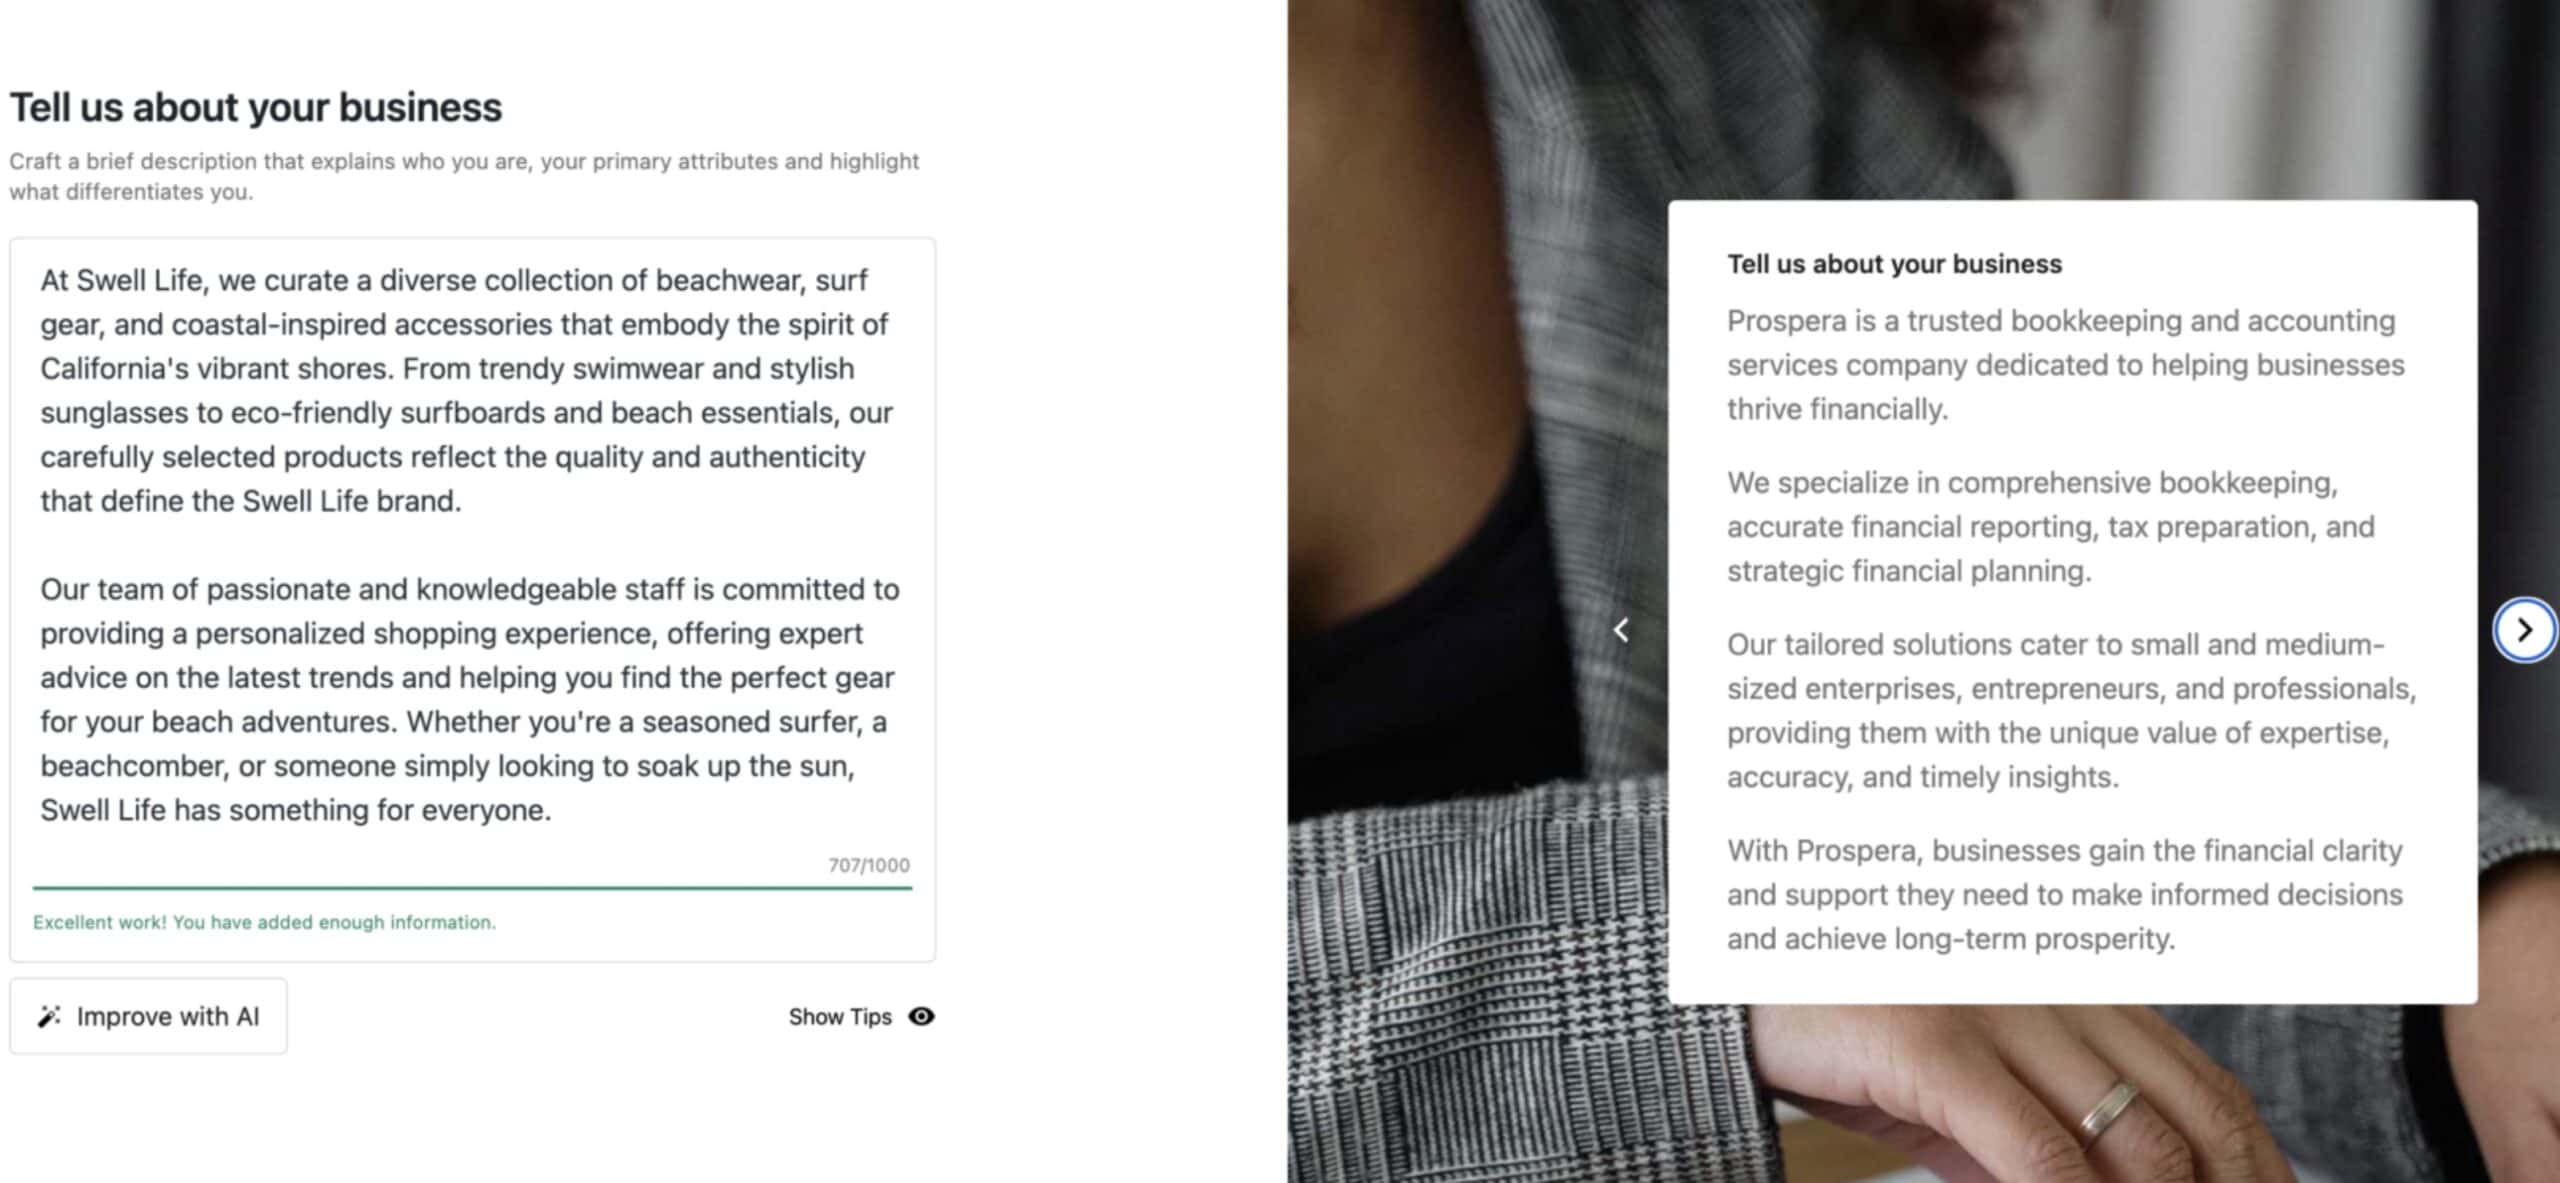
Here are more examples of business prompts.
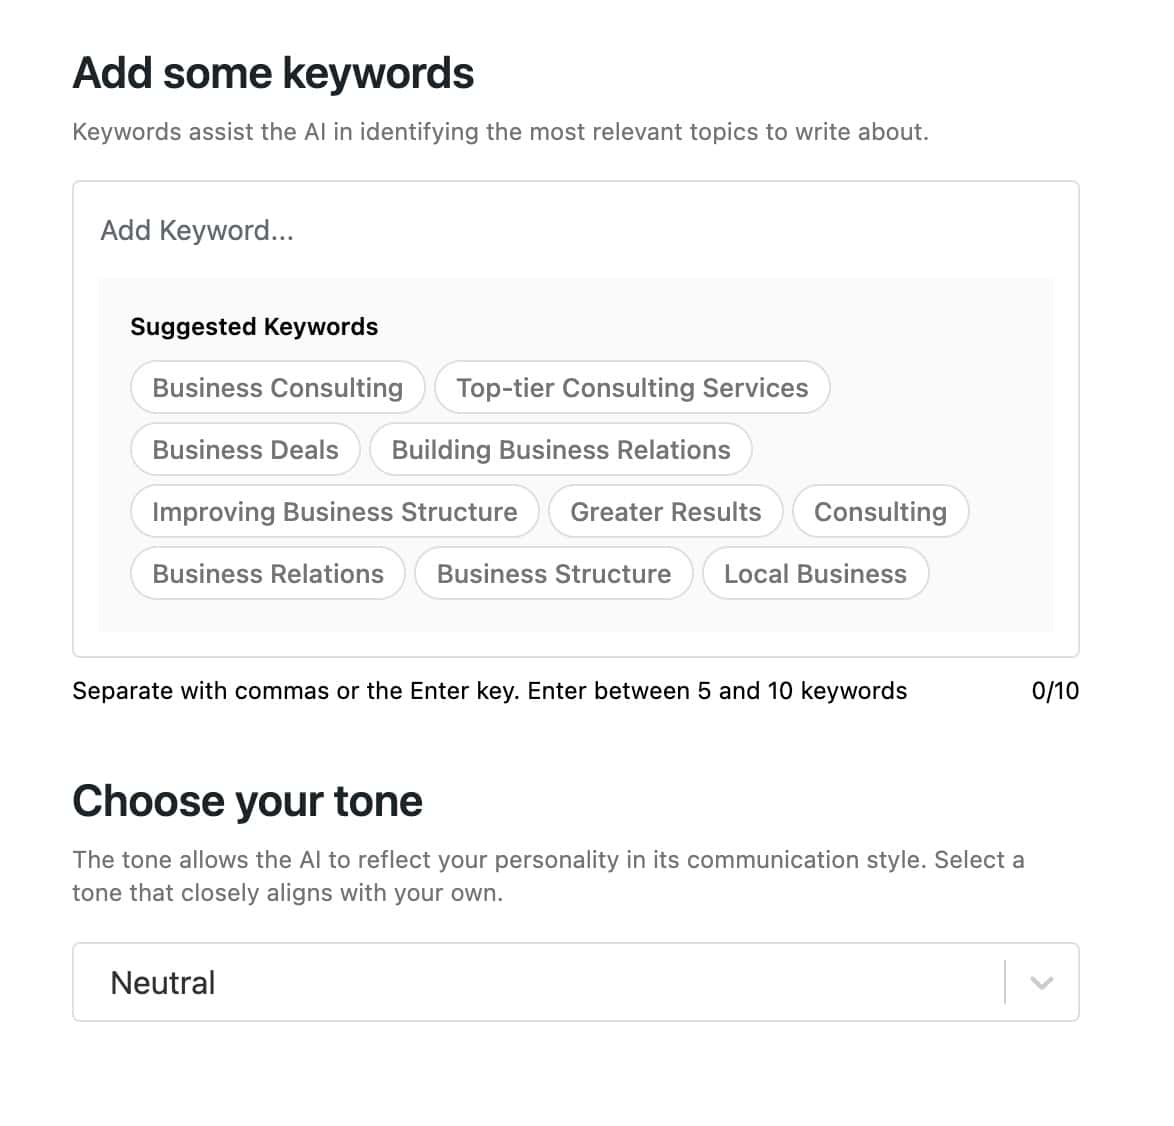
Keywords & Tone
Once you have provided your business information, you will be asked to select some keywords. The suggested keywords are based on the information you have previously provided. You can also manually add your own keywords.
Additionally, you can select the tone that you want the AI to use in its communication style. The tone options available are Neutral, Professional, Friendly, Informative, Engaging, Trustworthy, Conversational, Persuasive, Upbeat, or Funny.
On the Right Hand side, you will see a slider of examples that display different tones in use. You can click use the Arrow Icons to navigate through different example slides.
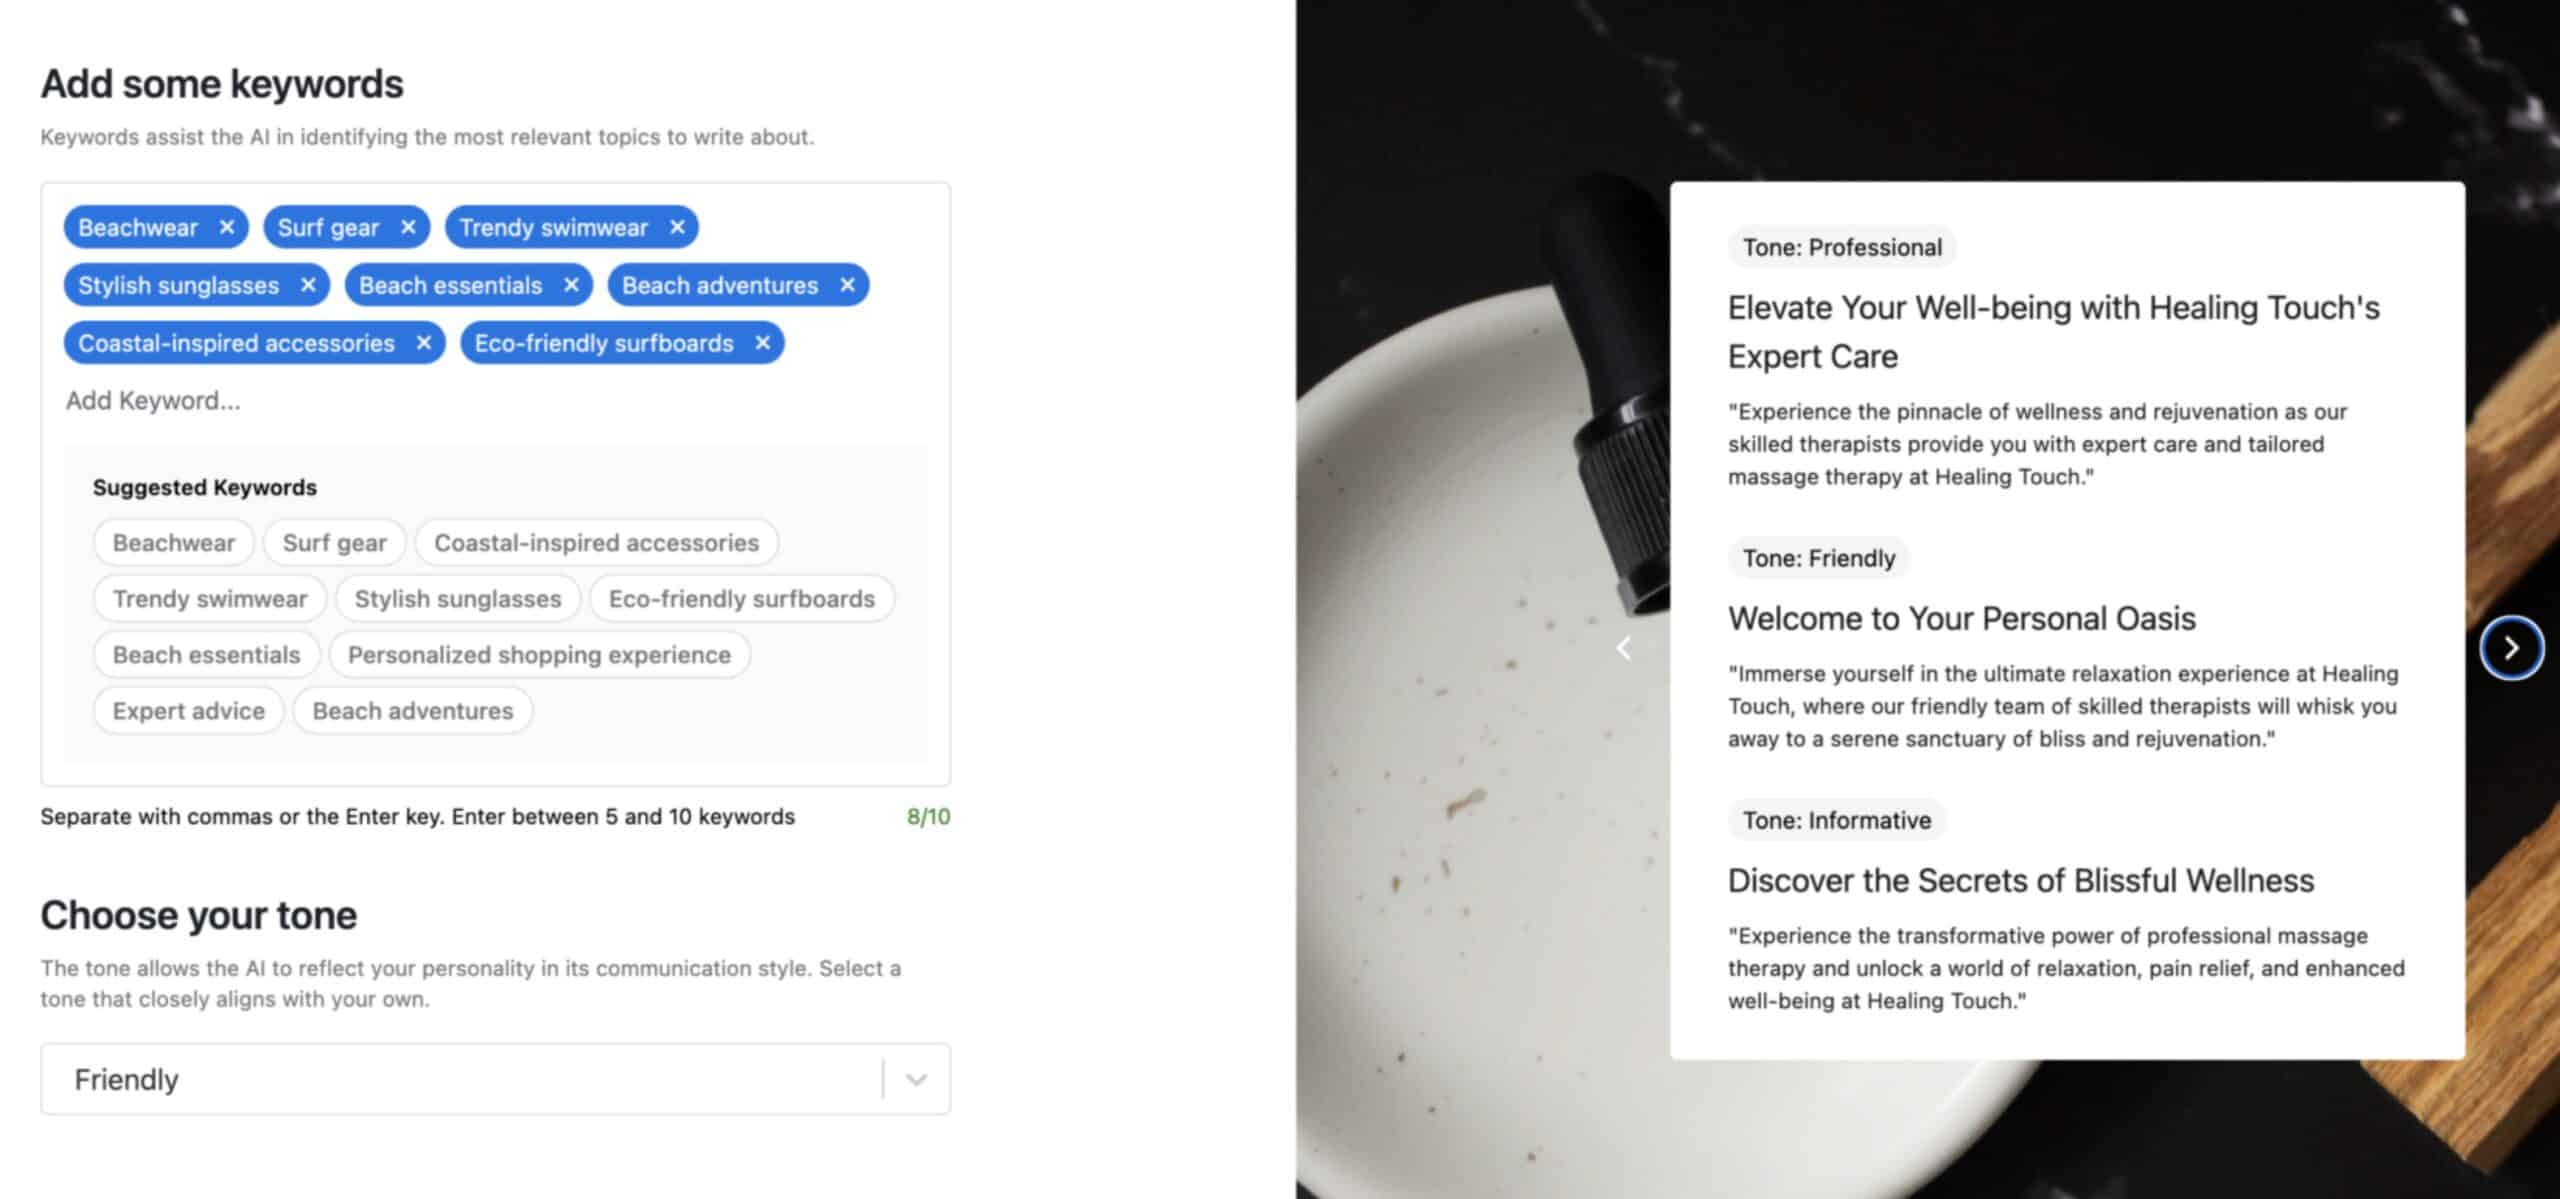
Image Collections
The final step is to select your Photography. The AI feature will automatically select images from the AI Search Collection for you. If you want to make changes to the AI Search Query, you can do so by clicking on the Edit AI Search Query link. Additionally, you can choose different image collections from the dropdown menu, such as Images from our Starter Templates or your Media Library. You can even create your own collection to use. Once you have selected a collection, you can click on Edit Collection to add or remove images from it. Once finished, you can click on Generate Initial Content.
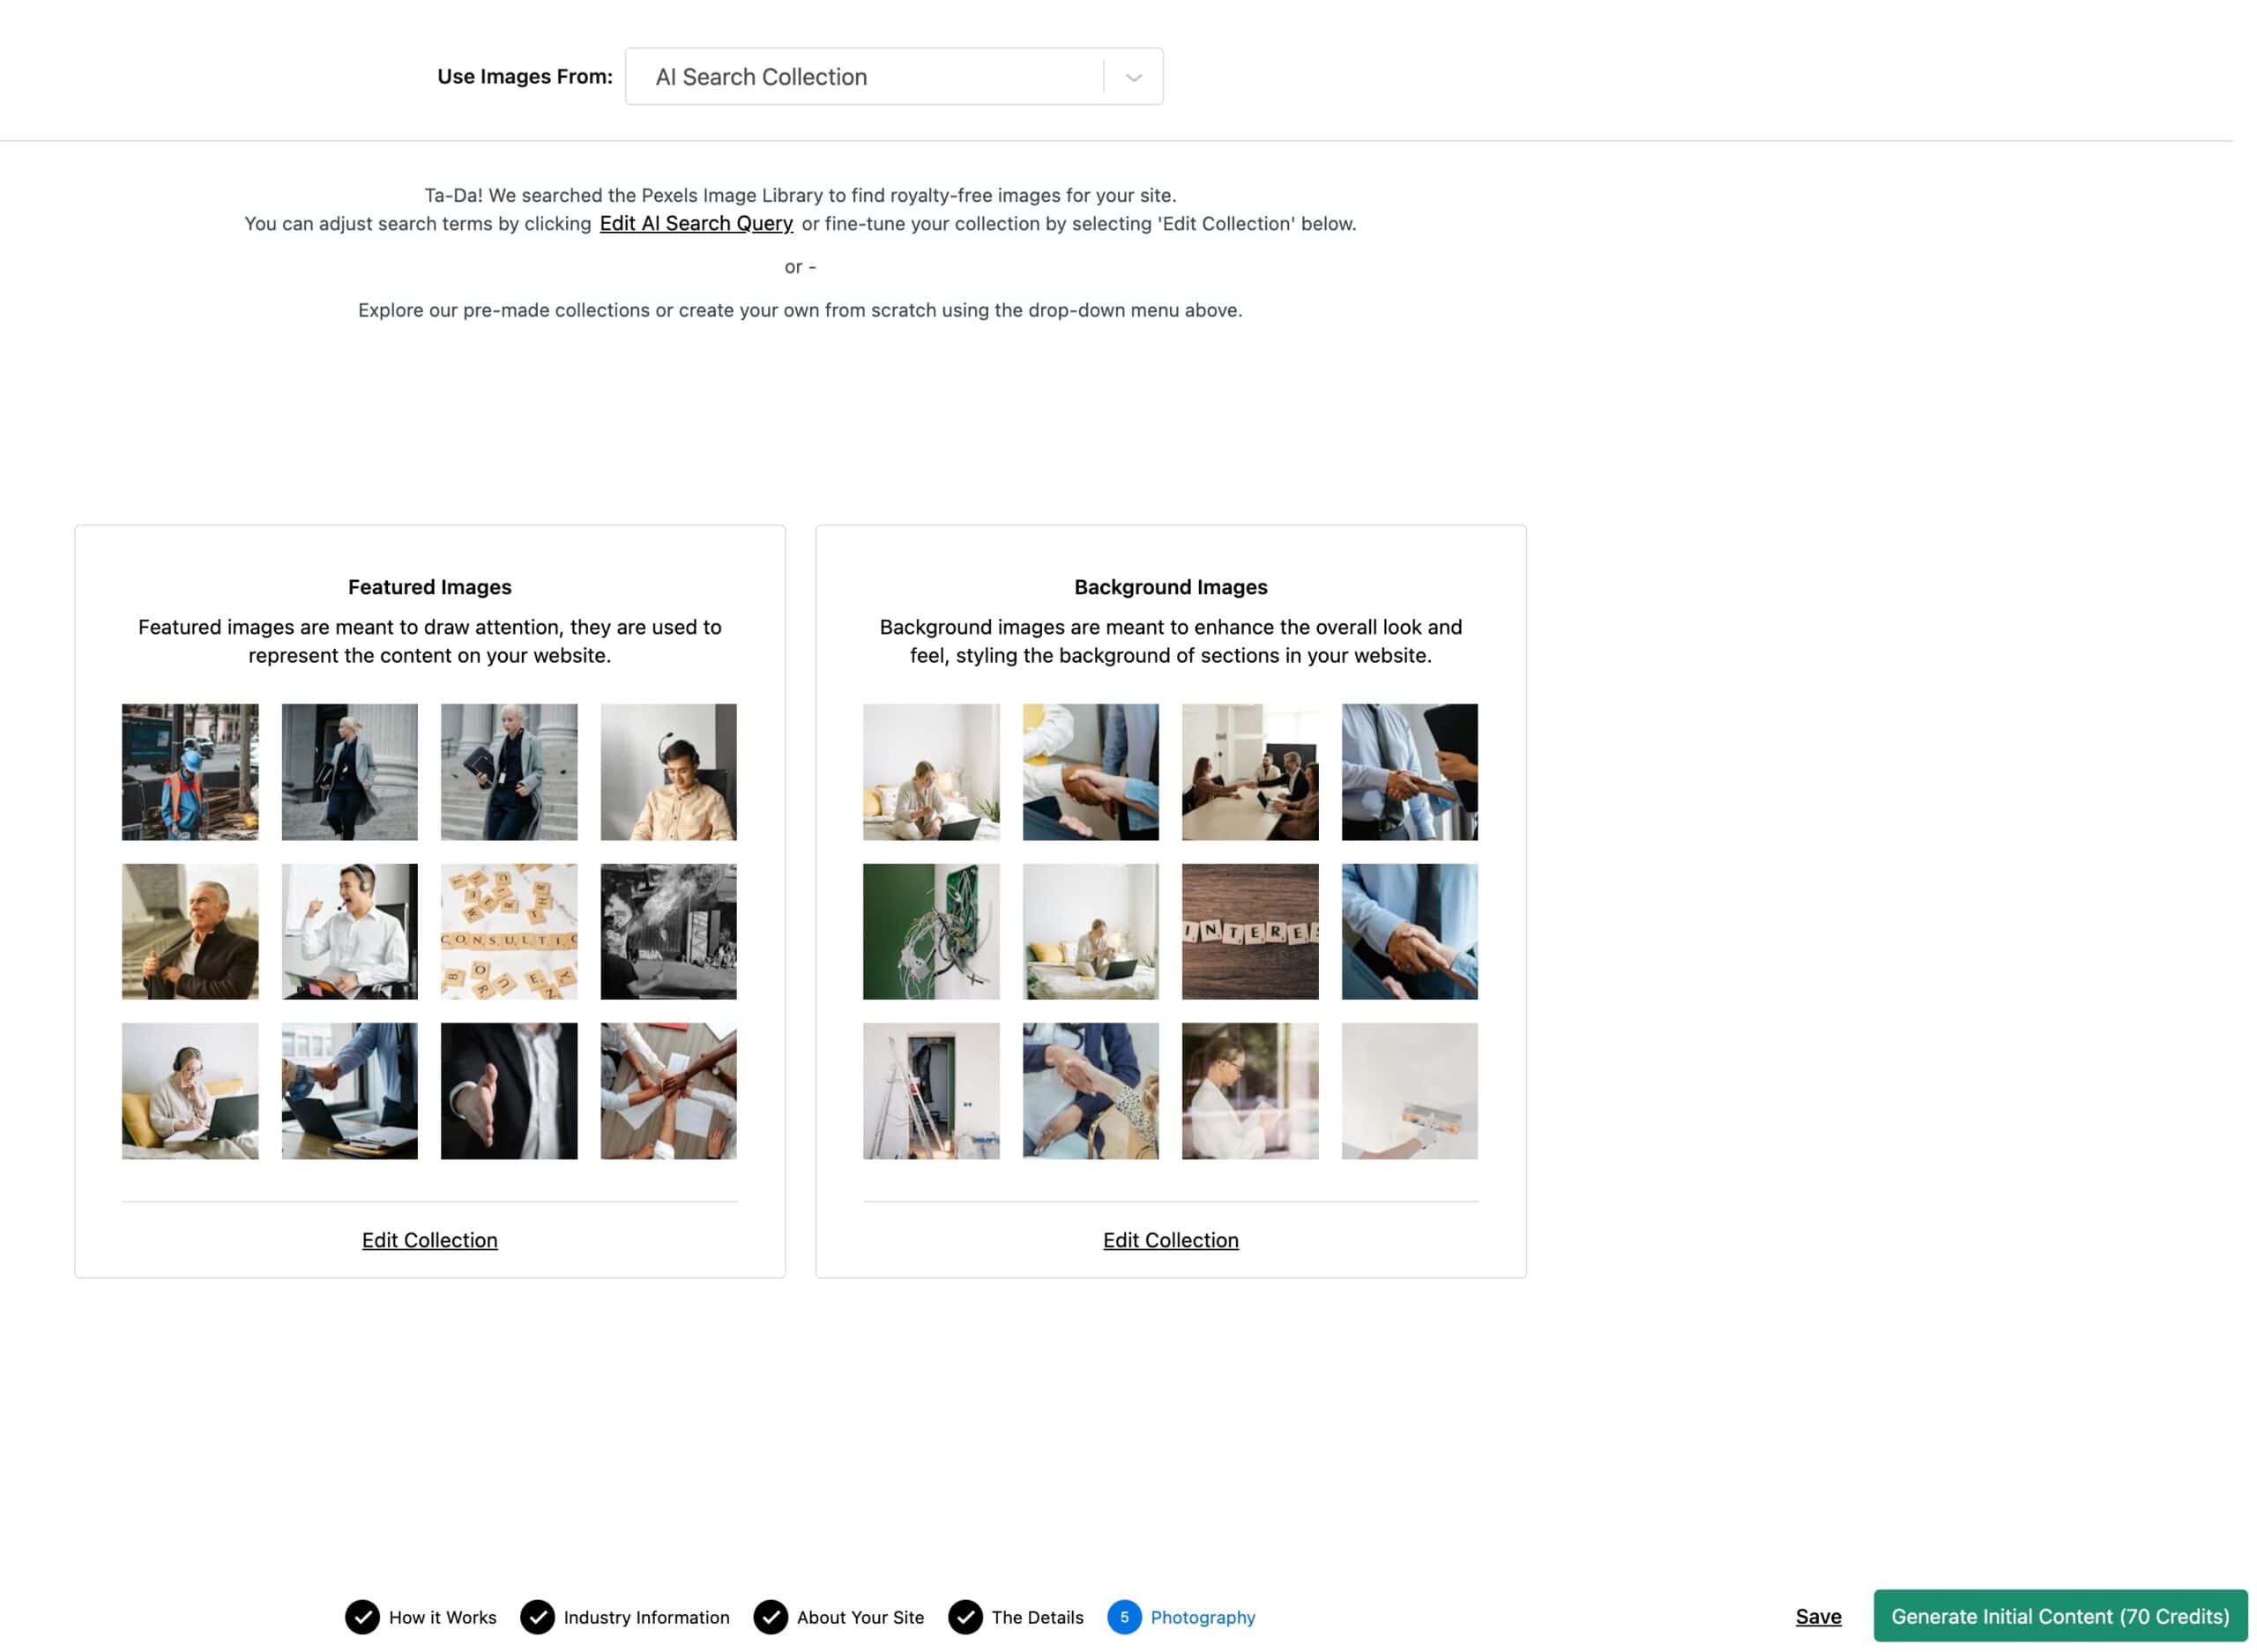
The amount of credits required to generate content will always be shown within the Generate Content button. Once you generate your content for the first time, it may take some time to fully generate. Ensure your content is fully generated before trying to import AI Starter Templates. You will have a prompt in the WordPress Dashboard stating that your AI Content is generated.

This will generate multiple contexts pertaining to your AI Details and the Kadence AI Library. However, in the Design Library, you can generate more contexts that do not automatically generate during the Initial Content pull. You can Click Here to learn more about the Kadence AI Powered Design Library. You can Click Here to learn more about Kadence AI Powered Starter Templates.
Once your AI-generated content is ready, you can use Kadence AI with the Kadence Design Library and/or Kadence Starter Templates.
Supported Languages
Kadence AI supports generating content in languages other than English. Whichever Language you decide to generate your content in should also be the same Language used to fill out your AI Activation Details. For example, if your selected Language is Spanish, you should fill out your business details using Spanish.
Kadence AI allows you to select from multiple regionalized language options. You can view our supported languages using the chart below.
| Language: | Region(s): |
| Danish | Denmark |
| Dutch | Belgium and Netherlands |
| English | US, UK, Canada, India, New Zealand, and Australia |
| French | Belgium, Canada, and France |
| German | Switzerland, Belgium, Germany, and Austria |
| Italian | Italy |
| Portuguese | Brazil and Portugal |
| Spanish | Argentina, Colombia, Latin America, Mexico, and Spain |
| Swedish | Sweden |
Note: AI generation quality may vary based on the Language selected due to available training data. English is the best-supported language.
