With the Kadence Shop Kit plugin as part of the Kadence Bundles, you can add size charts to any product or select a whole category of products to add to. You can enable this via a button that opens a modal or as a WooCommerce tab.
Getting Installed
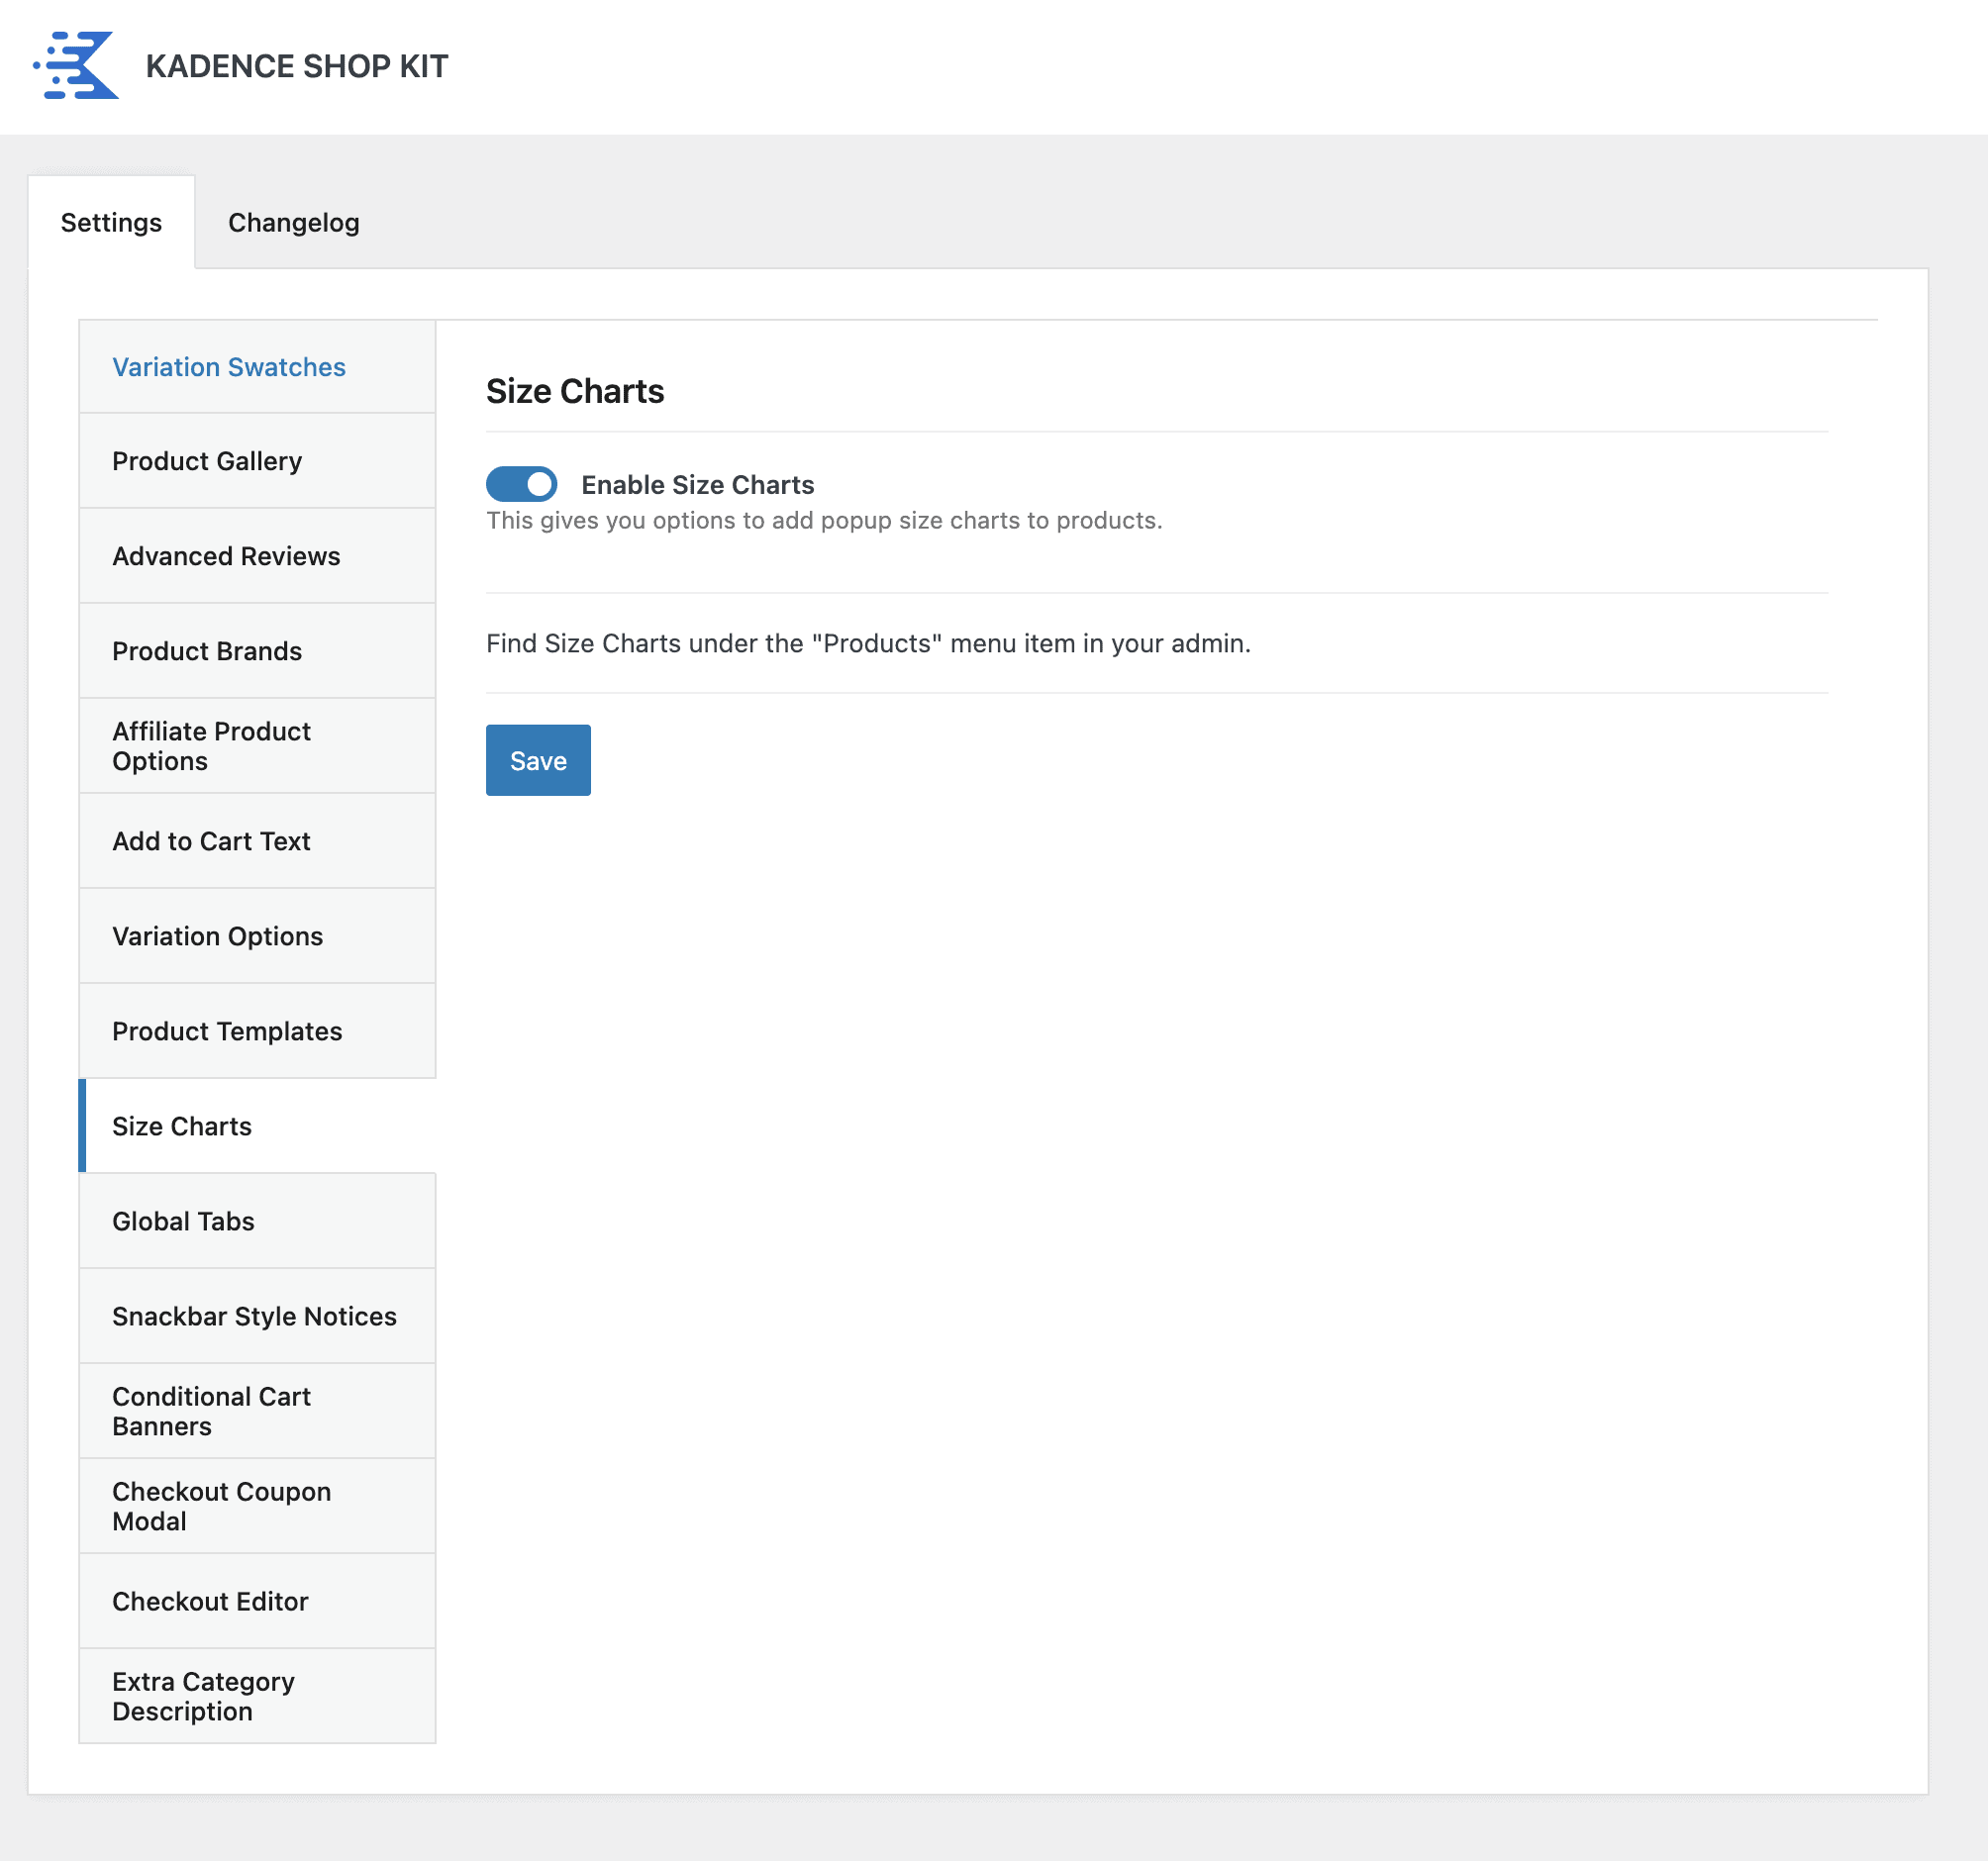
First, install the Kadence Shop Kit plugin and go into the “Shop Kit” menu in the bottom left corner of your screen.
You can click on “Size chart” and enable them for your site. Once enabled, reload the page, and you will see a new menu in your admin menu for “size charts.”

Creating a Size Chart
Next, you can click on the “Size Chart” and then “add new”.
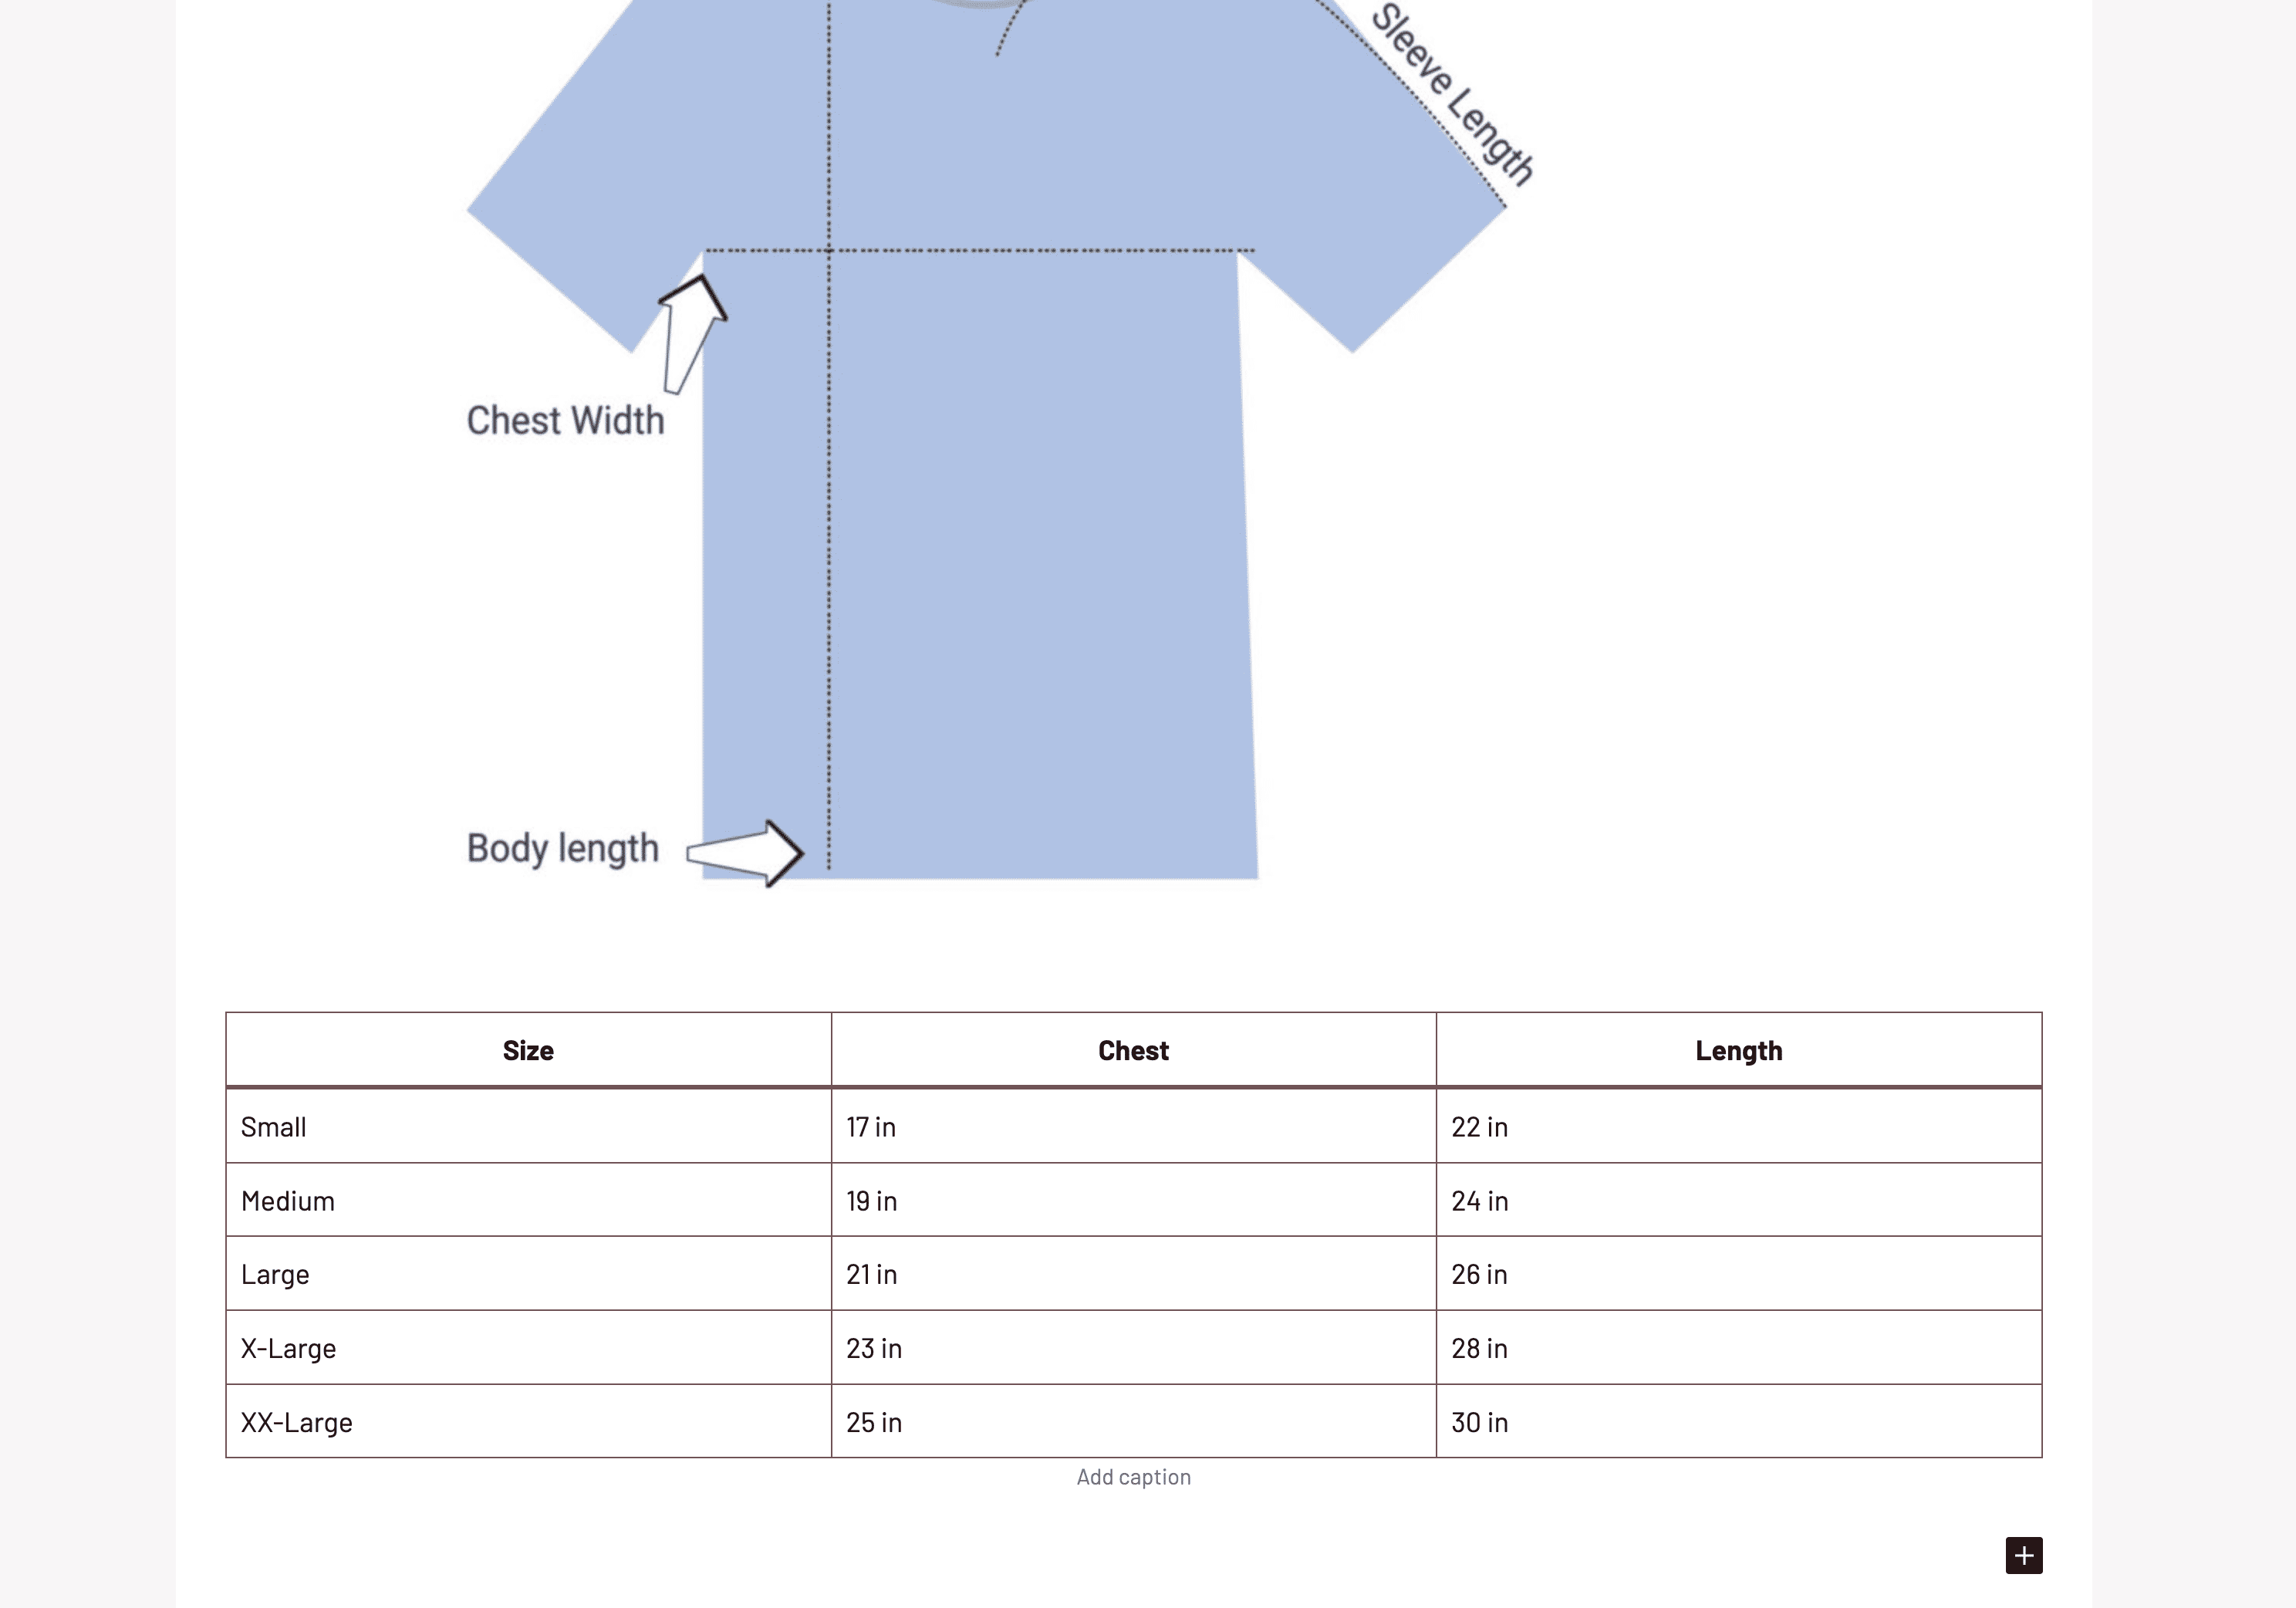
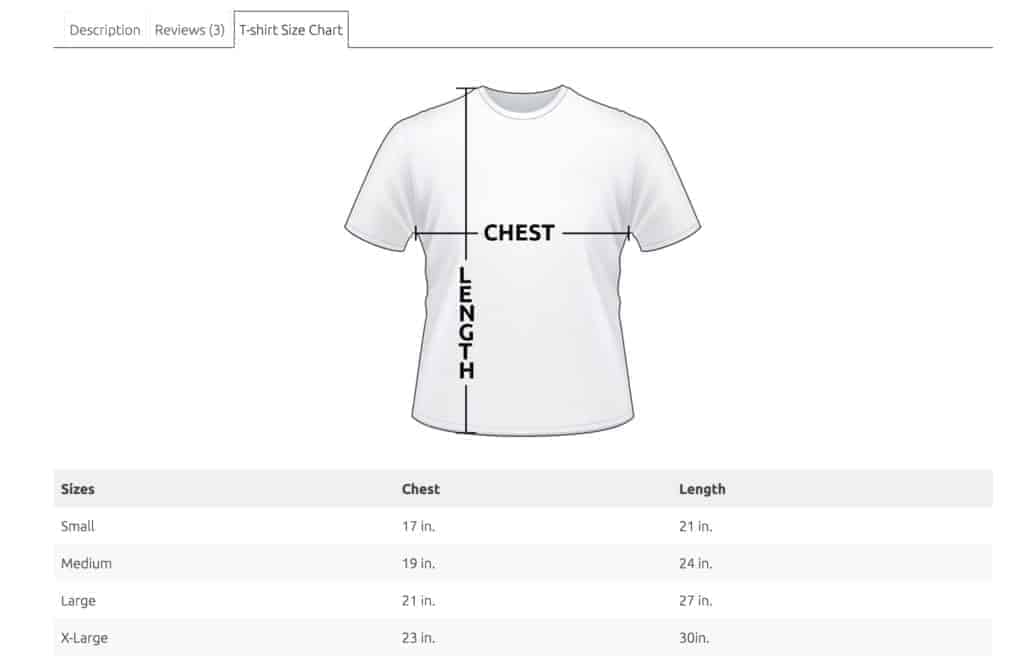
The title will be your size chart title, so you can add something like “t-shirt size chart.” You can add an image or a size chart table in your size chart content. Or both. For a table, use the table block.
Size Chart Placement
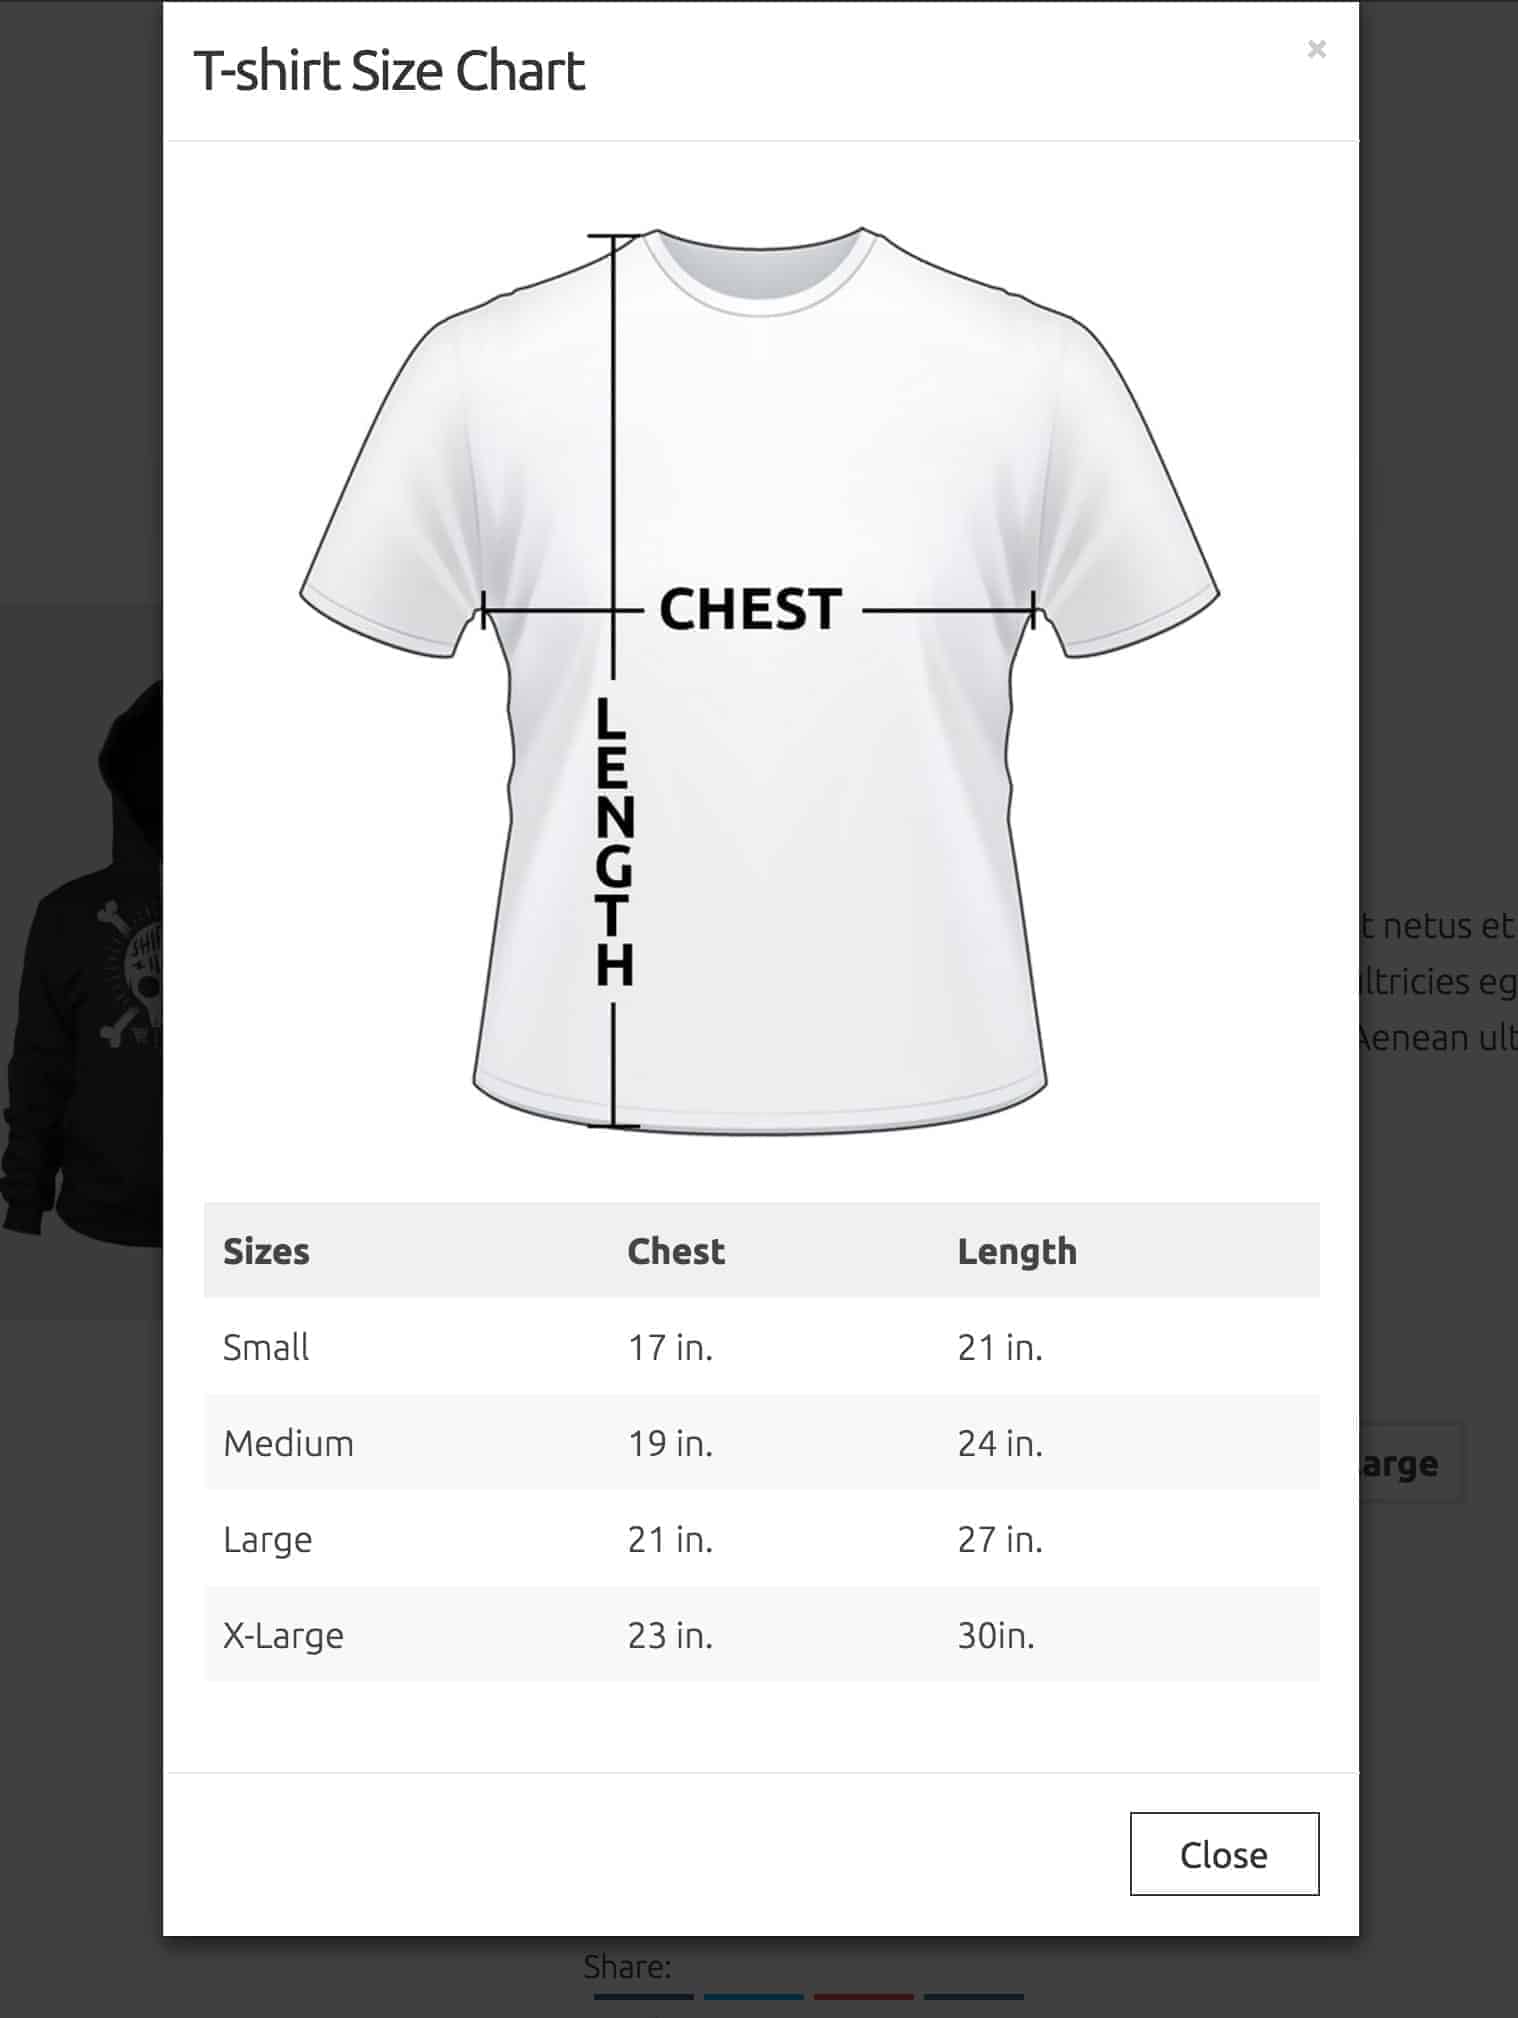
Below the content area, you have settings for enabling the size chart. Your first setting is placement, and you can set how you want the size chart to appear on the product page. The first five options would let you choose to place a button that would appear on the product page. That button would lead to a modal holding your size chart content.

The last option in placement is to place it as a tab on your product page.
Size Chart Options

Below your placement options, you can set the colors for the modal and modal buttons (if using). You can also set the tab priority (if using). Other valuable options allow you to change the colors in the size chart modal. You can also change settings for the modal button, including the button text. You can also assign your size charts to categories, so they only show where you want them to display.
Assigning to a Product
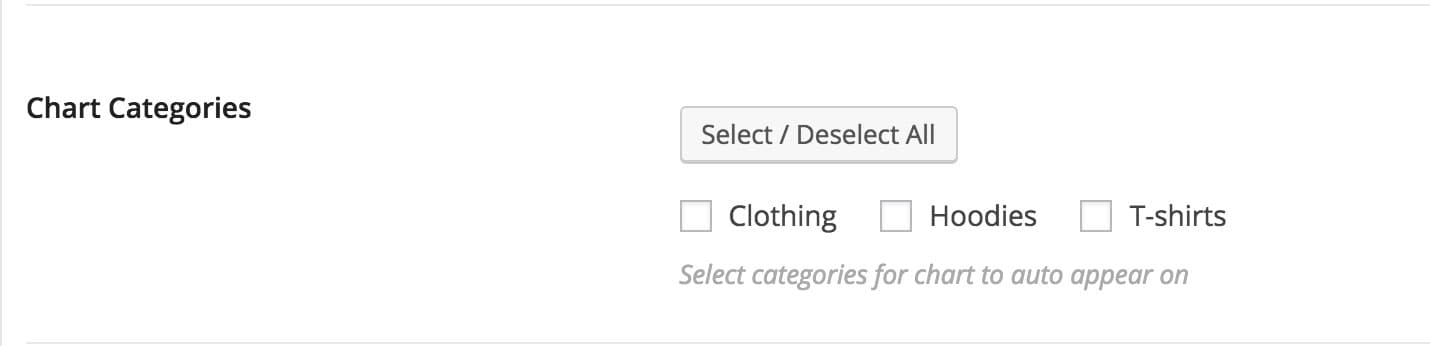
Near the bottom, you have an option to assign this size chart to show a whole category of products on your site. But if you want to assign to one or a few, you can leave that blank, and each product individually assigns a size chart.
Assign Chart to Categories:
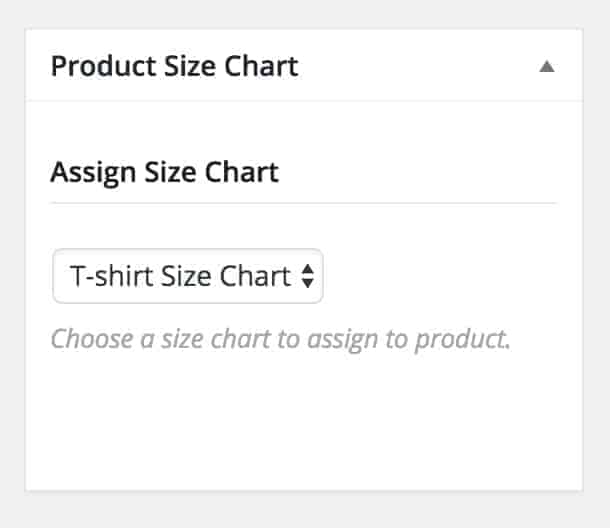
Set chart in product settings: