Skip to content
Help Center
  • Pricing
  • ProductsExpand
    • Premium BundlesGet all the tools you need in one bundle
    • Kadence ThemeLightning-fast performance theme for modern websites
    • Kadence BlocksDrop in ready designs with advanced controls for pixel perfect websites
    • Kadence Shop KitCreate a more effective WooCommerce shopping experience
    • Kadence ConversionsBoost sales and build engaged audiences with popups and banners
    • Kadence InsightsEasily create A/B tests. Optimize your pages to drive higher conversions.
    • View All Products
  • AI Starter Templates
  • Blog
  • SupportExpand
    • Help CenterProduct Questions? Not sure how to do something? Start here
    • Support TicketsNeed help? We love to help our customers
    • About usCrafted with love in Missoula, Montana
    • Contact usPre Sale Questions? Need help purchasing?
Account Account
Get Kadence
Kadence Shop Kit
  • Features
  • Pricing
  • HelpExpand
    • Documentation
    • Submit a Ticket
    • Feature Requests
    • Roadmap
    • Changelog
Help Center
Kadence Shop Kit

Shop Kit Setup

  • Kadence Shop Kit – Product Badges
  • Kadence Shop Kit: Variation Swatches
  • Kadence Shop Kit: Product Galleries
  • Kadence Shop Kit – Advanced Reviews
  • Kadence Shop Kit – Product Brand Configuration
  • Kadence Shop Kit – Open Affiliate/External Products In A New Tab
  • Enable Custom Add to Cart Text
  • How to Set Variation Options
  • Shop Kit 2.0 – Building a Product Template
  • Kadence Shop Kit: Size Charts
  • Enable and Add Global Tabs
  • Snackbar Style Notices
  • Kadence Shop Kit Conditional Cart Banners
  • Checkout Coupon Modal
  • Kadence Shop Kit – Customize Checkout
  • Extra Category Description
  • How to Install & Activate Kadence Shop Kit
  • How to Add Gutenberg Editor to WooCommerce

Woo Template Blocks

  • Woo Template Block – Product: Upsell
  • Woo Template Block – Product: Custom Actions
  • Woo Template Block – Product: Add to Cart
  • Woo Template Block – Product: Title
  • Woo Template Block – Product: Price
  • Woo Template Block – Product: Gallery
  • Woo Template Block – Product: Image
  • Woo Template Block – Product: Short Description
  • Woo Template Block – Product: Description
  • Woo Template Block – Product: Meta
  • Woo Template Block – Product: Tabs
  • Woo Template Block – Product: Rating
  • Woo Template Block – Product: Related
  • Woo Template Block – Product: Upsell
  • Woo Template Block Product: Additional Information
  • Woo Template Block – Product: Reviews Block
  • Woo Template Block – Breadcrumbs
  • Woo Template Block – Product: Notice
  • Woo Template Block – Product: Brand
  • Woo Template Block – Archive: Main Query
  • How to Enable Woo Template Blocks
  • Select a Product for Preview in Woo Template

Kadence Shop Kit

  • Woo Template Block – Product: Custom Actions
  • Home
  • Knowledge Base
  • Kadence Shop Kit
  • Kadence Shop Kit
  • Shop Kit Setup

Kadence Shop Kit – Product Brand Configuration

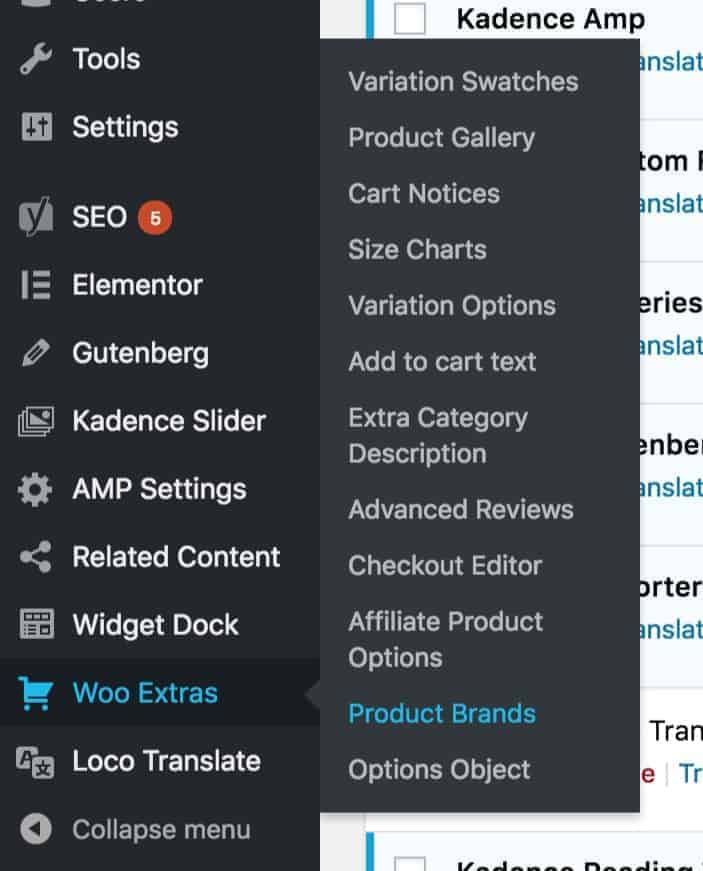
To get started with brands in Kadence Shop Kit (formerly WooExtras), firstly make sure the plugin is installed and active. Once installed and activated, navigate to Kadence Shop Kit > Product Brands:

WooExtras Product Brands

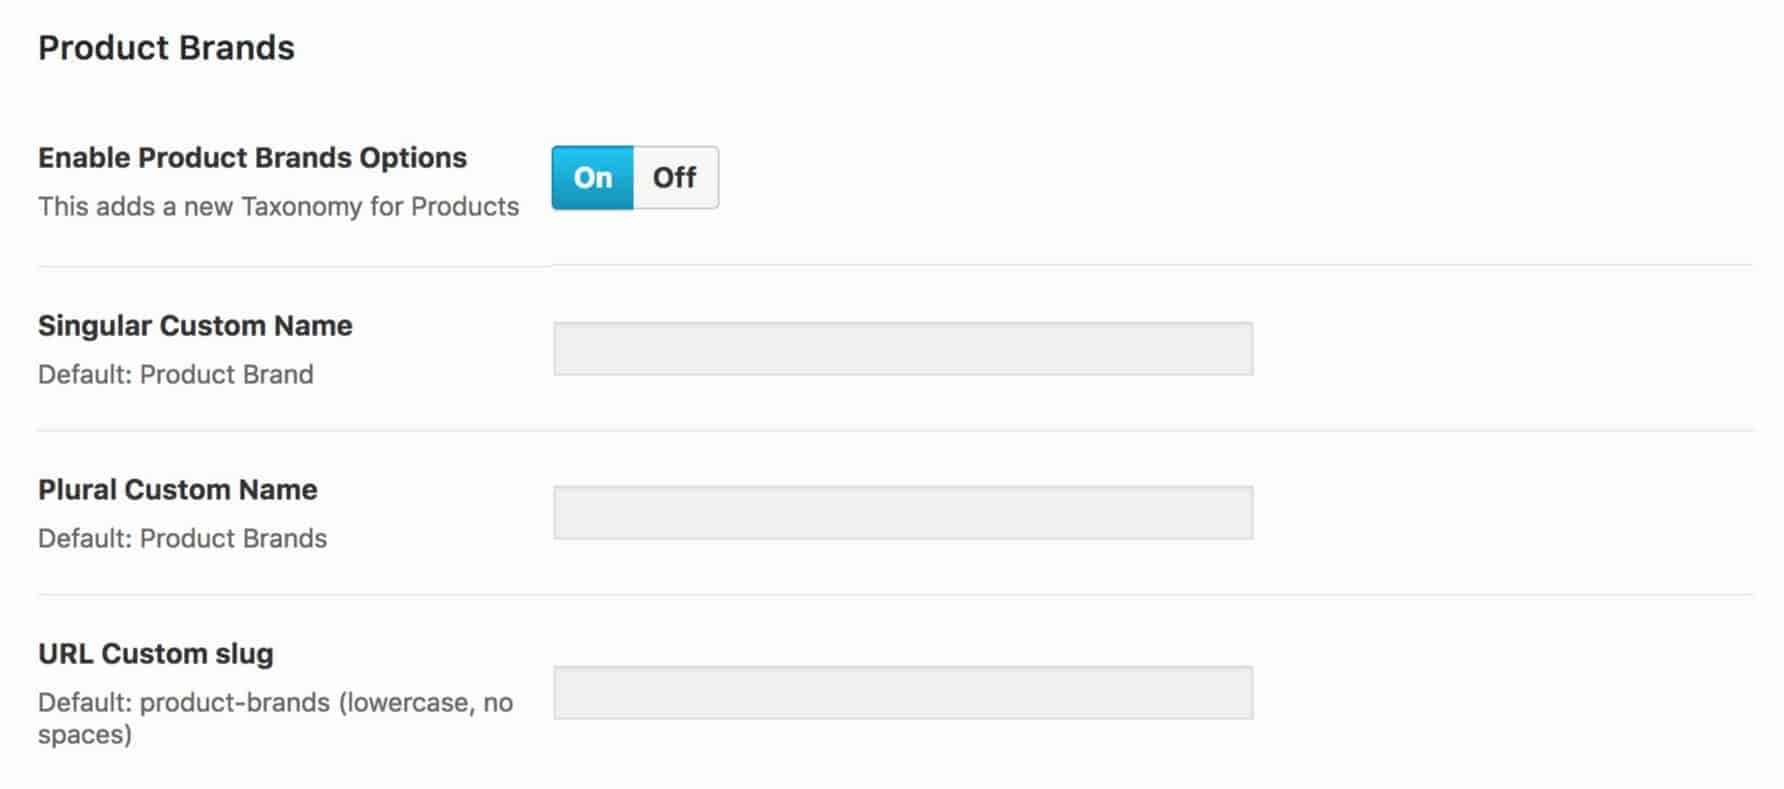
In your Kadence Shop Kit settings, activate the product brand options and setup the options for your custom brand in singular form, as well as plural form. You can also modify the product brand slug. Be sure to go to Settings > Permalinks and resave them after modifying the product brands slug:

Brand Terms and Slug

After you setup your product brand terminology and URL slug, scroll down to setup the product brand single product output:

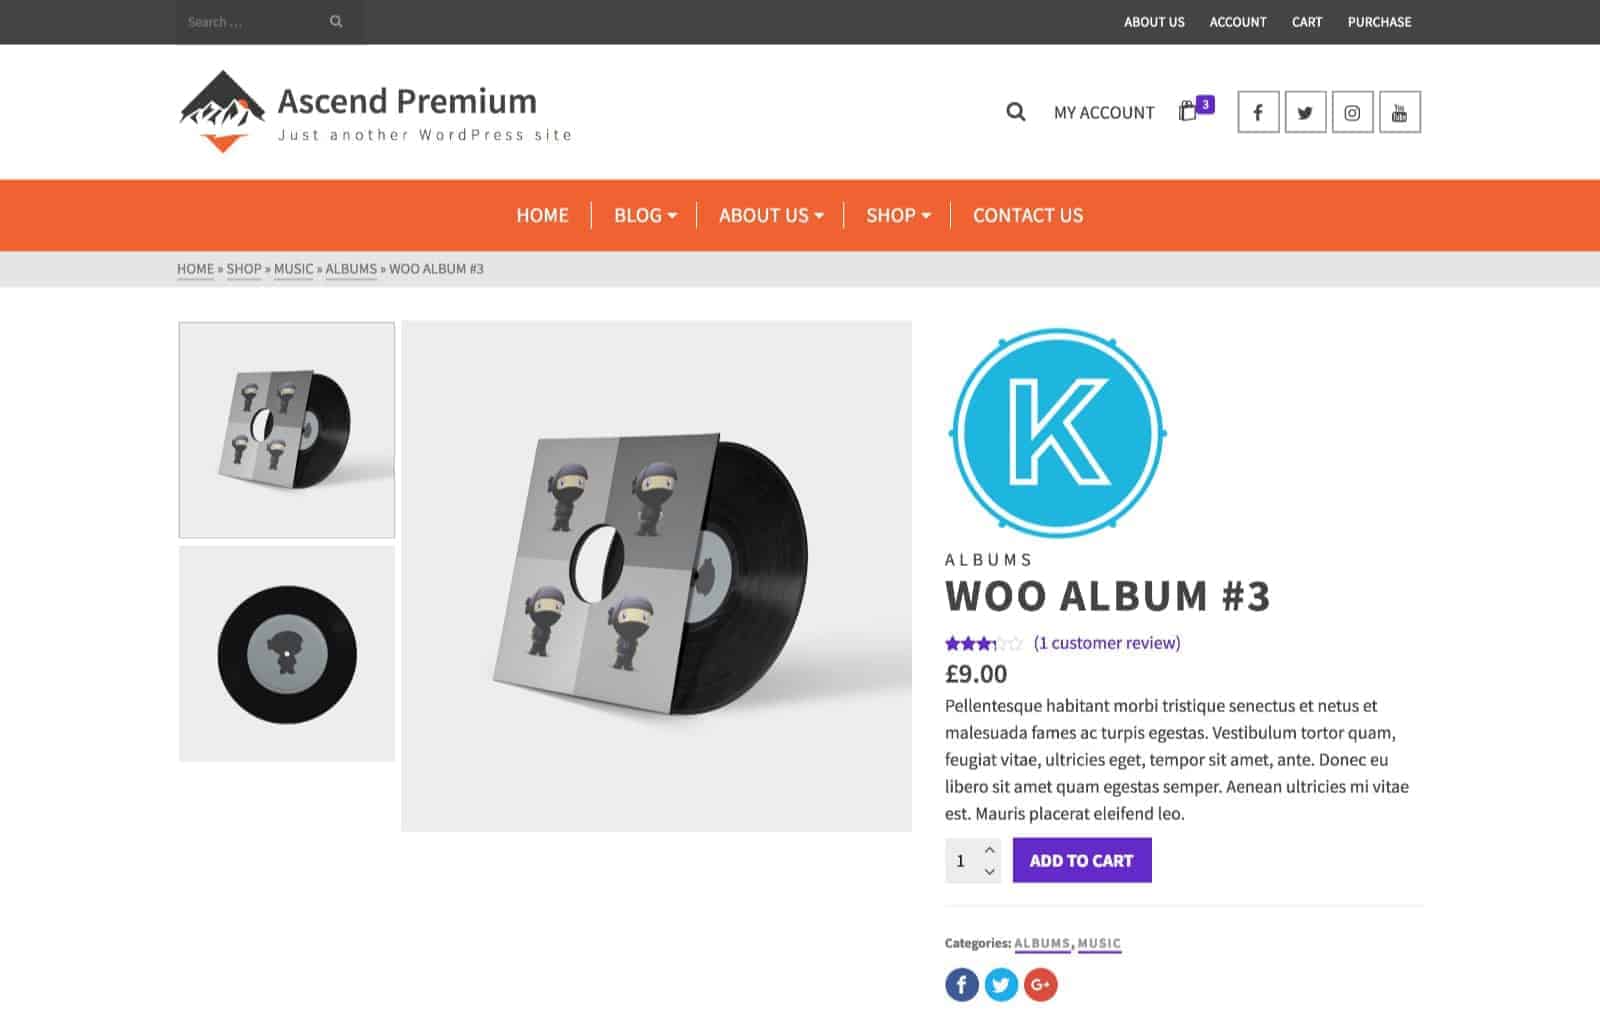
Depending on your settings, the product brand should appear on your single product like this (for this example, the brand is the Kadence Logo):

Finally, configure the product brand archive settings for your store:

Product Brand Archive Settings

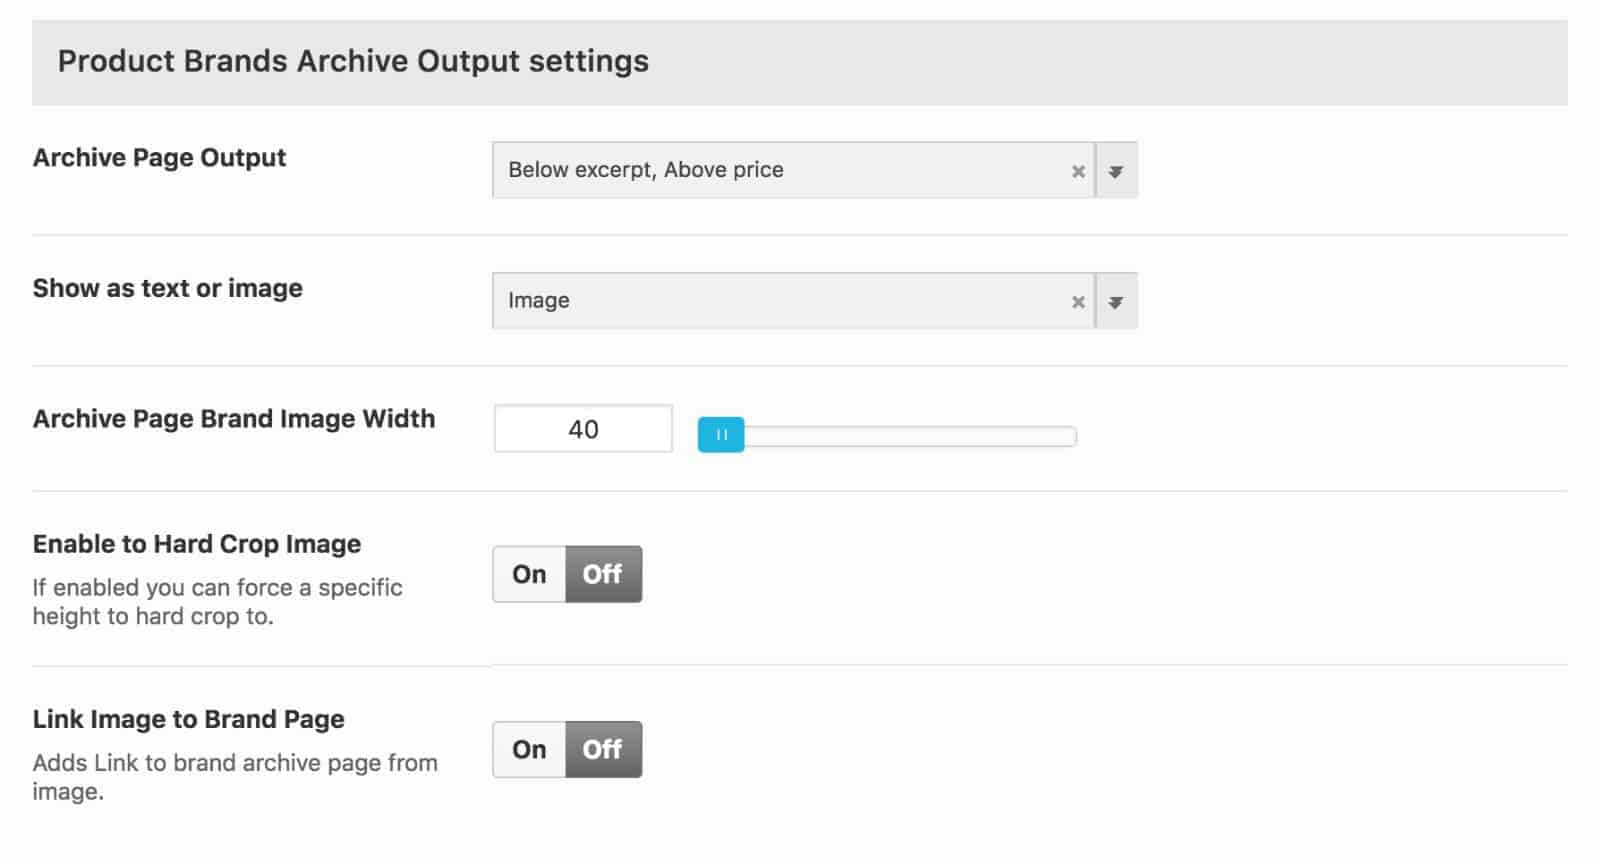
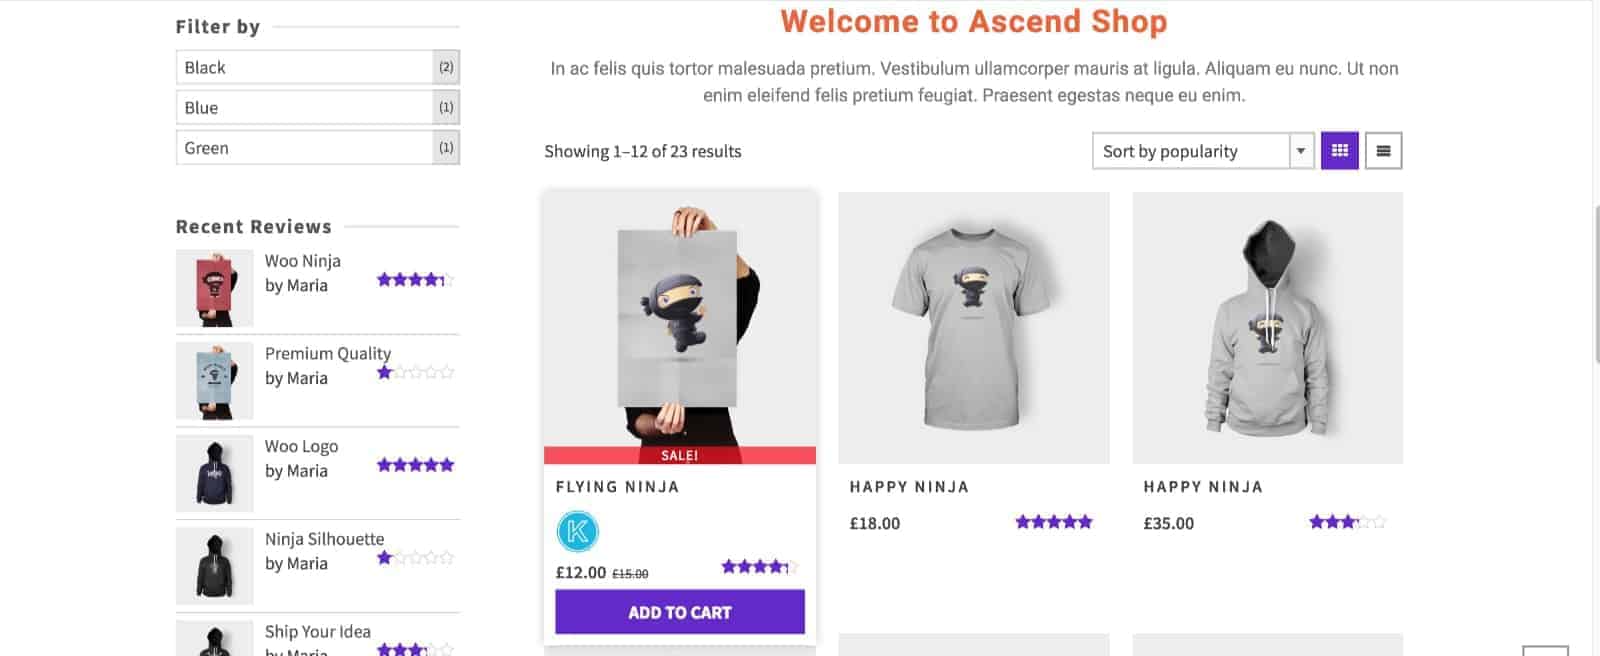
Setting the brand logo to appear in your archive will add the logo or text to products in your archive, differentiating them from your other products:

Brand Logo In Archive

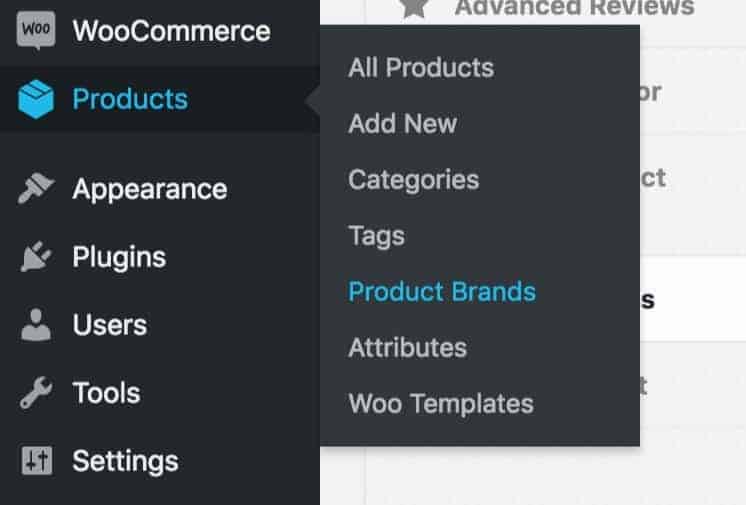
Once you’re happy with the overall brand settings, it’s time to configure your product brands. To do so, navigate to Products> Product Brands:

Products Product Brands

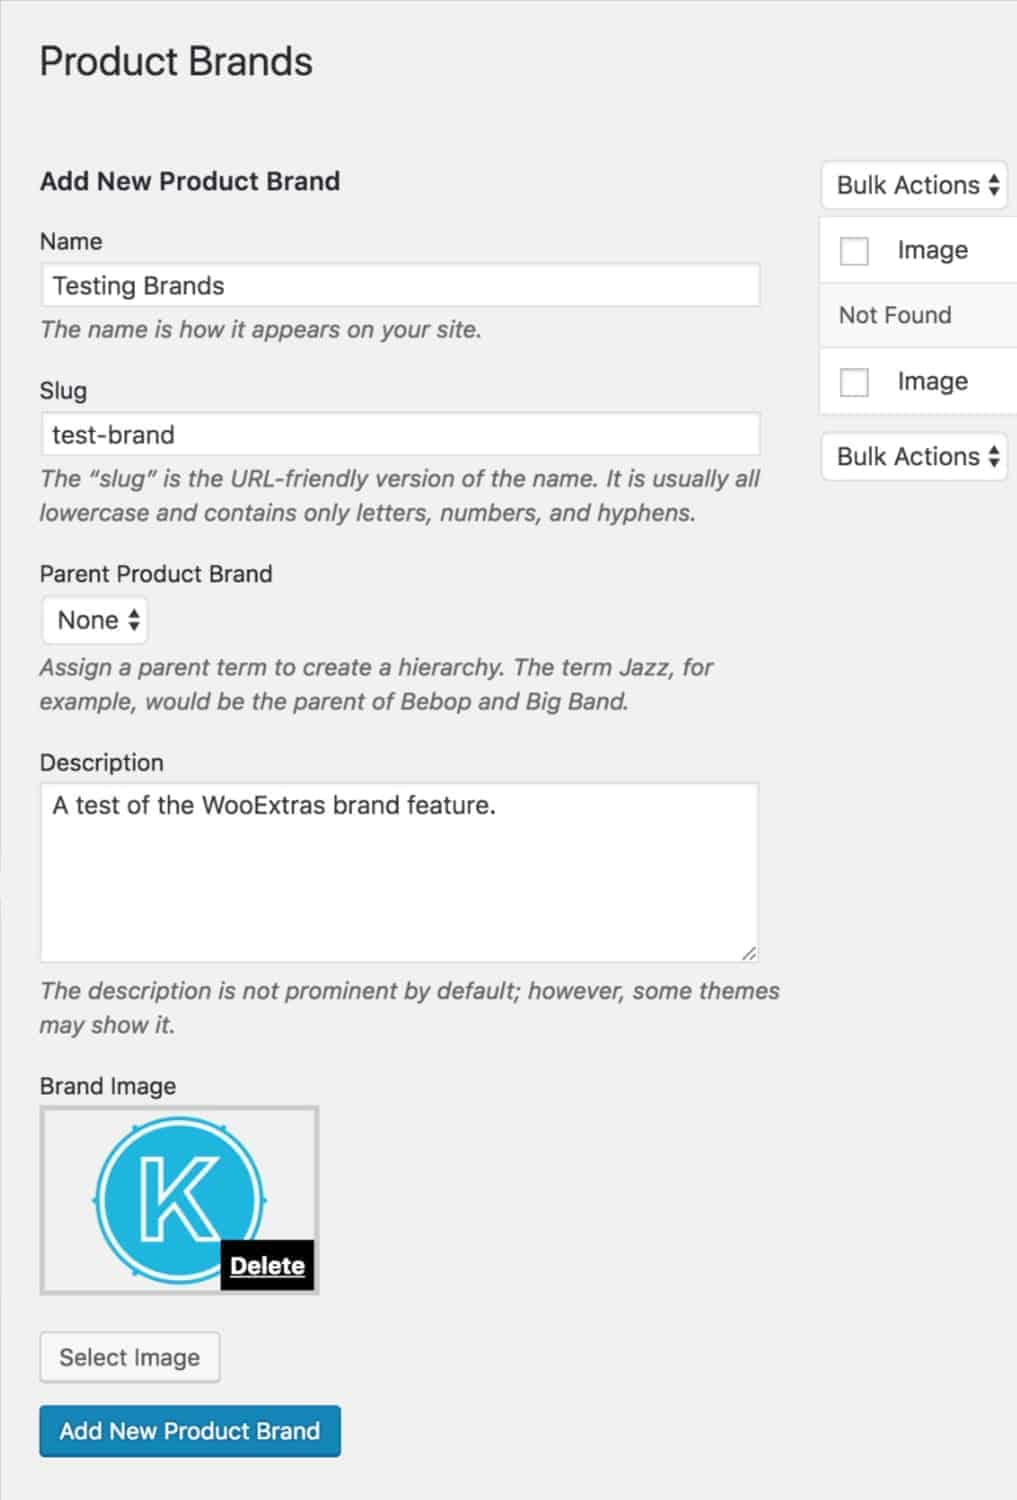
Fill in the details for your brand, add an image, and add the new product brand:

Add New Brand

Assign the product brand on your individual product page:

Assign Product Brand

To assign products to this brand, simply go to the product edit screen, and find the brands selector:

If you don’t see the product brand selection box, be sure that it is enabled at the top of the page under Screen Options.

Once you have assigned all of your products their brand, you should now be able to see them in the product brand archive:

Brand Archive
Kadence Shop Kit – Advanced ReviewsKadence Shop Kit – Open Affiliate/External Products In A New Tab
  • Pricing
  • Products
    • Premium BundlesGet all the tools you need in one bundle
    • Kadence ThemeLightning-fast performance theme for modern websites
    • Kadence BlocksDrop in ready designs with advanced controls for pixel perfect websites
    • Kadence Shop KitCreate a more effective WooCommerce shopping experience
    • Kadence ConversionsBoost sales and build engaged audiences with popups and banners
    • Kadence InsightsEasily create A/B tests. Optimize your pages to drive higher conversions.
    • View All Products
  • AI Starter Templates
  • Blog
  • Support
    • Help CenterProduct Questions? Not sure how to do something? Start here
    • Support TicketsNeed help? We love to help our customers
    • About usCrafted with love in Missoula, Montana
    • Contact usPre Sale Questions? Need help purchasing?
Account Login
  • Features
  • Pricing
  • HelpExpand
    • Documentation
    • Submit a Ticket
    • Feature Requests
    • Roadmap
    • Changelog