Kadence Shop Kit (formerly Woo Extras) gives you powerful options to help drive your eCommerce store’s sales. One great feature of Kadence Shop Kit is the added ability to personalize the way your product variations are displayed. Through customizable drop downs and radio buttons, you’ll be given an array of options that will help you better connect your customer to the product.
Getting Started
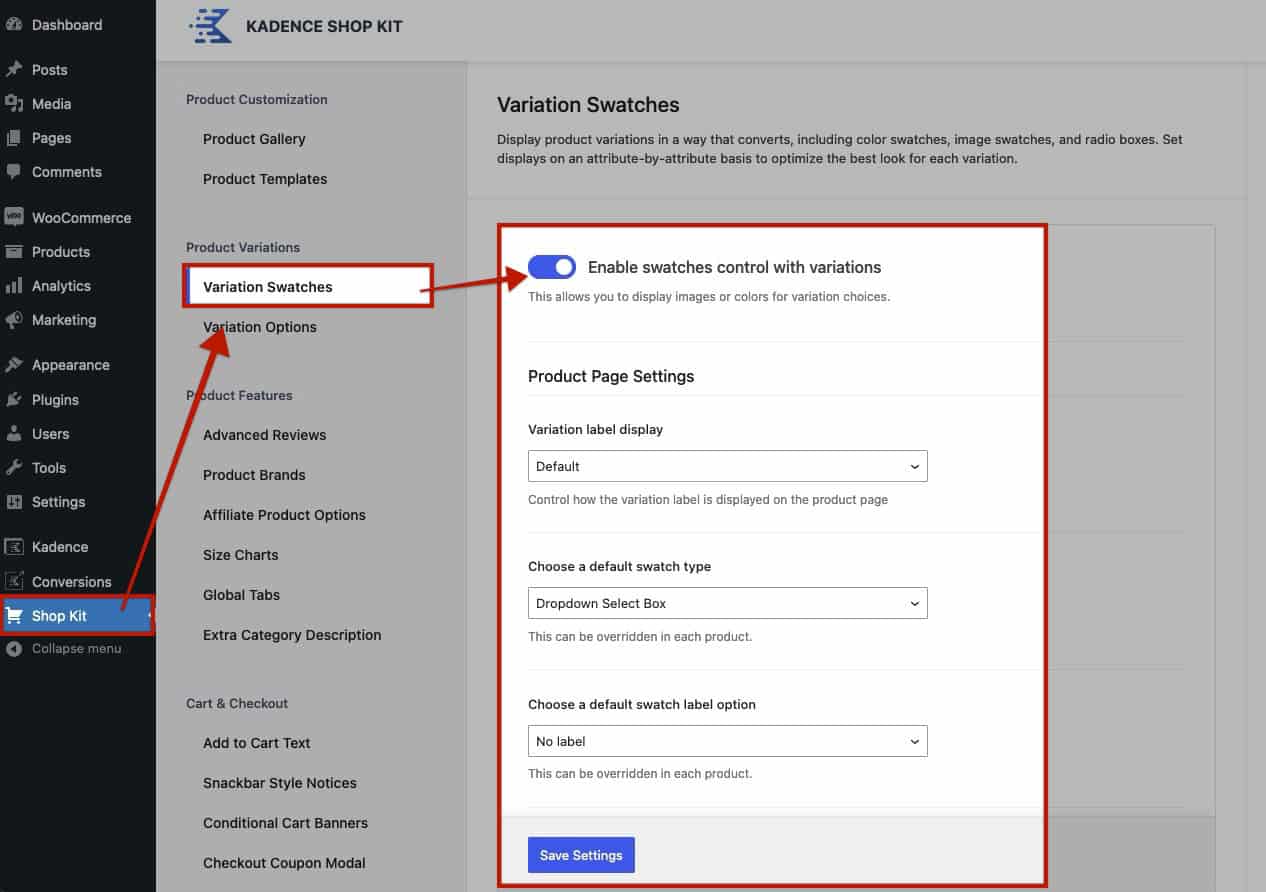
First, install the Kadence Shop Kit plugin and go into the Shop Kit menu in the bottom left corner of your screen. You can click the Variation Swatches tab and enable them for your site there.
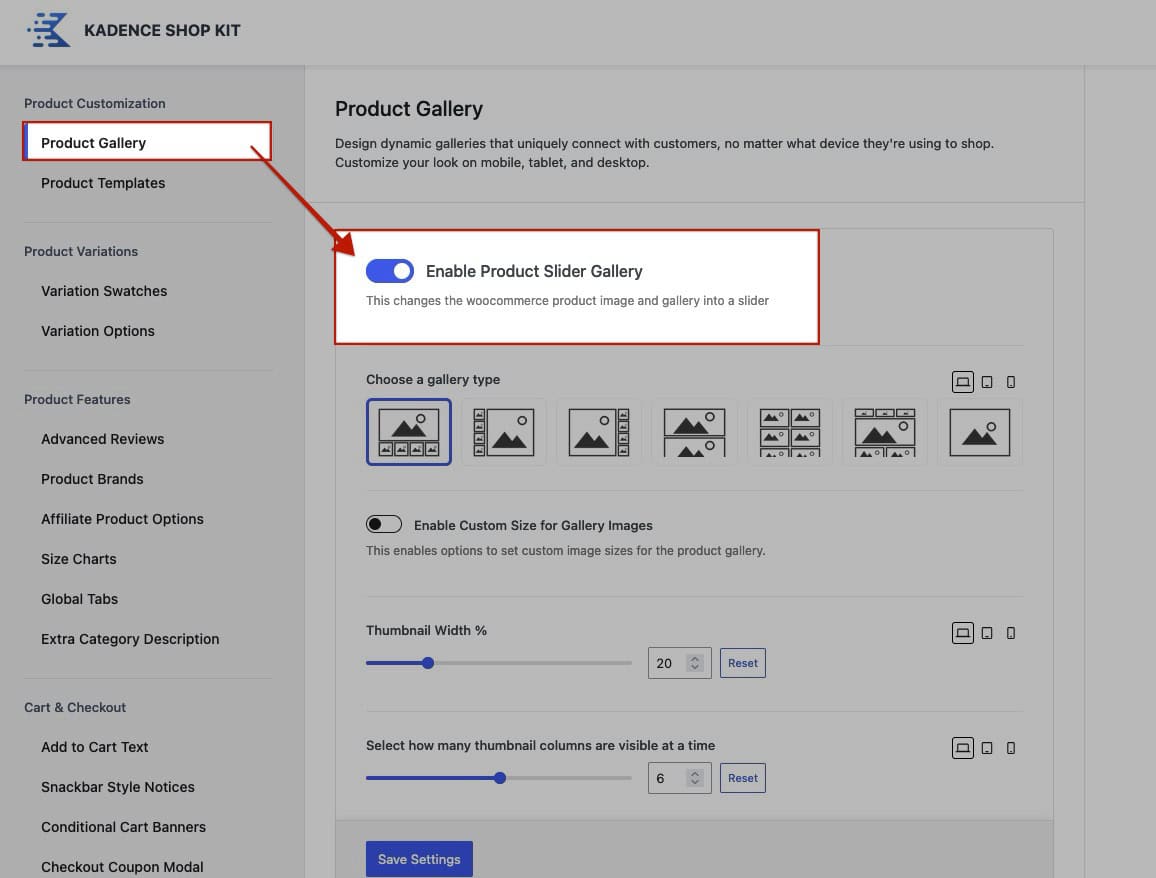
To use Variation Swatches, ensure the Product Gallery feature is activated in the Shop Kit. This feature only works with the Shop Kit Product Gallery. To enable it, go to your Shop Kit settings, navigate to the Product Gallery tab, and toggle the Product Gallery on.
Product Page Settings
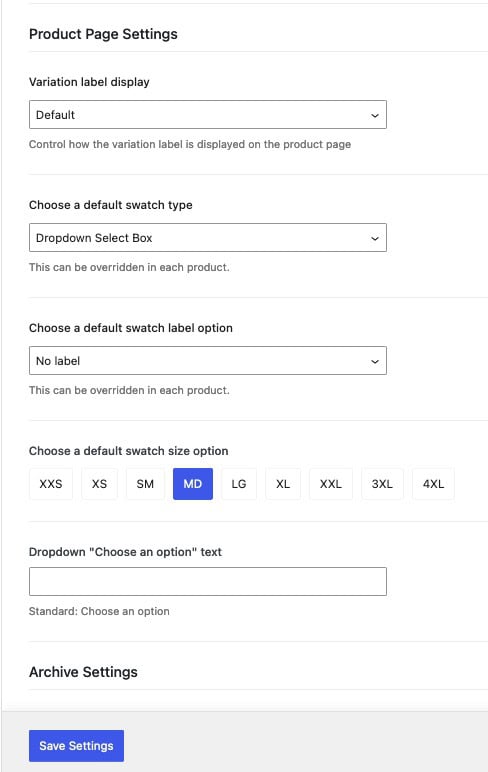
Variation label display: Set the display settings for your Label. By default, this will show beside the selection area. This can also be set to hidden or above the variation.
Choose a default swatch type: Choose the default swatch type for your variations. This can be set to a dropdown select box, radio box, image and color swatches, or taxonomy defined.
-When using the taxonomy-defined selection, you can set a swatch type for each attribute from the WooCommerce -> Attributes page.
-This can also be set on a product-to-product basis. See below for more information on this feature.
Choose a default swatch label open: This setting controls the swatch label. it can be set to no label, show above, below, or above on hover. This can also be set on a product-to-product basis.
Choose a default swatch size: This setting controls the size of each swatch option. This can be set globally here or individually on a product-to-product basis.
Dropdown “Choose an option” text: This setting allows you to set the default placeholder text for dropdown swatch selections.
Configure Product Variations
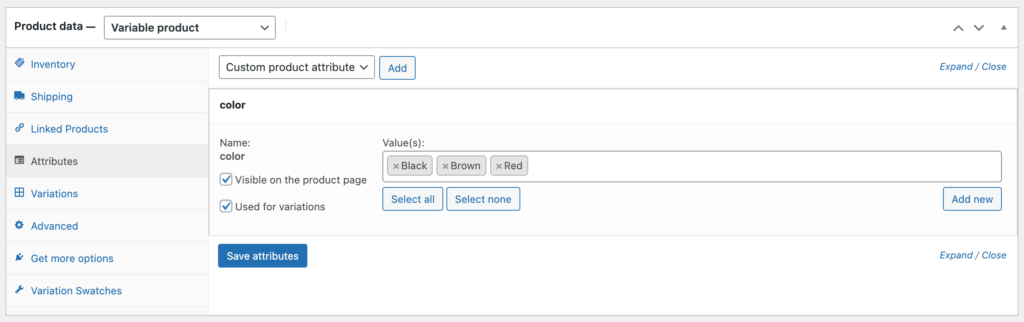
Before you can show variations on your single-product page, you first must configure a set of variations in “Attributes” under “Product Data.” For example, see the variation below:
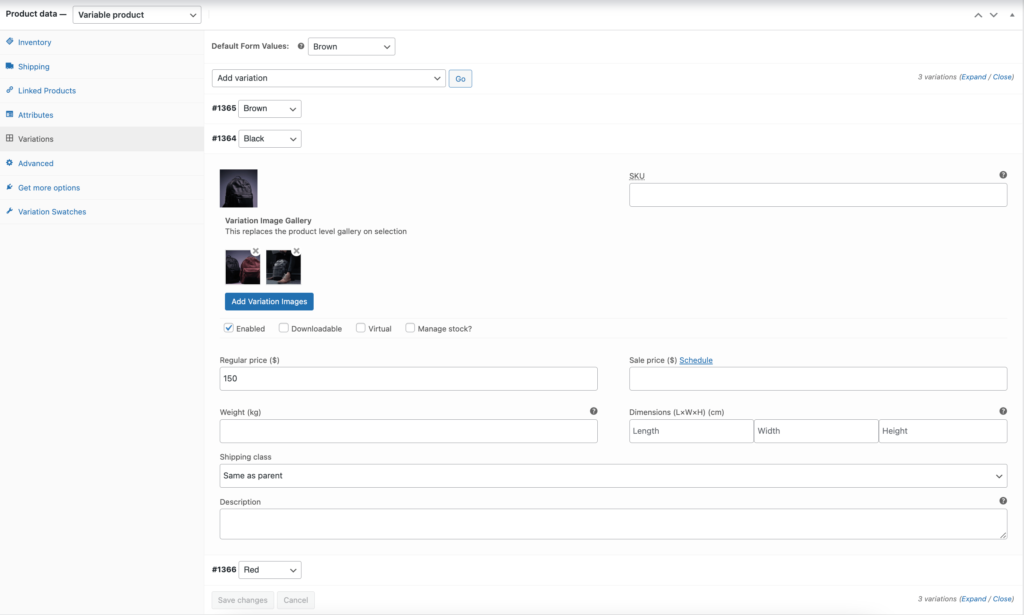
After you’ve setup your product variations, you’ll need to set the price and image for each of your variations. Here you can also add multiples images to make a variation image gallery.
Swatch Attributes
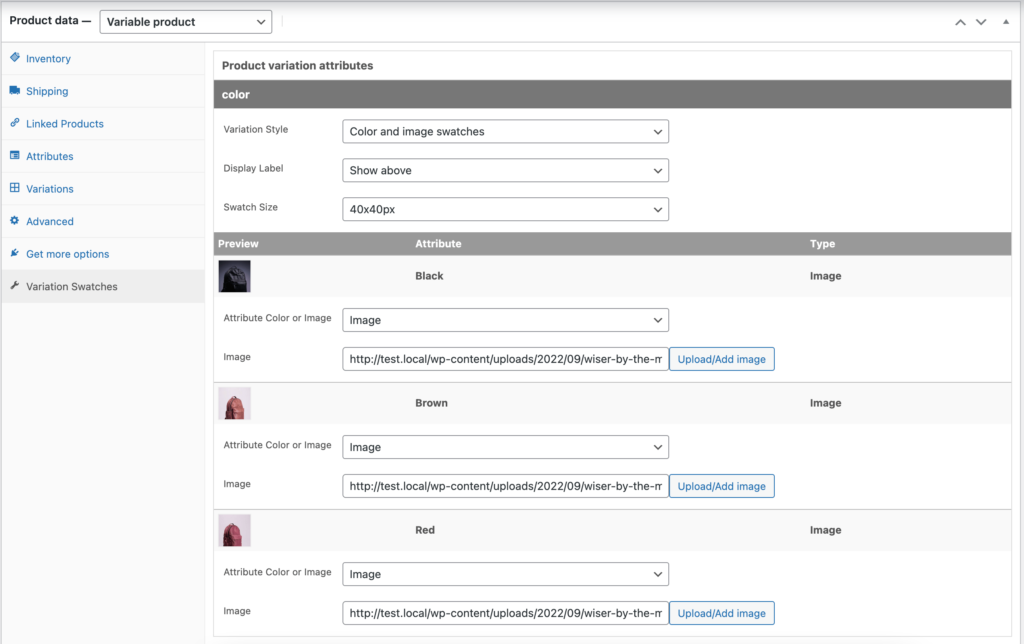
Next, once your variations are configured, you can save the product and the variation will use your default settings. There are, however, options to setup the swatches to display differently for individual products. By clicking on the “Variation Swatches” tab under “Product Data,” you will open up the swatch options for each single-product. There you can choose the variation style, display label and swatch size. You can then set a color or image for each swatch.
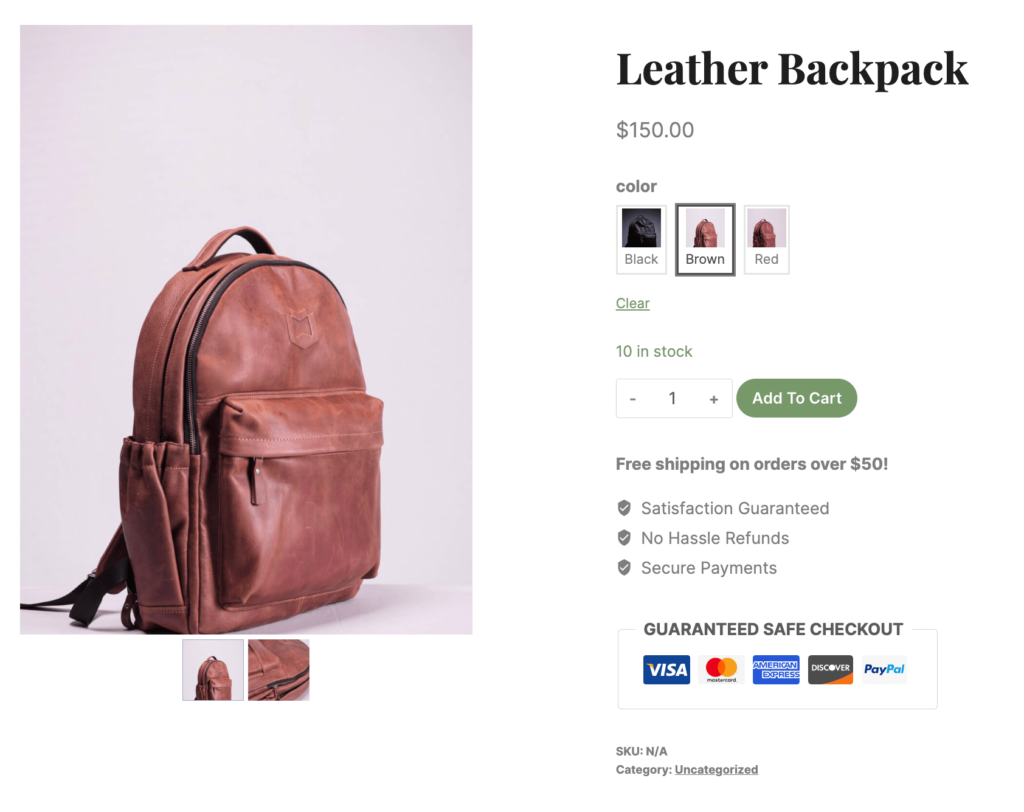
Once you have your swatches configured, preview your product to make sure your settings are reflected.
Variation Styles
Displayed below are the styling options available for your product variations.
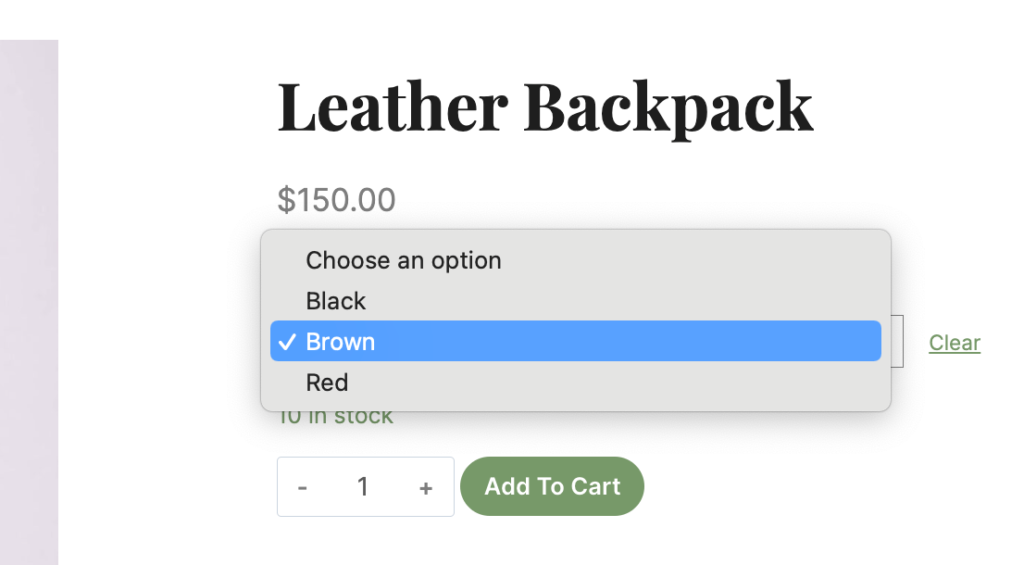
Dropdown:
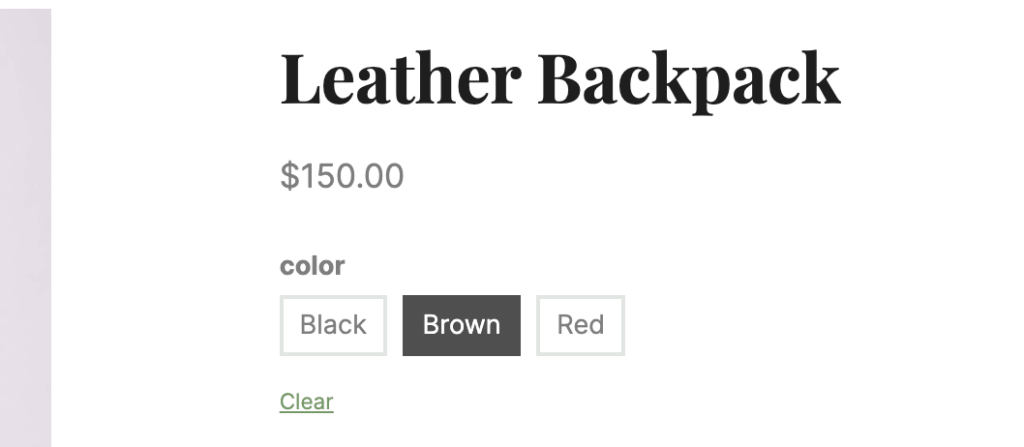
Variation Radio Boxes:
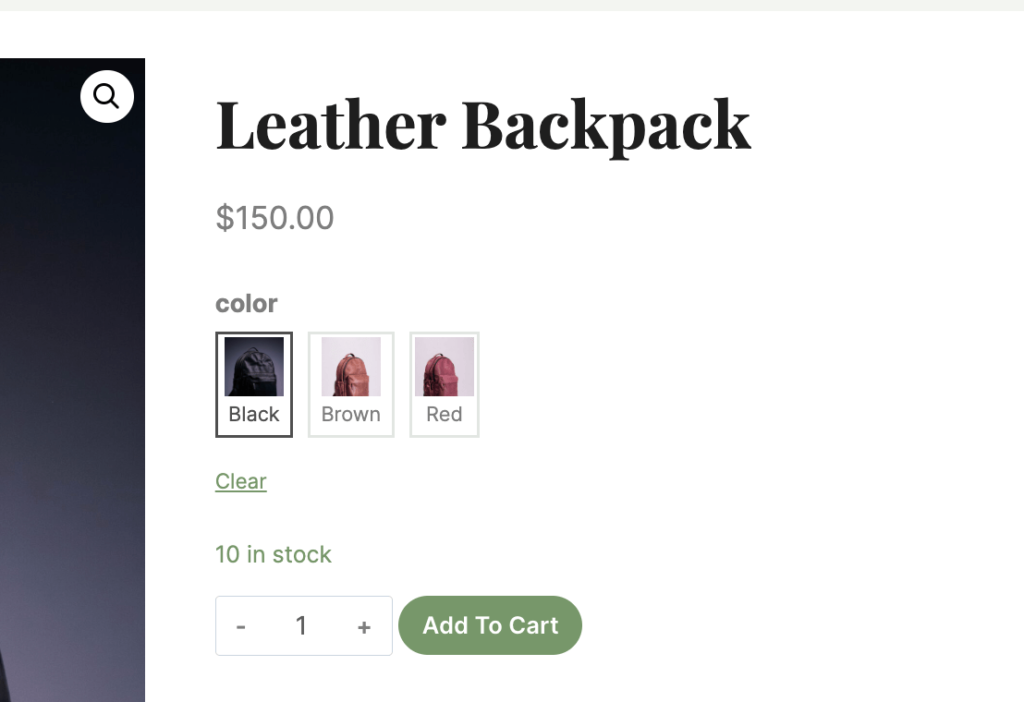
Variation Color or Image Swatches: